In Summary
- You can add multiple Google accounts on your Android device.
- However, it considers the first account you sign in with as the default and uses it to sign you in across various Google apps and services.
- If you don’t prefer your current default account, you can change it to another Google account.
You can add multiple Google accounts on your Android phone. However, only one of these will act as the default account. Your device chooses the first account you signed in with during the initial setup as the default, and it’s the one that it uses to sign you in across various apps and services, such as Play Store, Gmail, Google Drive, YouTube, and more, on your device.

That said, there may be times when you want to set another account as the default account on your device. Follow along, and we’ll show you how to change the default account on an Android phone.
Change Your Default Google Account on an Android Phone
Depending on how many Google accounts you’ve added to your device, changing the default account on an Android phone could be either a two-step or a three-step process.
Step 1. Add the Google Account You Want to Set As the Default on Your Device
If you haven’t already added the Google account you want to use as the default on your device, you need to do that first. Skip to the next step if you’ve already added the account.
- Open the Settings app on your Android device.
- Scroll down and select Google.

- Tap the arrow key to the right of your Google account details and select Add Another Account.

- Authenticate yourself if prompted and enter your Google account credentials on the subsequent screens.
- If you have two-factor authentication enabled on your account, enter the confirmation code when prompted, and you’ll be signed in to your account.
- Finally, hit I Agree to accept Google’s Terms of Service and add the account to your device.
Step 2. Remove All Other Google Accounts
With your preferred Google account added, the next step is to sign out of all the accounts, leaving just the one you want to set as the default. This is how you do it:
- Go to Settings.
- Scroll down and select Google.
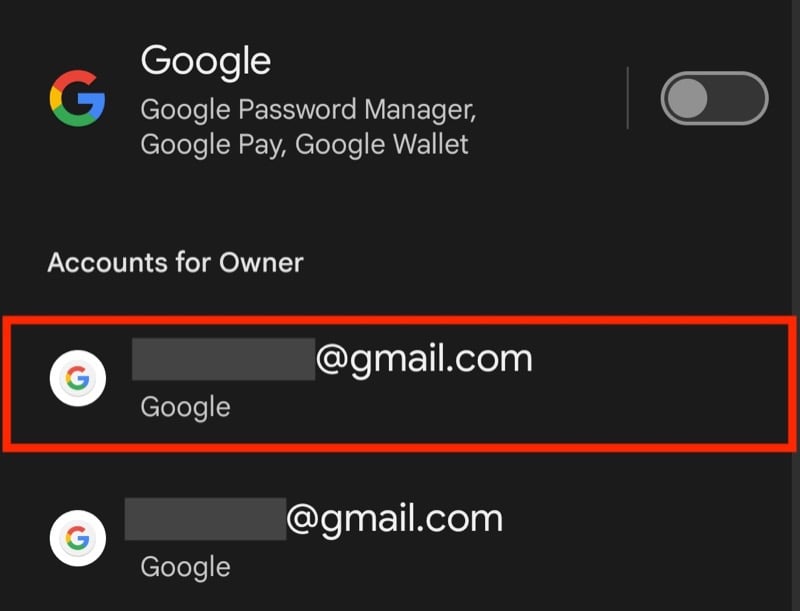
- Tap the arrow key next to your Google account and select Manage Accounts on this Device.

- Tap on the Google account you want to remove from your device.
- Hit the Remove Account button.

- Tap Remove Account on the pop-up to confirm removing the account from your device.

Repeat the above steps to remove all your accounts except the one you want as the new default account. Once you do this, you’ll have set the default account to your preferred account.
When you remove an account, all the contacts, messages, and other data associated with the account get removed from your device.
Step 3. Add the Other Accounts Back Again
Finally, you can add back all the accounts you signed out of previously on your Android phone. Follow the steps below to do this:
- Open Settings.
- Go to Google.
- Tap the arrow to the right of your Google account.
- Select Add Another Account on the overlay prompt.
- Enter your Google account email address and password.
- Accept Google’s Terms of Service by tapping I Agree and adding your account.
Change the Default Account to View Your Preferred Information
By setting your preferred Google account as the default account on your Android phone, you can choose what information various Google apps and services on the device sync and display. While the process is a bit tedious, this guide should make navigating it a bit easier, though it would be nice if Google offered a quick one-tap solution to change the default account on Android.
