Quick Answer
A cluttered Downloads folder can make finding files quite challenging and consume a significant chunk of your storage space. Thankfully, it’s easy to organize the Downloads folder on your Windows PC. Depending on what you prefer, you can either use built-in tools to organize items in Downloads and delete the unneeded ones or use a third-party tool that lets you organize and delete items automatically.
Any time you download a file on your Windows computer — and aren’t prompted to choose a destination folder — it’s automatically saved to the Downloads folder, unless you’ve changed the default download location. If you download files regularly, this can lead to a cluttered Downloads folder over time that not only makes finding files harder but also takes up a significant amount of storage space.
Sure, you could move useful files to another folder and delete the remaining ones. But it’s a tedious process and not really practical when you’ve to deal with hundreds of downloaded files. Thankfully, there are ways to efficiently organize the cluttered Downloads folder in Windows. We’ll go over some of the best solutions, and you can incorporate one or all of them based on your needs.
Tips to Organize Cluttered Downloads Folder in Windows 11
Set Up a View in File Explorer to Automatically Group and Sort Items
Microsoft’s File Explorer app on Windows has a Sort feature that lets you organize folders by different criteria. You can use it to set up a view that groups all downloaded items in Downloads by type and sorts them in ascending order. That way, you can easily view all similar file types (app installers, applications, compressed files, etc.) sorted from older to newer and delete the ones you no longer need.
Here’s how to do this:
- Head to the Downloads folder in File Explorer.
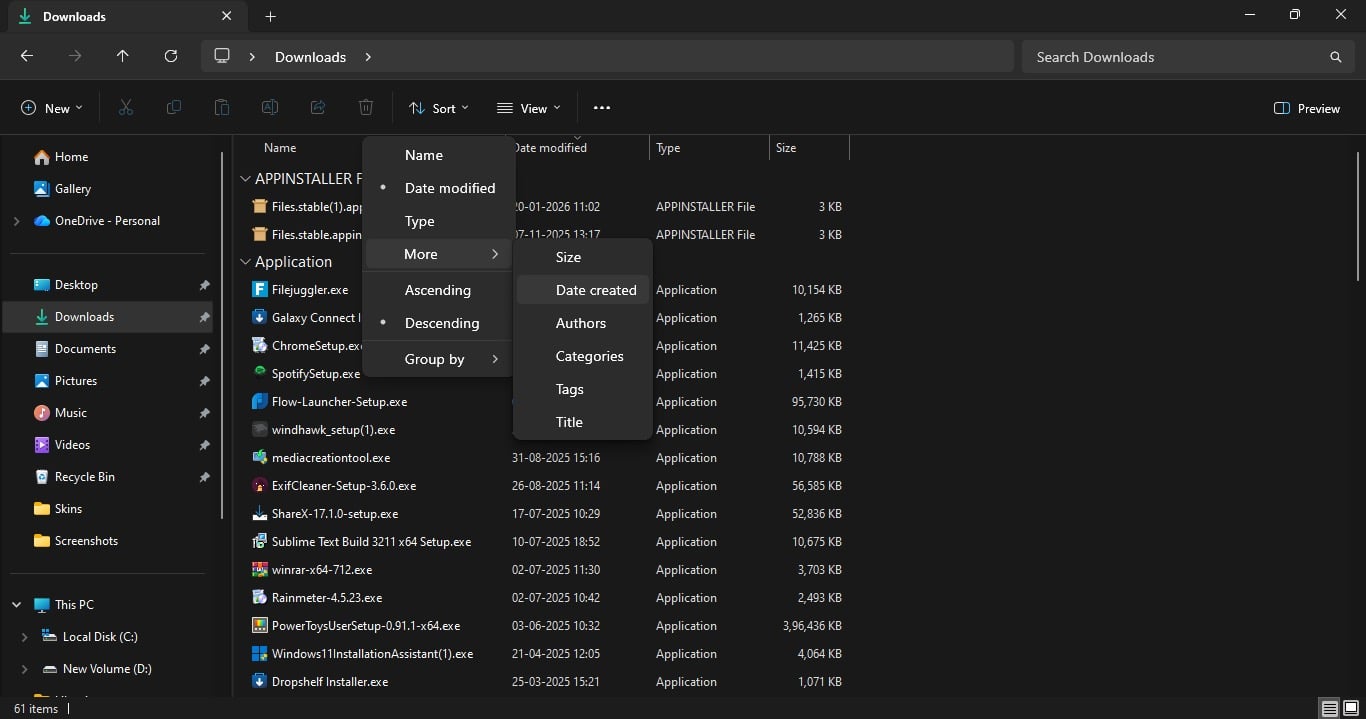
- Click the Sort button in the ribbon bar at the top, then select Group by > Type. You’ll now see all the items grouped by categories.

- Next, click Sort > More > Date created.
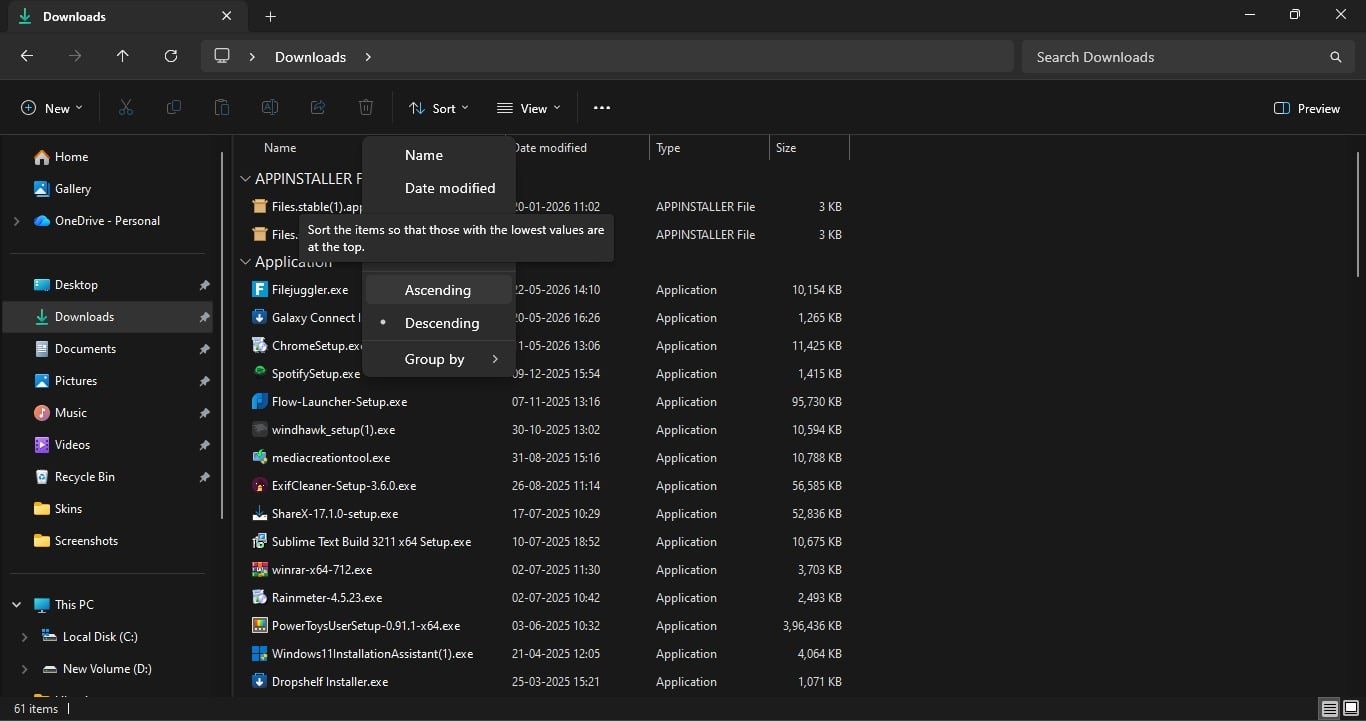
- Again, click Sort and choose Descending. This will sort the list and show newer items at the top.
File Explorer will save these view preferences and won’t reset them even after a reboot. Once the files are sorted, uncluttering the Downloads folder is easy. Go through the downloaded files and move the ones you think you may need later to another location on your computer. Then, delete the remaining files.
Configure Storage Sense to Automatically Delete Old Files in Downloads
If you don’t want to spend time scrolling through the list of downloaded files to identify files to keep or delete, Storage Sense can make your life easier. It’s a built-in maintenance tool that allows you to automatically delete old files on your Windows PC. You can use it to empty the Recycle Bin, deletes files in Downloads, and removes unnecessary temporary files to free up storage space.
While you can configure it to do all of these things, we’ll stick to cleaning the Downloads folder in this article.
- Hit Start and look up Settings.
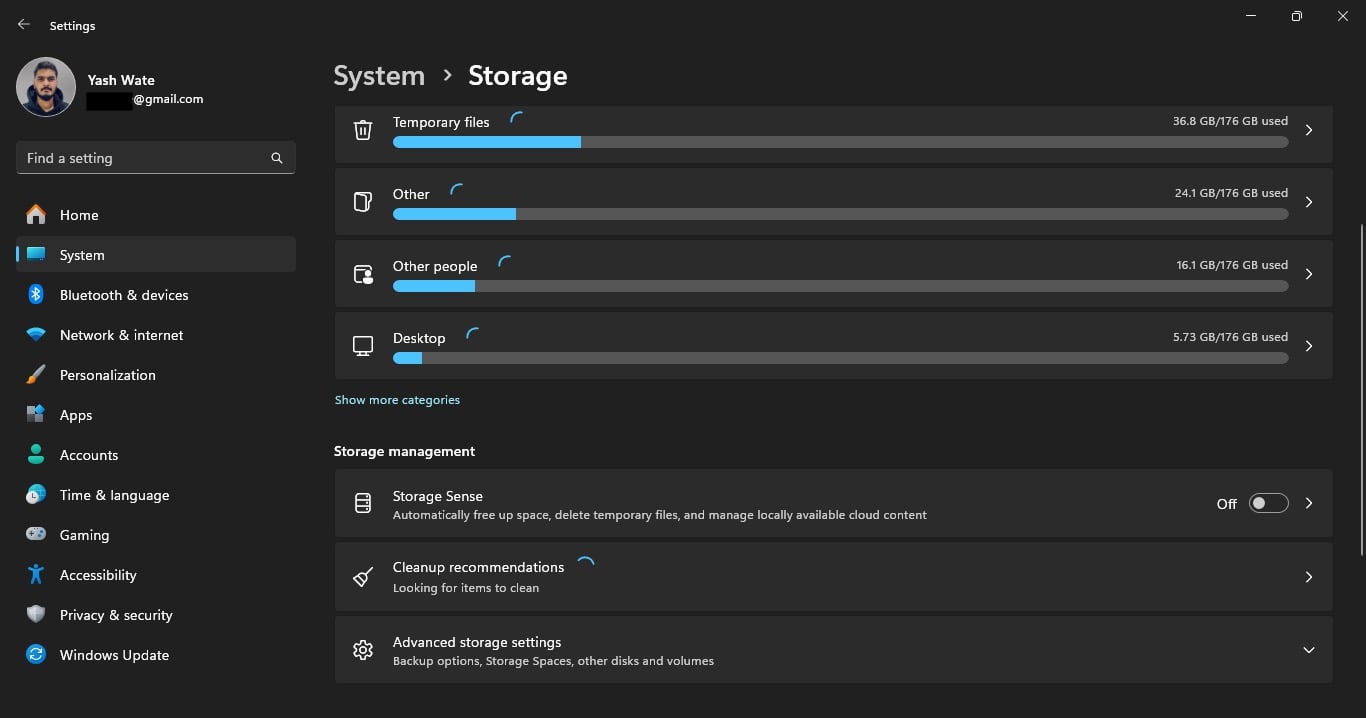
- Click System in the left sidebar and select Storage.
- Scroll down to the Storage management section and select Storage Sense.
- Flip the Automatic User content cleanup toggle on.
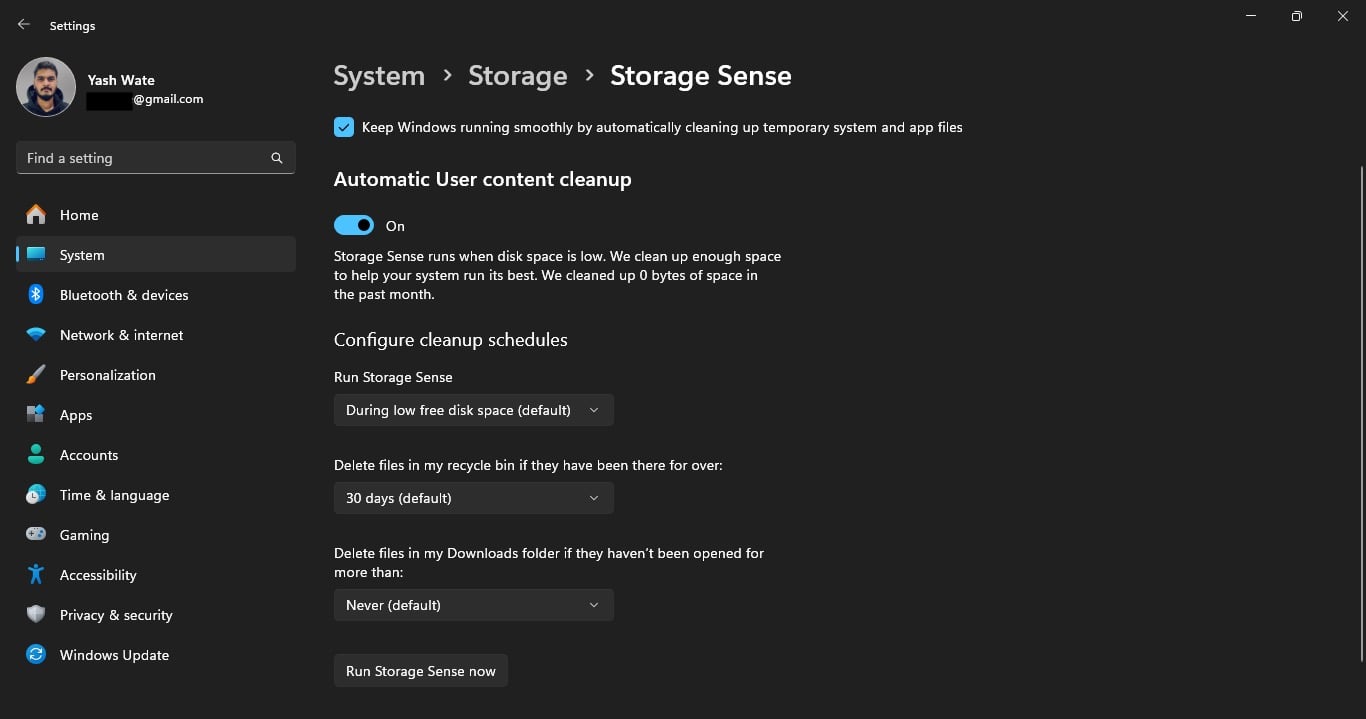
- Click the dropdown under Run Storage Sense and choose an appropriate frequency based on your needs. This setting tells Storage Sense when to run and perform the configured action(s). (By default, it’s set to run every month.)
- Finally, click the dropdown for Delete files in my Downloads folder if they haven’t been opened for more than and set your preferred frequency for automatic deletion. (I’ve set this to 60 days.)
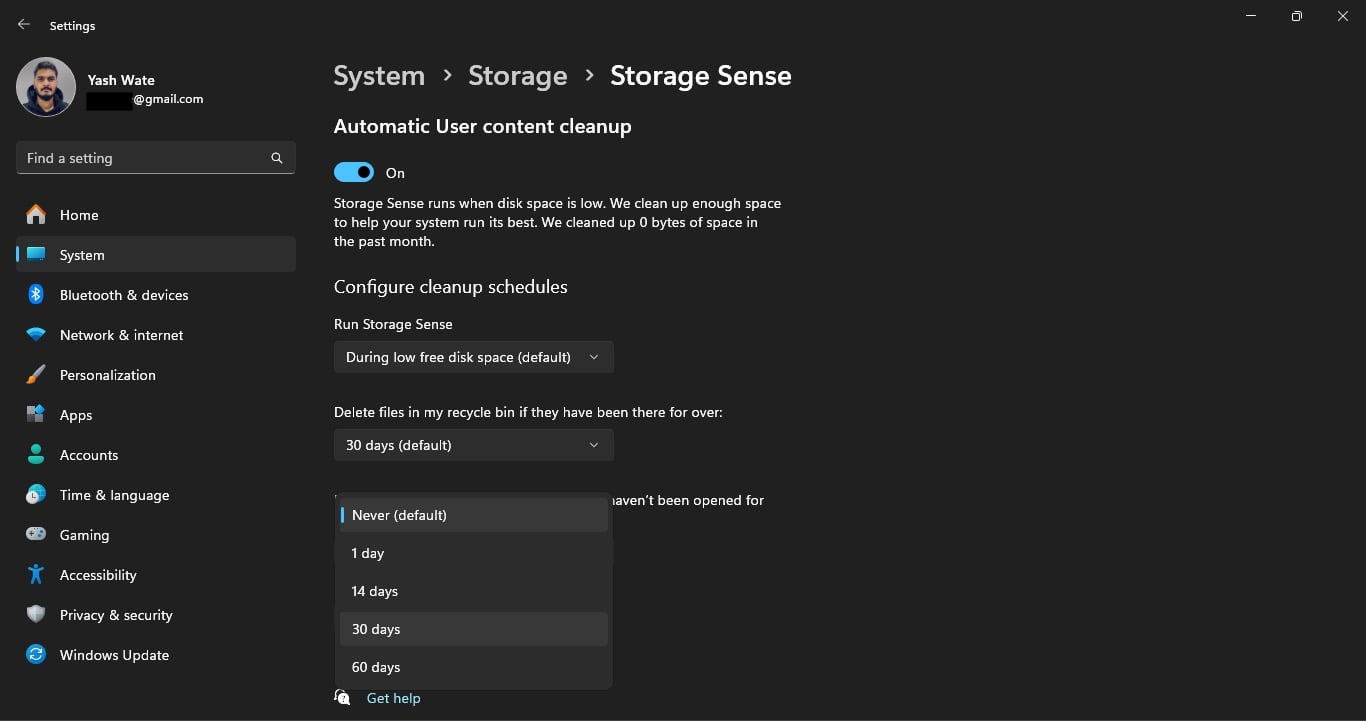
Configuring Store Sense with the above settings tells it to run every month and delete files in Downloads that haven’t been opened in the last 60 days.
Be sure to check other settings while you’re on the Storage Sense screen and configure them as needed.
Once configured, Storage Sense will work in the background to keep your Downloads folder decluttered. Keep in mind that Storage Sense permanently deletes files from your system, so you won’t find them from the Recycle Bin. To run Storage Sense immediately and unclutter your Downloads folder, click Run Storage Sense now.
Use a Third-Party App for More Control Over File Organization and Deletion
Storage Sense gets the job done, but it doesn’t give you complete control over file deletion. For example, it only lets you filter files by the date opened criterion; there’s no way to set it to date creation. Likewise, you can’t control the kinds of files to delete from Downloads, as it treats all of them equally and deletes them when the specified conditions are met. You also can’t choose a custom time for file deletion, among other things.
This is where third-party file automation tools come into play. While there are a few popular options — like DropIt — to choose from, File Juggler stands out with the kind of control it offers. File Juggler is a paid app, with a 30-day free trial. However, it doesn’t stop working, nor does it limit the features you can use, beyond the trial period. Instead, it just keeps prompting you to upgrade.
To use it, you just need to create a new rule with your specified criteria. Doing this is easy: specify the folder to monitor, set a trigger condition, and choose the action you want to be performed. The app will then monitor your specified folder and make changes automatically.
Let’s see how to set up File Juggler to delete all the files in the Downloads folder that were created (i.e., downloaded) two months ago. First, download File Juggler from its website and install it. Then, follow these steps:
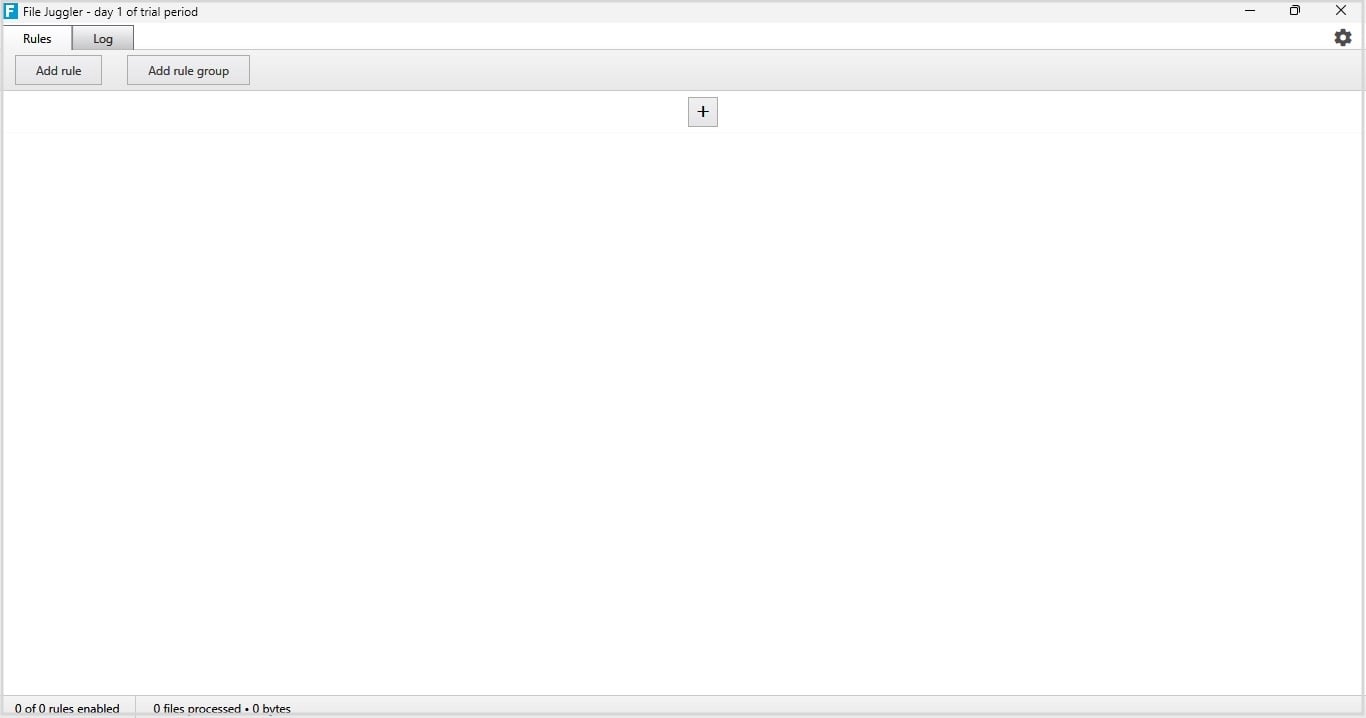
- Go to the Rules tab and click the Add rule button.
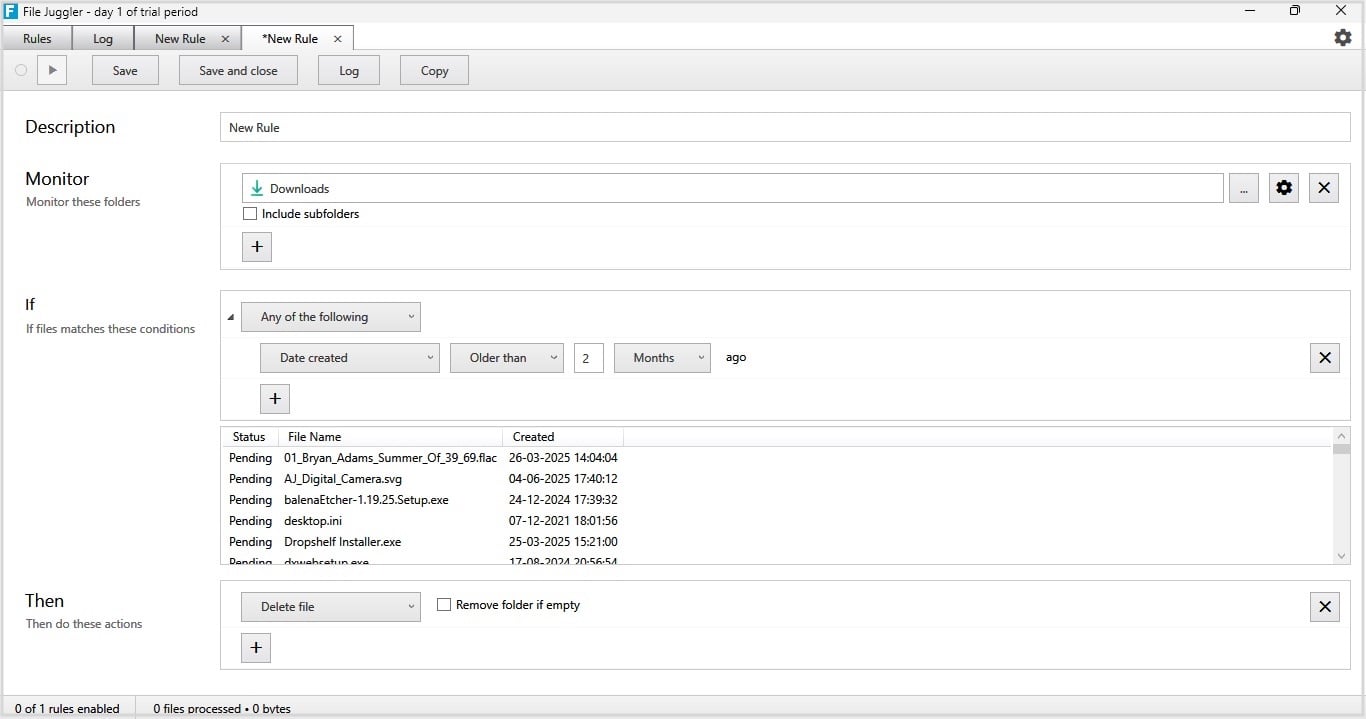
- Type a relevant and descriptive name for the rule.
- Click the three-dot button to the right of the text field next to Monitor and select the Downloads folder.
- Click the dropdown next to If and select Any of the following. Then, click the File name dropdown and select Date created. Be sure the next dropdown is set to Older than. Then, type 2 in the text field, click the Days dropdown, and select Months. A bunch of files that meet the selected criteria will appear in the box below.
- Click the plus (+) button next to Then.
- Click the Move file dropdown and select Delete file.
- Finally, click the Save button at the top to save the rule.
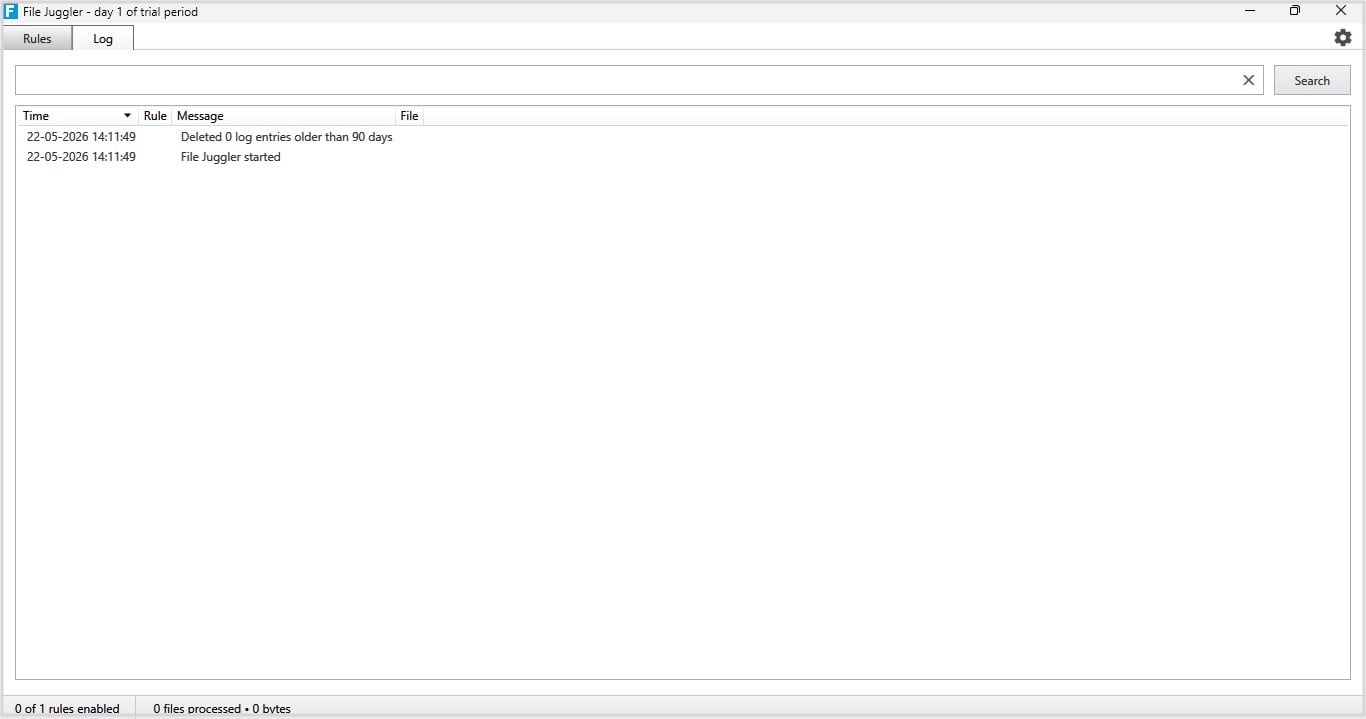
Go back to the Rules tab, and you’ll see the rule you just created. It will monitor the Downloads folder and automatically perform the specified action. You can track changes by clicking the Log button next to the rule.
The above rule is pretty basic, but you can create some advanced rules in File Juggler. For example, you can set up a rule that automatically deletes EXE, ZIP, and RAR files in Downloads. Or set one up to automatically delete files larger than, say, 1 GB. Similarly, you can create a rule that moves downloaded ISO files to another location and deletes all other files in Downloads older than 60 days. You’re only limited by your imagination.
Pick the Right Method per Your Needs
Getting rid of unneeded files not only helps declutter the Downloads folder. It also helps free up space, which is especially useful if you’re running low on storage. Depending on whether you just want to get rid of items you no longer need or move used ones and delete the rest, you can pick a method accordingly.
I personally prefer using File Juggler. I’ve configured it to move ISO, archive, and other files I download regularly to designated folders and automatically delete all other items in Downloads. This way, I don’t have to manually move important files out of Downloads, nor do I risk losing them to automatic deletion in case I miss saving them.
