Passwords are universally regarded as the first line of defense in the software world. Be it when setting up a new device or even while opening an online account, — securing it with a password is the first thing you should do. Passwords are personalized entirely by you, which makes them very difficult to crack.

Of course, you also want to protect folders on your Mac beyond the traditional security systems, such as locking your Mac with Touch ID or a password. Unfortunately, that’s not so easy in macOS, and that’s where this article comes to your rescue. Read on to learn how to protect folders on your Mac.
Table of Contents
4 Ways to Password Protect Folders on Mac
Using Disk Utility
Disk Utility is an official tool that is pre-installed on every Mac. It’s a bit tedious, but this method is the safest as you don’t need to install any third-party plugins or apps. Follow the procedure carefully to protect folders on Mac effortlessly.
- Open Disk Utility using Spotlight Search (command + space) or Launchpad.

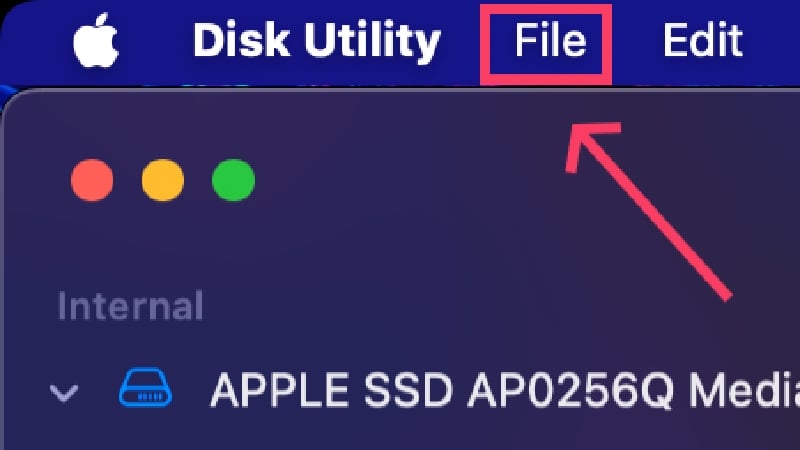
- Select File from your Mac’s status bar.
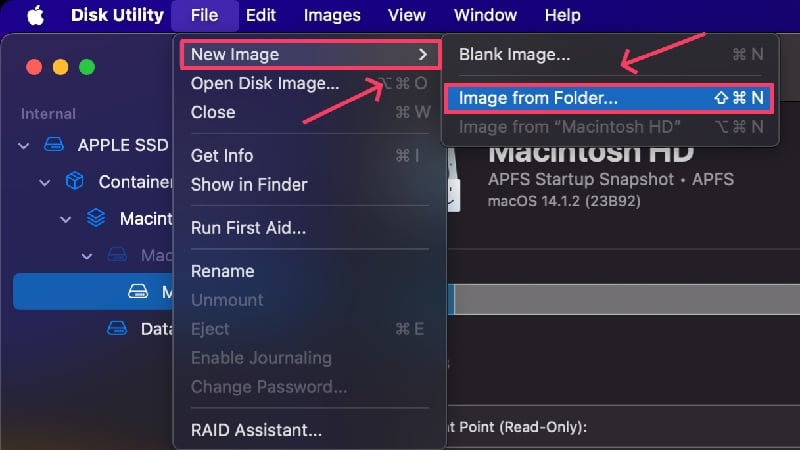
- Hover the cursor over New Image and select Image from Folder.
- Select the folder of your choice from the Finder window and click on Choose.

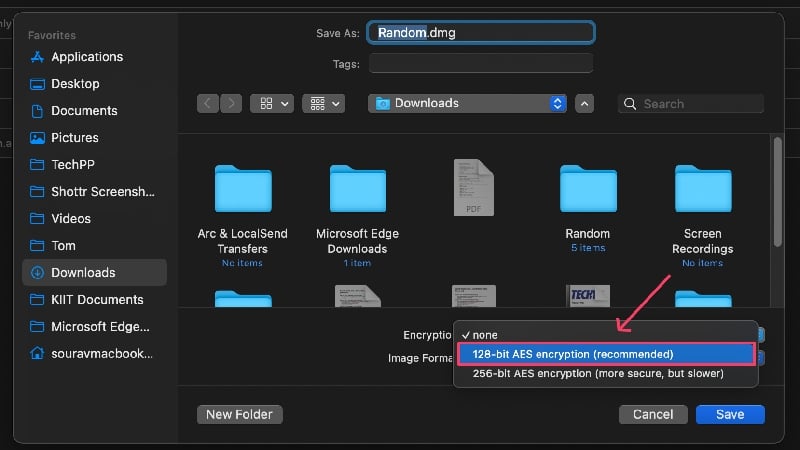
- A new Finder will open where you must choose the type of encryption from the dropdown menu. 128-bit AES encryption works for most scenarios as it is fast and adequately secure. 256-bit AES encryption should be selected for folders containing sensitive documents, although this type is marginally slower than the former.
- Provide a strong password, or click the key icon to let macOS suggest a randomized passphrase. You can further improve the suggested password’s strength by changing its length and type. Re-enter the chosen password beside Verify to confirm it.

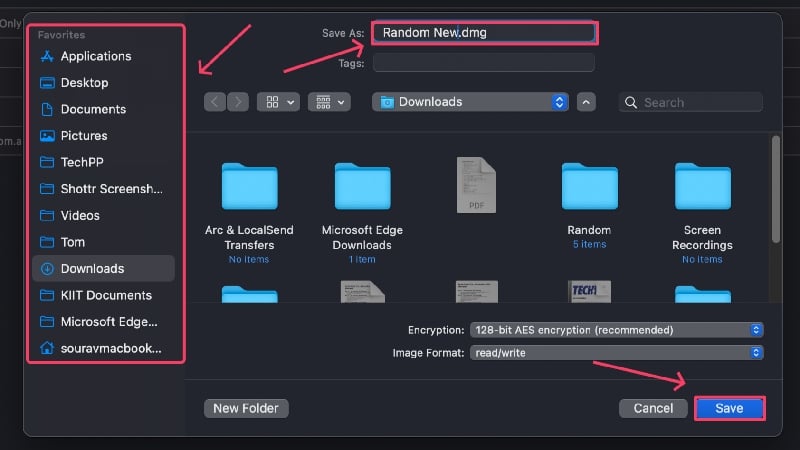
- Change the Image Format from the Compressed to read/write from the dropdown menu. This enables you to edit the folder’s contents after it’s secured using a password.

- You can change the file name and location where it should be saved by changing the directory from the left panel. Hit Save at the end.
- macOS will now create an encrypted .dmg file. You can go ahead and delete the original file if needed.

Being a .dmg file, macOS will mount it every time before opening. After accessing the files, you must unmount the file by clicking the upward arrow icon beside the file name in the Sidebar. We need not make you aware of the consequences if you forget your password, but if you fear it, here is an apt guide on password managers.

Creating Encrypted ZIP Files Using Terminal
A clever way to protect folders on the Mac is to convert them into encrypted zip files. Zip files only require two to three lines of code in Terminal and are easily accessible on other platforms such as Windows, Linux and Android. Learn how to create an encrypted zip file here,
- Open Terminal using Spotlight Search (command + space) or Launchpad.

- By default, the directory will be set to your Mac’s default SSD, but you can switch to a different location using the command ~cd/name of the location. For example, if you are working with a file present on your Mac’s desktop, you can change the Terminal directory using the command ~cd/Desktop.

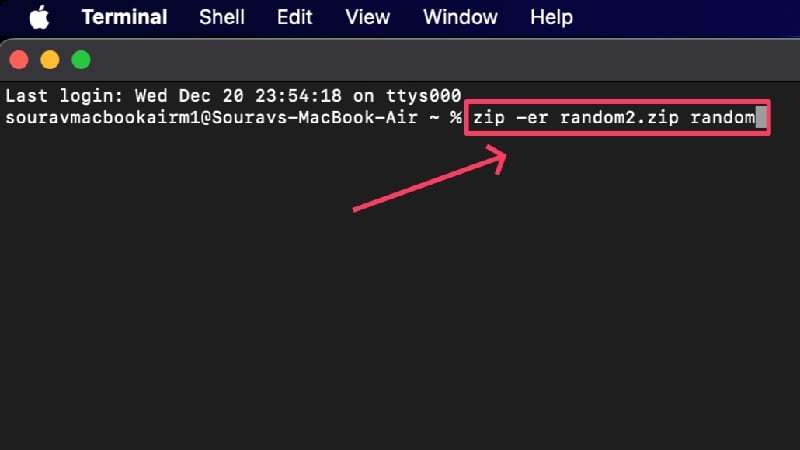
- Type the following command: zip -er output.zip input
Here, e stands for encrypted, r stands for recursive, output refers to the name with which you wish to save the encrypted zip file, and input refers to the name of the folder to be password-protected. Hit return after entering the command.
- Provide a strong password and re-enter it to confirm your choice. PS: you won’t be shown the password as you type, so don’t get confused if nothing shows up while you are typing.

- An encrypted zip file will be created at the location you were working with on Terminal. You may choose to delete the original file if you so want.

You’ll be prompted to enter the password every time you open the zip file. Upon entering the correct password, the contents will be extracted at the very location for you to access them. Unlike on macOS, the file names of the zip file’s contents will be exposed on other platforms, like Windows and Linux. However, they will remain inaccessible until you enter the correct password.

Using First-Party Apps
First-party apps from Apple, such as Notes, Preview, Photos, Numbers, Keynote and Pages, offer the ability to lock the files you work with using Touch ID and password. This is very seamless and relatively easy to set up.
(a) Notes
Notes is the default note-taking application for Apple devices and comes pre-installed on every Mac.
- Open the Notes app and select the note you wish to lock.
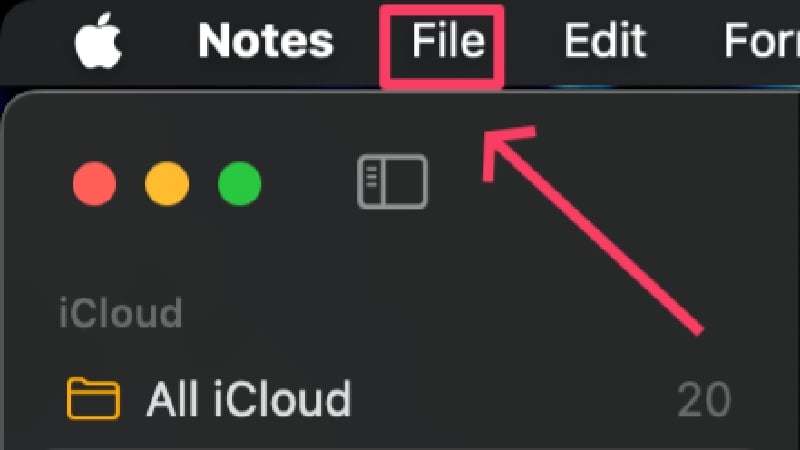
- Select File from your Mac’s status bar.
- Click on Lock Note.

- You can set an entirely new password or stick with your Mac’s default password. The latter also allows you to access your locked notes using TouchID. This can be changed later on in the settings.

Credits: MakeUseOf - If you’ve chosen to set an entirely new password, type a strong password and re-enter it to confirm your selection.

Credits: MakeUseOf - A lock icon beside the current note indicates whether the lock is set up.

Now that your lock is set up, you can lock any note by clicking the lock icon in the toolbar and selecting Lock Note. It can also be done using the above procedure, but you won’t have to go through the password setup process again.

A locked note remains unlocked until it locks itself after it has been inactive for a while. A note can also be locked manually, but you must first set up a lock using the procedure described above. If this has already been done, select the lock icon in the toolbar and click on Close All Locked Notes. This will lock all notes for which you have set up a lock and you will now have to enter the password or use Touch ID to open them.

(b) Pages
Pages is a word-processing app by Apple similar to Microsoft Word. It can create and open documents, including those of .docx (Microsoft Word) type.
- Install Pages from the App Store.
- Open Finder and locate the supported file you wish to lock. Pages supports a handful of file extensions, including .docx, .pages, .text, and .rtf.

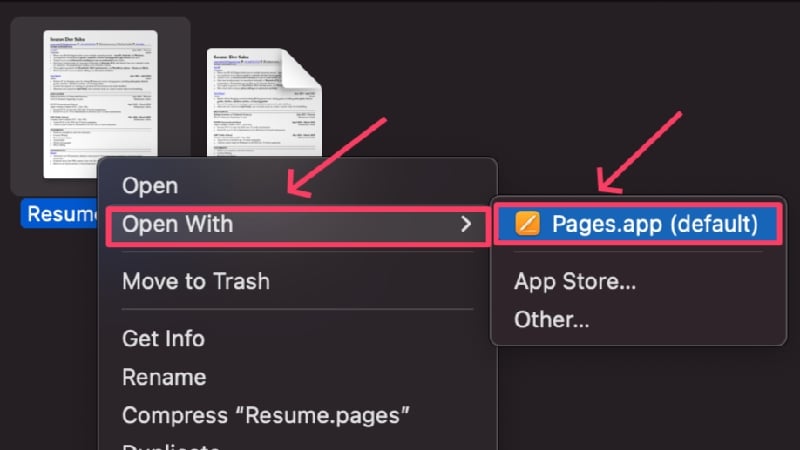
- Right-click the file and hover the cursor over Open With. Select Pages.app from the dropdown menu.
- Once the app opens, select File from your Mac’s status bar.

- Click on Set Password.

- Type a strong password and re-enter it beside Verify to confirm your choice. In addition, you can provide a Password Hint and enable Open via Touch ID for added convenience. Click on Set Password after you are done.

- Once set, press command + S to save the changes made to your document and exit the application. Your file will now be locked and present at the exact location as before.
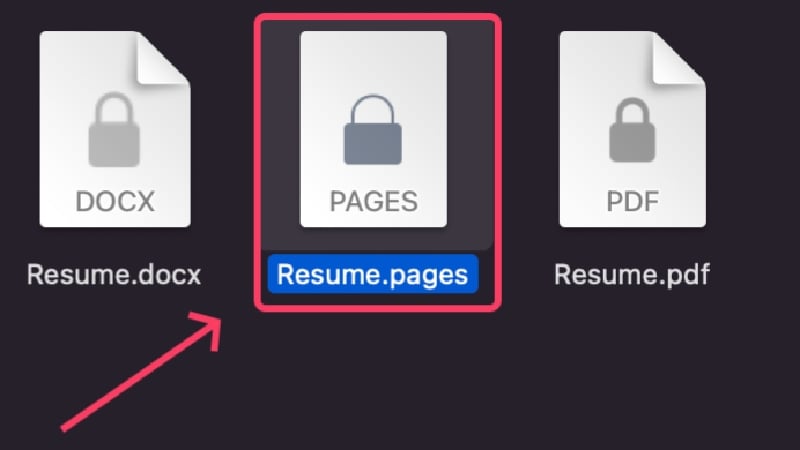
By default, Pages exports documents with a proprietary extension – .pages, but it does allow exporting documents to PDF or Word (.docx), and that too with encryption. This way, you won’t be restricted to using Pages later to access your encrypted file since PDF and Word files can be accessed from any device. To do so,
- Select File from your Mac’s status bar.
- Hover the cursor over Export to and select the file type to which you wish to export your file. We are choosing Word here.

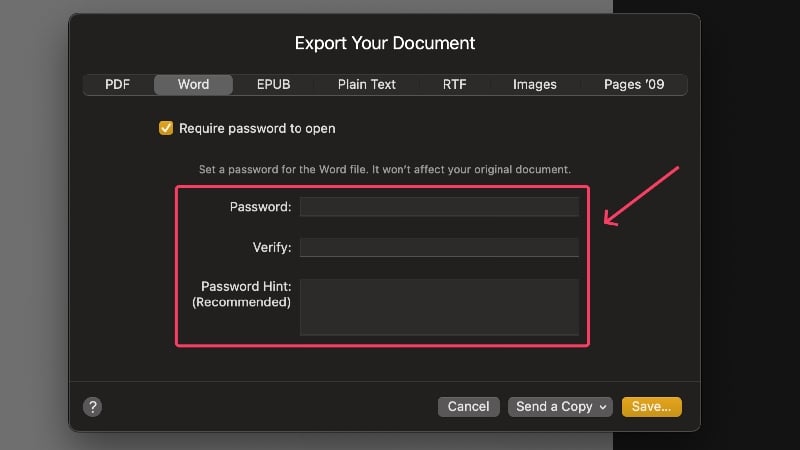
- Enable Require password to open.

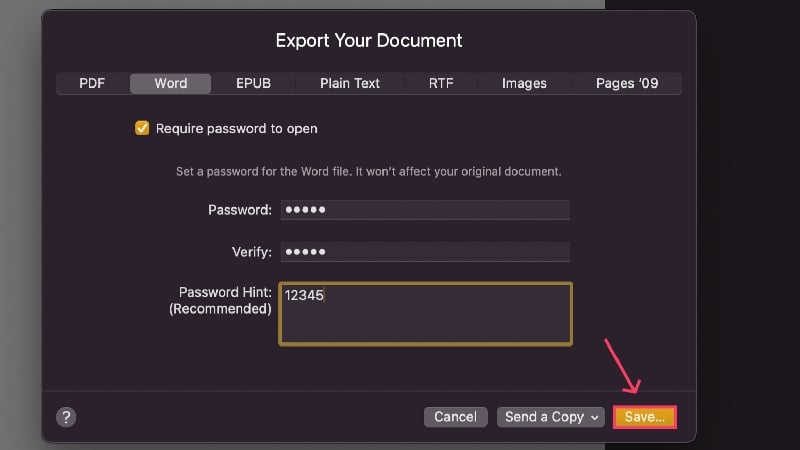
- Provide a strong password and re-enter it beside Verify to confirm your selection.
- Click on Save.
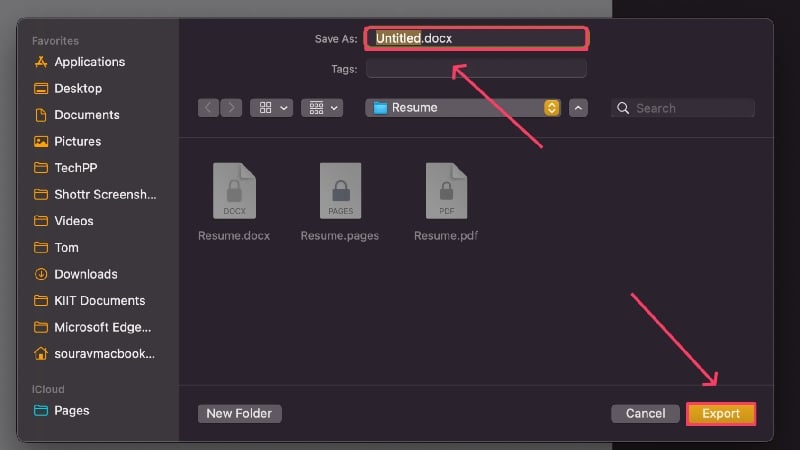
- Choose where to save your file, give it a new name, or stick with the default one and hit Export.
(c) Numbers
Numbers is Apple’s answer to Microsoft Excel. It can create and access spreadsheets, including .xlsx (Microsoft Excel) files.
- Install Pages from the App Store.
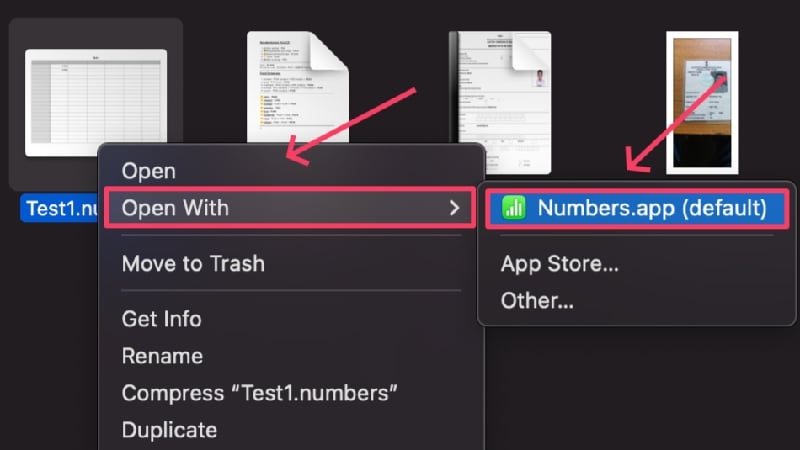
- Open Finder and locate the supported file you wish to lock. Numbers supports files with extensions .numbers, .xlsx, .tsv, and .csv.
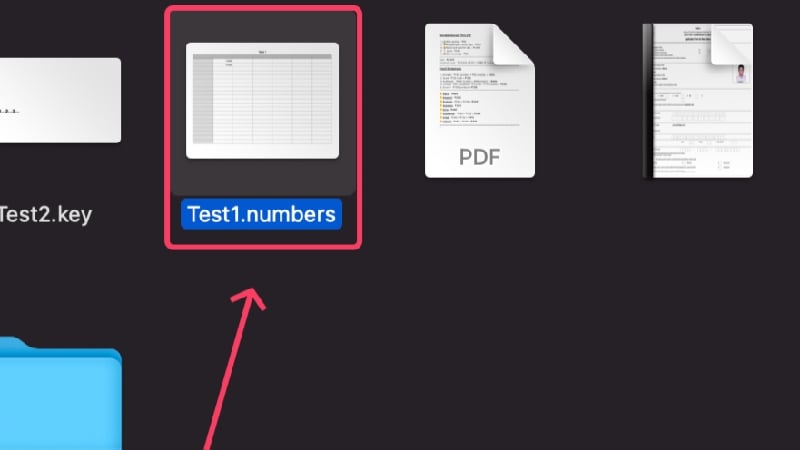
- Right-click the file and hover the cursor over Open With. Select Numbers.app from the dropdown menu.
- Once the file opens inside the app, select File from your Mac’s status bar.
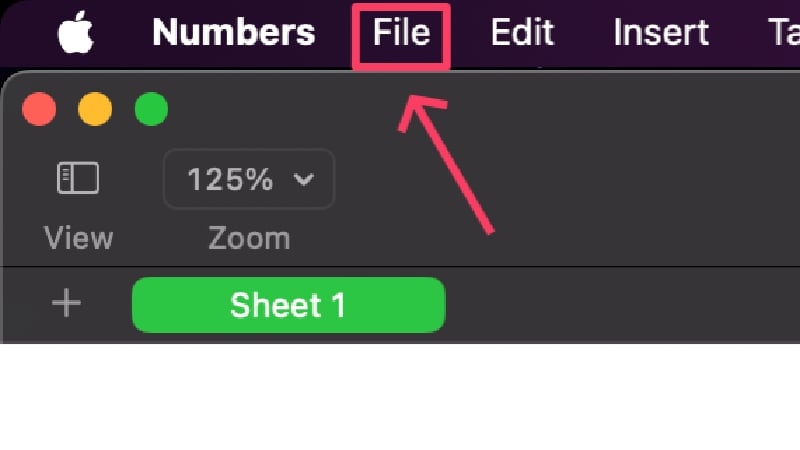
- Click on Set password.

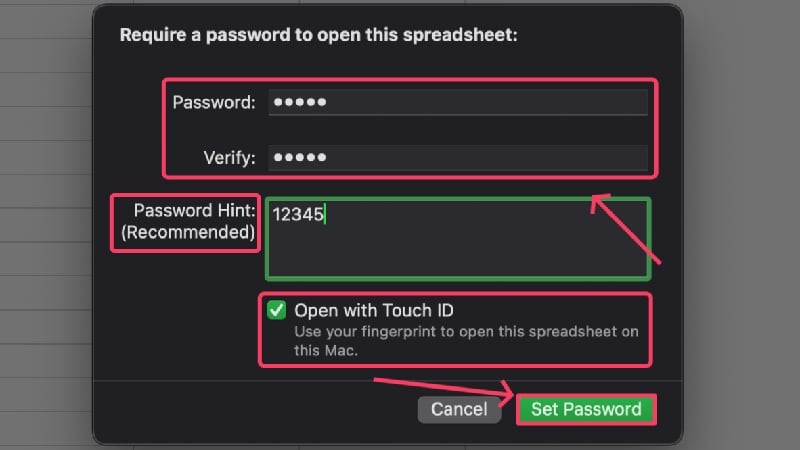
- Type a strong password and re-enter it beside Verify to confirm your choice. In addition, you can provide a Password Hint and enable Open via Touch ID for added convenience. Click on Set Password after you are done.
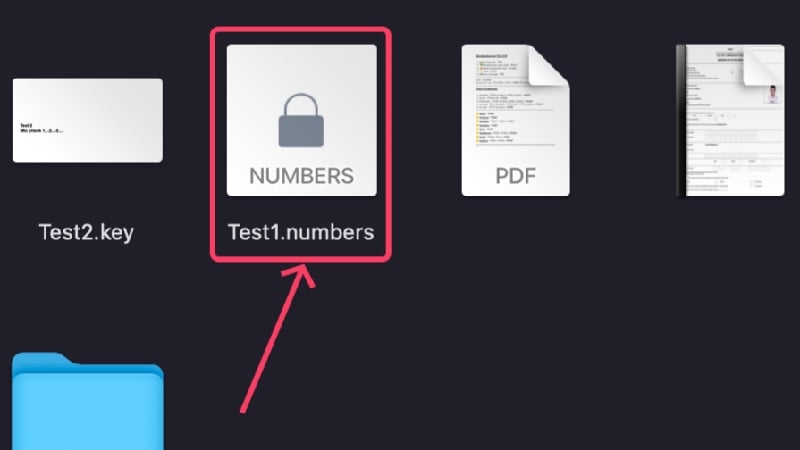
- Once set, press command + S to save the changes made to your document and exit the application. Your file will now be locked and present at the exact location as before.
Like Pages, Numbers, too, exports files with a proprietary extension – .numbers. However, you can export it to other file types that are far more compatible, like PDF or .xlsx (Microsoft Excel). Moreover, you can encrypt them too, and here’s how you can do that,
- Select File from your Mac’s status bar.
- Hover the cursor over Export to and click on your preferred file type. We are choosing Excel here.

- Click on the checkbox stating Require password to open.

- Enter a strong password and confirm it by typing it again in the next section beside Verify. You may also provide a password hint so you don’t forget your password later.

- Select Save.
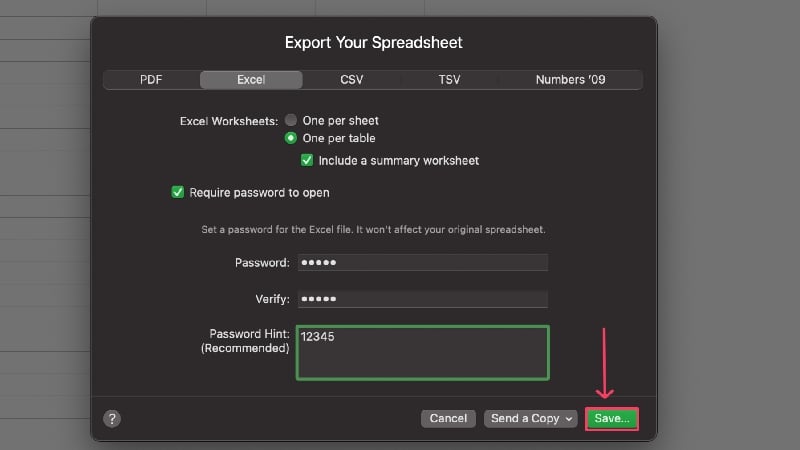
- Choose where to save your file, give it a new name, or stick with the default one and hit Export.

(d) Keynote
Keynote is the macOS alternative to Microsoft PowerPoint. It can create and access presentations, including .pptx (Microsoft PowerPoint).
- Install Keynote from the App Store.
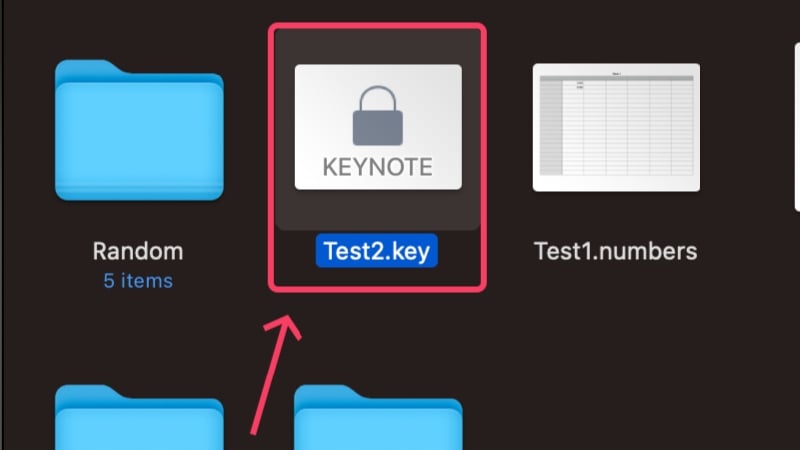
- Open Finder and locate the supported file type to be opened using Keynote. Some supported file types include .key and .pptx (Microsoft PowerPoint file).

- Right-click the required file and hover the cursor over Open With. Select Keynote.app from the dropdown menu.

- Once the Keynote app opens, select File from your Mac’s status bar.
- Click on Set Password.

- Type a strong password and re-enter it beside Verify to confirm your choice. In addition, you can provide a Password Hint and enable Open via Touch ID for added convenience. Click on Set Password after you are done.

- Once set, press command + S to save the changes made to your document and exit the application. Your file will now be locked and present at the exact location as before.
Keynote supports exporting to other file types and not just the default .key extension. You can also export files to .pptx – the file extension for Microsoft PowerPoint files. The following procedure can encrypt them,
- Select File from your Mac’s status bar.
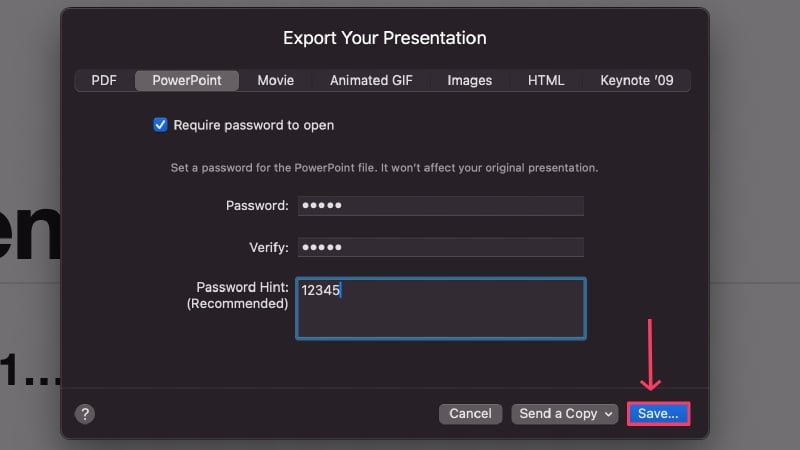
- Hover the cursor over Export To and select the preferred file type. We are choosing PowerPoint here.

- Select the option stating Require password to open.
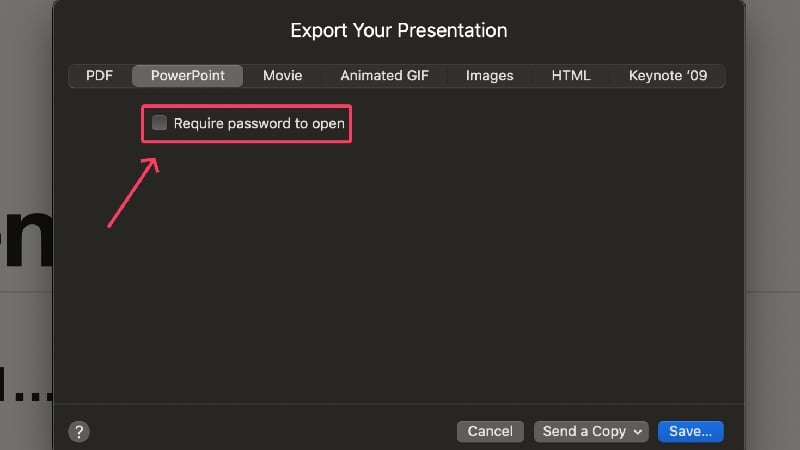
- Provide a strong password and re-enter it beside Verify to confirm your selection.

- Hit Save.
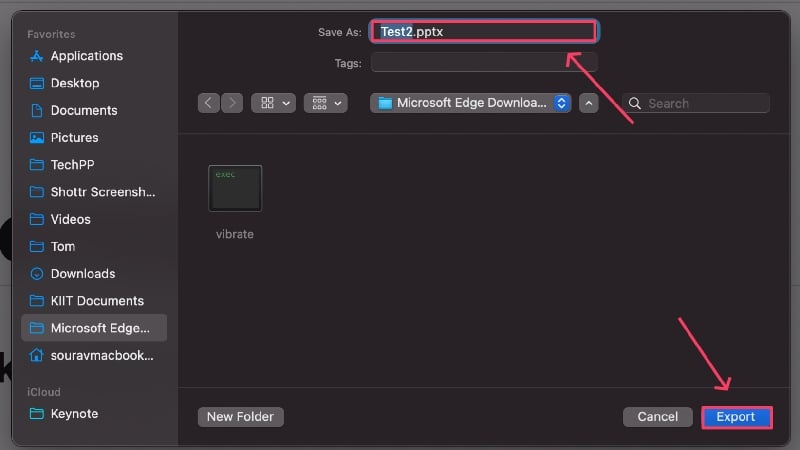
- Choose where to save your file, rename it if required, and select Export.
(e) Preview
Preview is the default file-viewing application on macOS, and it can be used to lock PDFs. Here’s how to lock a PDF file using Preview,
- Open Finder and select the PDF file you wish to lock.
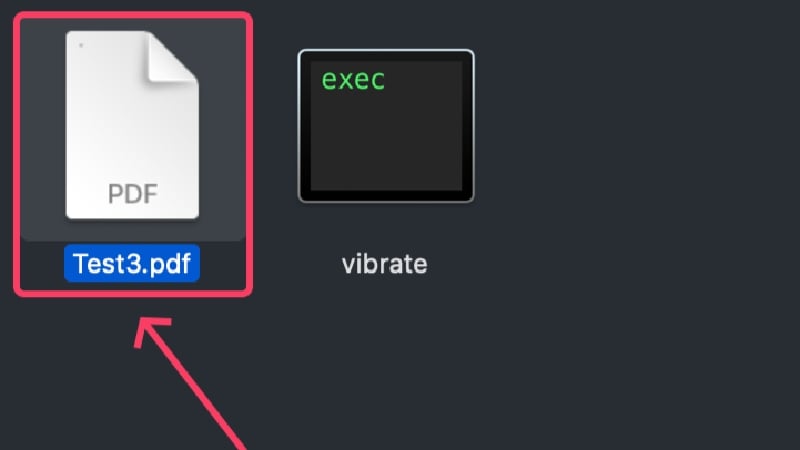
- By default, PDF files are set to open using Preview, so you can open the PDF as you would. If not, right-click the file, hover the cursor over Open With, and select Preview.app.

- Once the file opens, select File from your Mac’s status bar.
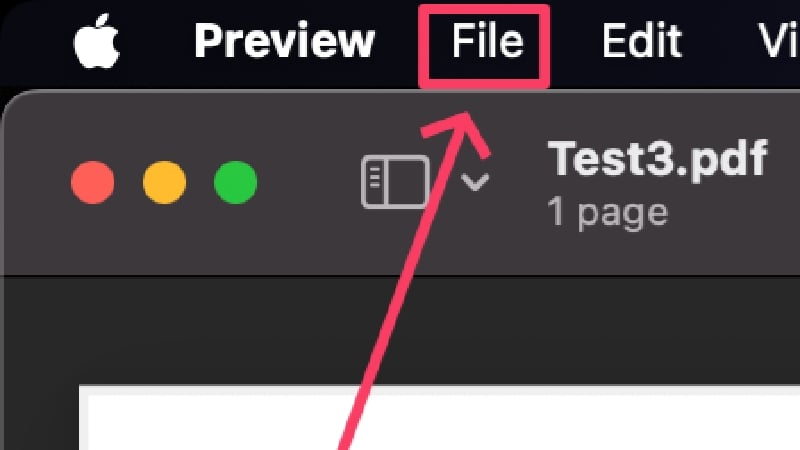
- Click on Enter Password. In case it’s greyed out, select Edit Permissions.

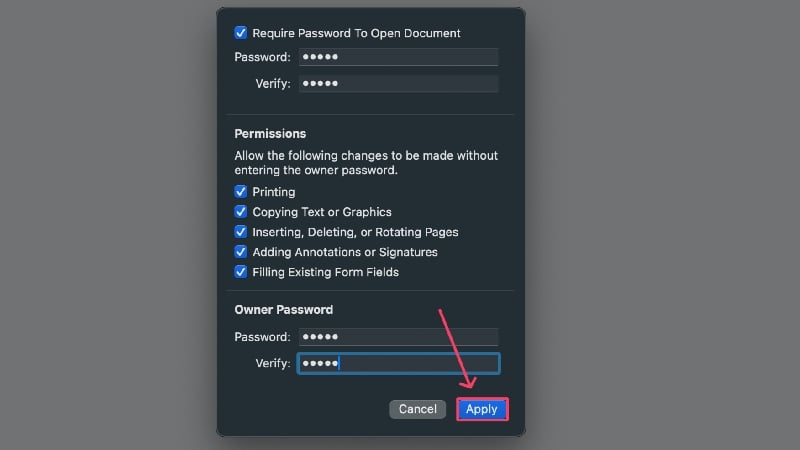
- Enable Require Password To Open Document and enter a strong password. Enter it again in the following section to confirm your selection.

- You must provide an Owner Password, too, which will be used to restrict crucial actions like editing, copying, and printing of the PDF file. Verify your owner password by entering it again.

- You can uncheck the boxes besides permissions to restrict the respective actions. Those actions won’t be executed unless the correct owner password is entered.

- Select Apply to confirm your changes.
(f) Photos
The Photos app on Mac can password-protect media files behind a hidden album. Since Photos syncs over iCloud, you can view hidden files on your iPhone or iPad. However, since your Mac’s media files can’t be auto-imported to the Photos app, you must import them manually. Follow the procedure below to set up hidden folders,
- Open the Photos app on your Mac.
- Select Photos from your Mac’s status bar.
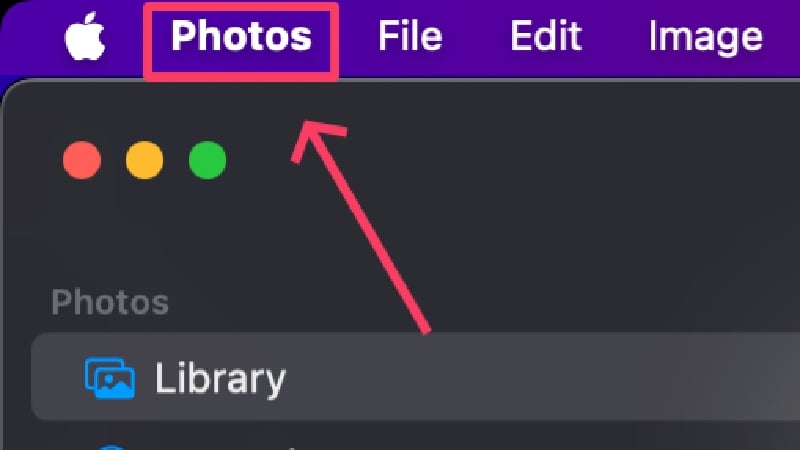
- Click on Settings.

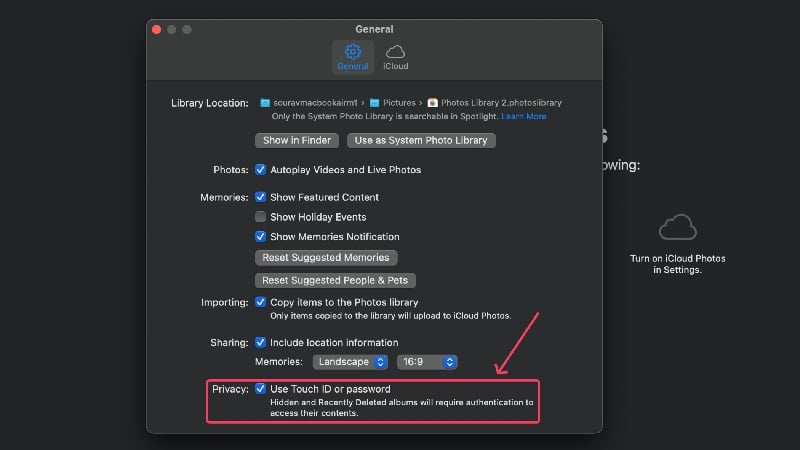
- Enable Use Touch ID or password. Exit the dialog box.
- Open the Finder app and drag and drop the required media files into the Photos app. Alternatively, you can copy and paste the files too.

- Once imported, select the files to be hidden by dragging your cursor over them.
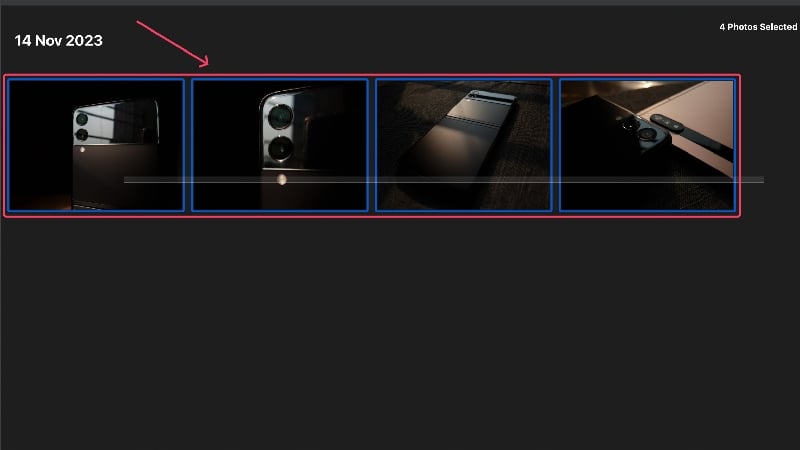
- Right-click on the selected files and select Hide Photos.

- Click on Hide.

- The photos will now be hidden and placed inside a separate folder named Hidden. The said folder won’t be shown by default.

- Select View from your Mac’s status bar to show the hidden folder.

- Click on Show Hidden Photo Album. The folder will now appear in the side panel, which can be accessed using your Mac’s password or Touch ID.

Using Third-Party Apps
Encrypto
Encrypto is a free encryption application from MacPaw. Since Encrypto also runs on Windows, files encrypted with Encrypto can be accessed on both platforms. Encrypto also allows you to share files using the same 256-bit AES encryption standard, so you don’t lose anything in that regard either. There are no subscription tiers or ads, although the app is beautifully designed and easy to use. It doesn’t get any better than this. To use the app after the initial setup:
- Install and open Encrypto using Spotlight Search (command + space) or Launchpad.
- Drag the folder or file to be encrypted into the application.

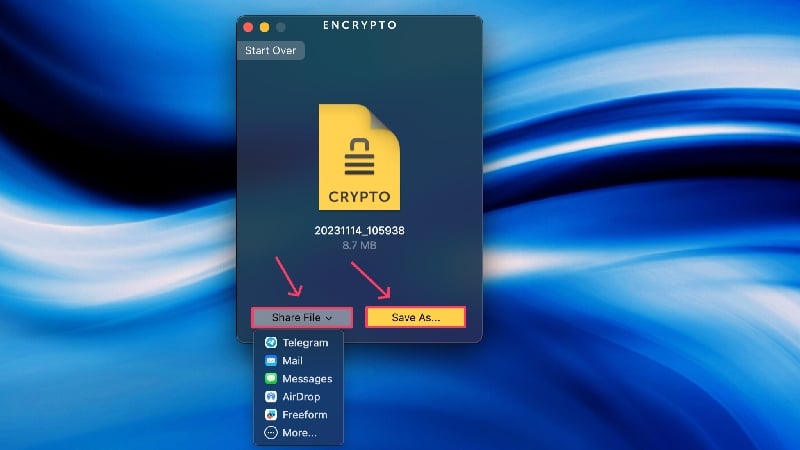
- Enter a strong password, and optionally a hint too. Select Encrypt afterward.

- Wait for the app to finish encrypting the folder, after which you can share or save the file as required.
Folder Lock
Folder Lock is a freemium application for encrypting files. It can encrypt existing folders, create encrypted folders from scratch and decrypt encrypted folders created by the app. The app is well thought out and works as intended. It’s free to use, but a Pro version removes all feature restrictions and removes ads. You can try the pro version before deciding whether to buy it or not. Here’s what you need to do after setting up the app for the first time:
- Install and open Folder Lock using Spotlight Search (command + space) or Launchpad.
- Select Encryption from the left panel to encrypt an already-present folder. To create a fresh new encrypted folder, click on New Folder instead.

- Click on the folder icon to select a folder from your device’s internal storage. Alternatively, you can drag and drop the required file.

- You’ll be given a Recovery Key to save. This will help you decrypt the encrypted folder if you forget the password. Select Save and save the key somewhere safe.

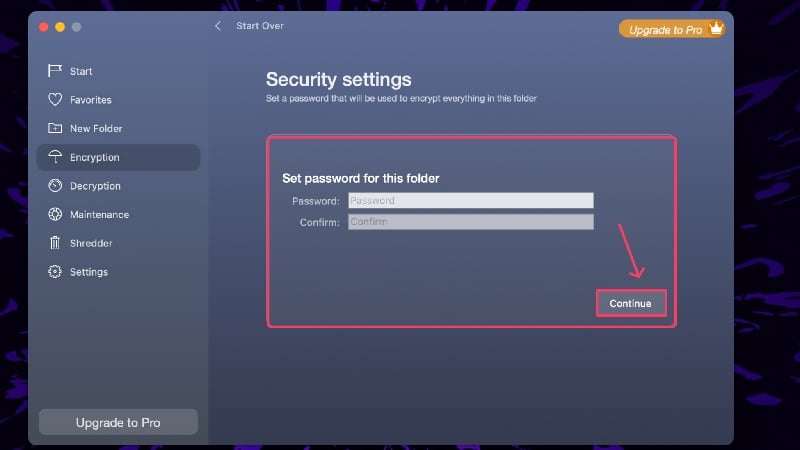
- Set a strong password and re-enter it to confirm your selection.
- Select Encrypt to and choose the location where you wish to save the encrypted file.

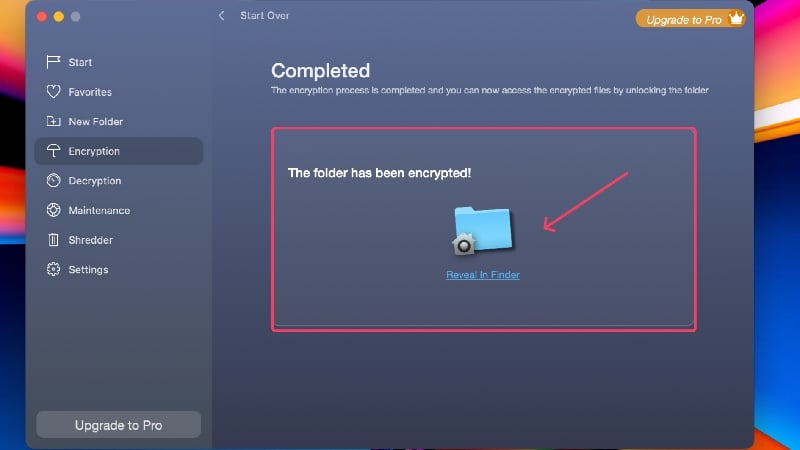
- Wait for the app to finish the encryption.
Password Protect Folders on Mac Effectively
This pretty much sums up the ways in which you can protect folders on the Mac. It’s best to stick to the built- in tools like Terminal and Disk Utility to lock folders on your Mac, as they’re pretty easy to set up and work like a charm. You can lock every common file type, be it images, PDFs, word files, etc., using Apple’s suite of first-party applications – Preview, Photos, Pages, Notes Numbers, and Keynote. You can’t go wrong with third-party offerings like Encrypto and Folder Lock – they are free and work admirably.
FAQs about Password Protecting Mac Folders and Apps
1. Does macOS have an in-built file-locker?
Unfortunately, macOS does not have built-in file/folder protection, but you can set it up with official software such as Disk Utility and Terminal. In addition, first-party apps such as Pages, Notes, Numbers and Keynote have their own password protection functions to encrypt the respective file types.
2. Is the hidden album of the Photos app locally accessible?
No, the hidden album can only be accessed via the Photos app on your iPhone, iPad or Mac. Images or videos imported into the hidden album will even remain accessible locally on your Mac, so you will need to delete the original files after hiding them with the Photos app.
3. What is the Preview app used for?
The Preview app is macOS’ default file viewing application. It can be used to view various file types, including PDFs, images, videos, and more. One of the features of the Preview app includes the ability to lock PDFs, which can be done easily by heading to File > Edit Permissions > Enable Require Password To Open Document.
4. Can third-party apps be used to lock folders natively?
Yes, third-party apps such as Encrypto and Folder Lock are specifically designed to encrypt folders on board. They work miraculously and lock the desired folders behind a password layer. Best of all, both of these applications are free, with only Finder Lock offering an additional Pro version for more extras.
5. Are locked folders deletable?
Dismally, locked folders can be deleted easily, even without requiring you to enter the password. So, it’s best to be careful and not accidentally delete the locked folder. Also, keep your Mac away from kids or strangers, as they may delete your locked folders containing sensitive files.
6. Which first-party apps can be used to lock files?
Apple’s first-party offerings, like Pages (alternative to Microsoft Word), Keynote (alternative to Microsoft PowerPoint), Numbers (alternative to Microsoft Excel), Notes (default note-taking app on macOS), Photos (photo library), and Preview (default file-viewing application), have the option to encrypt files locally using passwords and Touch ID.
