Update: March 19, 2024: You can no longer use plugins in ChatGPT. Users can continue existing conversations with plugins until April 9, 2024, but as of March 19, 2024, new conversations using plugins cannot be created. Instead, you can use custom GPTs in place of plugins. For more information, you can view our guide on how to create custom GPTs on ChatGPT.
ChatGPT is already a powerful tool and is used for writing content, essays, code, emails, and more. The recent announcement of adding plugin support to ChatGPT makes it even more powerful. The video shared by Fireship explaining ChatGPT plugins (available on YouTube) even cites “the birth of the next-generation app store.” The concept of plugins is not new. We have seen this concept in other popular software like WordPress, Adobe, and more.

If you want to extend ChatGPT’s capabilities with plugins, we’ll show you how to use plugins on ChatGPT in this guide. Before we move on to the steps, here’s a simple explanation of what plugins are and how plugins enhance ChatGPT’s capabilities.
Table of Contents
What Are Plugins in ChatGPT?
Plugins extend the functionality of certain applications for software. Basically, these plugins or add-ons allow an app’s software to extend its capabilities beyond its original design.
When it comes to plugins on ChatGPT, ChatGPT plugins browse the Internet and gain access to up-to-date information and interact with other websites and applications.
For example, if you tell ChatGPT to display the best recipes and order them online through Instacart, ChatGPT can use the plugins to search for the latest recipes and order them instantly from Instacart without any user intervention, or if you want ChatGPT to write a document and send it in a Gmail, it can do that for you. The possibilities are endless.
We’ve implemented initial support for plugins in ChatGPT. Plugins are tools designed specifically for language models with safety as a core principle, and help ChatGPT access up-to-date information, run computations, or use third-party services Statement by OpenAI in a blogpost
How to Use ChatGPT Plugins
Update 7 Nove 2023: ChatGPT now comes with updated interface. There is no drastic changes when it comes to using plugins but comes with updated interfcae to access the plugins.
Related Read: 15 Best ChatGPT Chrome Extensions to Enhance ChatGPT Capabilities
How to Join the ChatGPT Plugins Waitlist
- Open your favorite browser on your PC and go to the URL: https://openai.com/waitlist/plugins

- Now scroll down until you find the Join Waitlist section. Below this section, you will find a form.

- Now fill out the form with the required fields and select the reason why you want to use plugins in ChatGPT. Then click the Join Waitlist button to complete the registration for the waiting list.

Install Plugins on ChatGPT (New Method)
The ChatGPT is updated with new interface. OpenAI announced the changes in its first ever developer conference . The new interface is available to the all users starting today.
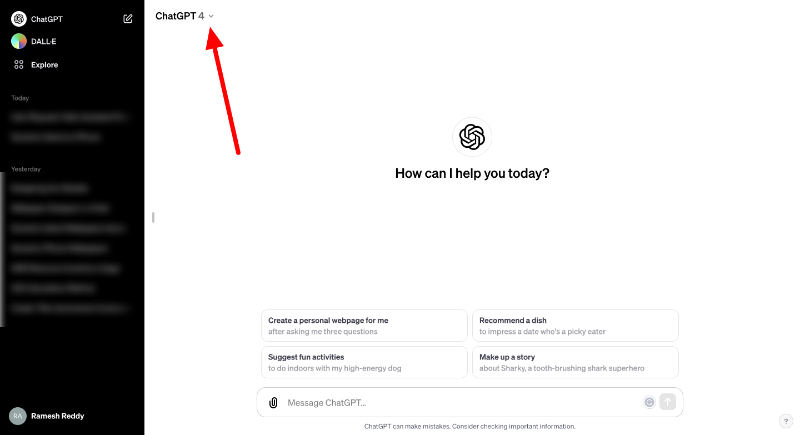
- Visit chat.openai.com. You will find the new interface. Click on the drop down menu loacted in the top left corner.
- Select Plugins from the drop down menu

- If no plugins are installed click on the Plugin store located in the bottom and search for the plgin you want to install and click on the install.

- After adding the plugin, Enable the plugin to use it

Related Read: How to Use ChatGPT 4 for Free
How to Uninstall Plugins in ChatGPT
Similarly you can also uninstall plgins you no longer needed. Here is how to uninstall Plugins in the ChatGPT
- Go to chat.openai.com and click on the drop down menu located in the top left corner of the screen and select Plugins
- Tap on the plugin and click on the Plugin Store
- Now go to the Installed tap and here you will see the list of installed plugin
- Click on the Uninstall button to uninstall the plugins

Install Plugins on ChatGPT (Old Method)
Once you have access to the ChatGPT plugin feature, you can easily add plugins from the plugin store. To add a ChatGPT plugin:
- Open your browser and enter chat.openai.com and visit ChatGPT. Click on the dropdown menu at the top to select the model. Now you will see a new plugin option. Now click on the plugin. If no plugins have been added, click on the Plugins dropdown menu on the right. A new plugin store will appear. Now click on the plugin store.

- Now, you will see the list of plugins you want. You can click on the Install button to install the plugins. You can install multiple plugins at once.

- After installation, you will see the plugin logos appear under ‘Plugins.’ This means that you have successfully added the plugins.

Related Read: How to Use Google Bard Extensions
Add Query
After you have successfully installed the plugins, do not go back to the query screen and enter the query. Depending on the plugins installed, ChatGPT will connect to the plugins and request the necessary information. You can specify the name of the installed plugin to get better results (for example: Calculate calories for a recipe with WolframAlpha). Remember that you need to install the plugin before entering a query about it.

Get Results

Based on your query ChatGPT will respond with a reply. This could be ordering groceries from Instacart or sending external emails via Gmail. At the time of writing, ChatGPT includes 11 plugins for external sites, including Expedia, OpenTable, Kayak, Klarna Shopping, and Zapier, as well as two of OpenAI’s own plugins, one for browsing and the other for interpreting code.
Related Read: 10 Easy Ways to Fix Chat GPT Not Working
Make the Most Out of ChatGPT With Plugins
The announcement of the addition of plugins to ChatGPT has caused excitement among users, as everyone was excited about the possibilities. Soon you will be able to do most tasks without leaving the chat window. I hope you find our guide helpful. If you have any questions, feel free to ask them below in the comments. We’ll be happy to guide you.
FAQ on ChatGPT Plugins

How to view a list of added plugins to ChatGPT
To see the list of added plugins to your ChatGPT, open ChatGPT and select the model above. Select the plugins from the dropdown menu. Now click on the plugins on the right side. Now you will see a list of all the plugins that have been added to your ChatGPT account. You can also see the plugins on the prompt page. You can click on the enabled plugins at the top to see the list of added or enabled plugins.
How do I keep my ChatGPT secure when using Plugins?
By default, ChatGPT plugins are divided into verified and unverified categories. Make sure that you install only plugins from the verified category to make your ChatGPT more secure.
How do ChatGPT plugins work?
A ChatGPT plugin allows users to retrieve information as defined by the plugin developers. In response to a user's prompt, ChatGPT uses either the data it has been trained on by OpenAI or one of the installed plugins, depending on relevance. When a user has plugins activated, ChatGPT decides whether to answer a query competently based on the query. A plugin is accessed if it "thinks" the plugin will help answer the user's question.
