Scanning documents on Android phones typically requires specific apps. However, if you use the Files by Google app on your device, you can now scan documents right within the app. In addition, you can also edit and fine-tune the scanned documents if required.

Follow along as we walk you demonstrate how to scan documents on Android using Google’s Files built-in document scanner.
How to Scan Documents on Android Using Google’s Files App
Google lets you scan documents using the Files app in two ways. You can either scan a photo (you took of the document you want to digitize previously) to create a scanned document or freshly scan a new document.
Here’s how to go about both methods.
Scan and Digitize a Document From Its Photo in Google’s Files App
If you’ve already snapped pictures of a document, the Files app’s built-in document scanner can make your life easier. Simply follow these steps to scan and digitize a document from its photos:
- Open the Files by Google app on your Android device.
- Tap the Scan button in the bottom-right corner of the screen. When prompted for gallery permission, grant the app access to your photos.

- Tap the picture icon to the left of the shutter button.

- Select the photo you want to scan and digitize and hit the Add button. You can select multiple images if needed.

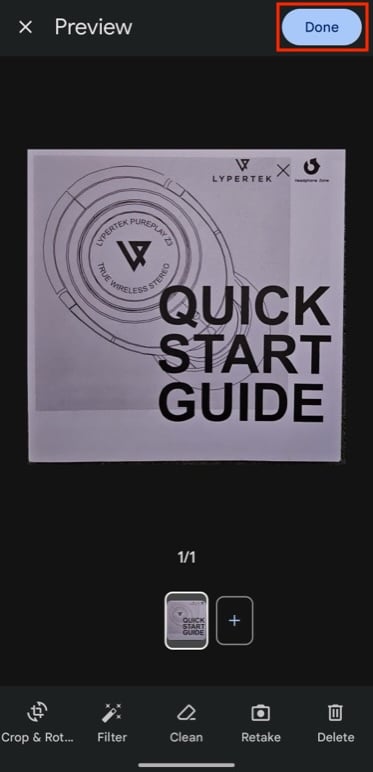
- Files will automatically scan the photo to create a scanned document and preview it on the Preview screen. Tap the plus (+) button next to the document thumbnail to add more photos. You can also edit the document, as we’ve demonstrated later in the guide.
- Hit Done to save the document.
 The Files app saves all scanned documents as PDFs to a new folder called Scanned. You can locate this folder under Internal Storage > Files by Google. Tap on it to view your scanned documents.
Scan and Digitize a Document in Files by Google App
If you want to scan and digitize a document from a physical copy of the document or another screen, the Files app offers two scanning modes to do so: automatic and manual. Here’s what scanning a document with either looks like:
- Open the Files app.
- Tap the Scan button. If asked for camera permission, grant Files access to your device’s camera.
- If you want to capture the documents automatically, choose Auto Capture. Then, point your phone’s camera to the document you want to scan, and Files will automatically scan it. Hit Done to save the scan.

- Alternatively, if the Auto Capture scan doesn’t come out how you want it, choose the Manual mode, and then point the camera to the document and hit the Capture button to perform a scan. Tap OK to save.

Head to the Scanned folder in the Files app to find the scanned documents.
Edit Scanned Documents in Google’s Files App
The Files app lets you edit the scanned document right after scanning it. This is useful when you want to fine-tune the documents before sharing them with someone or storing them offline.
As of the time of writing, Google offers four editing tools: Crop, Rotate, Filter, and Clean.
1. Crop: By default, it’s set to use the Automatic Crop option by default and automatically crops the documents appropriately. However, if you feel it’s cutting out some important information from the document, you can tap Crop & Rotate on the Preview screen (after scanning the document) and manually crop it as you like.

2. Rotate: As the name implies, this tool lets you rotate documents. It can come in handy when the scanner scans the documents in incorrect orientation. You can find the Rotate option under the Crop & Rotate tool.
3. Filter: If you want to enhance the appearance of your scanned documents, perhaps because the text isn’t legible, the Filter tool contains a few handy options that may help you. Auto, for instance, is one such option, which automatically boosts brightness and contrast to improve the document’s visibility. Similarly, there’s Color, which boosts colors, and Grayscale, which turns the colored document into grayscale.

4. Clean: Clean one of the most useful editing options in Files that you can use to erase stains, fingers, etc., from your scanned documents. You get five different brush sizes to choose from based on your requirements.

You Don’t Necessarily Need a Dedicated Document Scanner on Android Anymore
By adding a built-in document scanner in the Files app, Google has eliminated the need for a dedicated document scanner app for people who already use Files for managing files on their Android devices. What’s even better is that Files by Google comes pre-installed on many Android phones, so you can start using it if you don’t already—thanks to recent changes, Files has become a lot more usable than before.
Sure, there are still some advantages to using a dedicated document scanner, but if you don’t need to scan documents frequently, Files’ built-in scanner should suffice your needs. It’s fairly quick and accurate at scanning documents, and the inclusion of a few handy edit tools means you don’t have to jump between Files and some photo-editing app for basic fine-tuning of your scanned documents.
