In Summary
- Notion is a popular name in the note-taking and productivity space.
- It’s an all-in-one workspace that you can use not just to take notes but also to create documentation, manage tasks, plan holidays, journal, manage expenses, and host a webpage, among other things.
- But to use Notion to do any of that, it’s crucial to first understand its various features and tools.
Notion is a popular name in the note-taking and productivity space. Not only because it’s free to use but also because it’s versatile, which makes it suitable for a wide range of applications other than note-taking.

While using Notion is easy enough, making the most of it requires a basic understanding of its various features and tools. To that end, here’s a quick guide on Notion, exploring all its key features and tools and giving you an overview of how to use the platform to organize your life.
Table of Contents
What is Notion?
Notion is more than just a note-taking app. It’s an all-in-one workspace that gives you access to various tools and functionalities under one roof. Not only does this reduce reliance on multiple apps and tools, but because you can perform many of your tasks in the same environment, this significantly improves the workflow and makes you more productive.
Depending on what you do, you can use Notion for various purposes. For example, students can use Notion to set up a directory of notes, manage homework, track the progress of projects, and so on. Content creators can use the platform to track their content ideas, progress, and schedules. Those running small businesses can use Notion for things like task management, documentation, collaboration, onboarding, and more to streamline their operations. What’s more, you can even create a public website using Notion.
Besides those specific use cases, you can also use Notion to organize your personal life. Setting up a knowledge base, managing expenses, keeping track of goals, building and tracking habits, and journaling are some useful applications of Notion in your everyday life. Similarly, you can also save webpages you find interesting online to your Notion workspace for later using the Notion Web Clipper.
Notion is available on the web and has apps for all major platforms: Android, iOS, macOS, and Windows. It supports cross-platform sync, so you can access and modify the content in your workspace on any device. However, the platform lacks a proper offline mode. As a result, you can access content in your Notion workspace when you’re offline only if it was preloaded. Similarly, you can’t create new pages, sync changes, or embed external content without an internet connection.
Understanding Notion Basics
To use Notion proficiently, you must familiarize yourself with the basics first. This includes understanding the interface and getting acquainted with the features and tools onboard. Let’s begin.
Workspace

Anything you do in your Notion account takes place in a workspace. A workspace is essentially a home where all your content and tools live. You can either work in your workspace alone or invite others to collaborate on a project.
Notion lets you create multiple workspaces with a single account. This can be useful if you use Notion to manage both personal and work lives and want to keep them separate. All Notion workspaces have their own names, icons, and settings, and you can easily switch between your workspaces with a single click or tap on the screen.
The Notion workspace is split into two sections: sidebar and editor. The sidebar serves as a navigation bar, giving you access to all your pages and settings for the particular workspace. It’s customizable, so you can rearrange it to suit your requirements. On the other hand, the editor is where you create all the content. It’s blank, by default, with a bunch of control menus available at the top to help you configure the page’s preferences.
Pages and Blocks
A Notion workspace is made up of pages. You can think of a page as a canvas where you can write text, insert images, create tables, set up databases, and do much more based on your needs. Notion pages can be nested within each other, meaning you can create multiple pages inside a page. This can be useful for setting up a database or organizing content hierarchically.
What pages are to a Notion workspace, blocks are to a page. In simple terms, a block is the most fundamental element on a page. It’s available in different types, ranging from simple ones like text, to-do lists, and quotes to advanced ones like tables, gallery, calendars, media, equations, and several others. You can access and add these blocks to your page using the slash (/) command or the plus (+) button.
Databases

Notion databases are advanced versions of pages that you can use to structure your data. Any item you create in your database is its own page. You can choose from different layouts for your database, such as table, list, board, timeline, calendar, and more, and seamlessly switch between them as needed.
Depending on what layout you choose for your database, you can then customize its properties as per your requirements. Likewise, you can set up filters to filter out and view specific types of information or use sort options to sort the data in your preferred order.
Notion supports sharing and collaboration, so you can invite other Notion users or your team members to your workspace to collaborate with them on projects. Likewise, you can accept invites from other Notion users to collaborate on projects in their workspace.
How one can collaborate in Notion is decided by the permissions given to them. If you’re the workspace admin, you can set the permissions for the page before sharing the collaboration invite. In almost all cases, Notion uses four access levels to determine what one can do as an invitee in someone’s workspace:
- Can read – Allows one to view the contents of the page.
- Can comment – Gives the collaborator the ability to view and leave a comment on a page’s content.
- Can edit – Alongside reading and commenting, it also enables the person to edit the contents of a page.
- Full access – Gives the user complete access to a page, so they can view, comment, edit, and even share the page with anyone they want.
Besides sharing a Notion page with someone to view or collaborate, you can also make it public to let anyone on the internet view it. This is possible thanks to the publish-to-web feature. With this, you can set up access permissions for the page, choose how long the shared link works, and enable search indexing to allow the page to appear in search engine results with the right search query.
Notion AI

Notion AI is a suite of AI features meant to help you with various tasks on Notion and boost your productivity. Some of these tasks include writing, wherein the AI can assist with simplifying language, fixing mistakes, and changing voice tone; summarization to help understand lengthy texts; translation for translating text right inside Notion; and brainstorming, wherein you can ask AI to generate ideas or outlines for content.
Unlike other features, though, Notion AI isn’t completely free. Irrespective of which Notion plan you’re on, it lets you generate a limited number of responses. Once you’ve exhausted them, you’ll need to pay for it as an add-on, which costs $10 per month per user in a workspace. As of the time of writing, Notion AI isn’t available to collaborators.
Data Management and App Integrations

Notion doesn’t just help you create and manage content better, but it also has tools to ease your migrations to and from the platform. So, if you’re switching to Notion from another app, you can use the built-in import tool to quickly and easily bring all your content under one roof in Notion. Sure, when you migrate data into Notion, there could be issues with their formatting or structuring. But that’s something you can fix later.
Just like the import tool, Notion also has a built-in export tool. So, if you decide to switch away from Notion in the future, you can use it to move out your data just as easily.
Besides easing importing and exporting, Notion also allows integration with third-party offers. You can use this when you want to, say, display content or data from different apps on a page in your Notion workspace, streamline your workflow, or improve collaboration.
For example, if your team uses Asana at work to keep tabs on tasks, you can integrate it into your Notion workspace. Doing so will help you stay up-to-date with all your tasks (and their deadlines) right inside your Notion workspace, eliminating the need to access Asana repeatedly.
As of the time of writing, Notion supports integration with many popular productivity apps. However, if an app you use isn’t one of them, you can use Notion API to create a custom integration for accessing and interacting with its data in your workspace.
Embeds

Embeds in Notion allow you to display content from different websites on the internet. Notion uses the Iframely service to do this and lets you embed images, videos, audio, code repositories, and much more. Some of the popular websites from where you can embed content in your page include Google Maps, Spotify, YouTube, LinkedIn, Excalidraw, and Reddit.
How to Use Notion
With the basics out of the way, getting started with Notion is easy. Download the Notion app on your device and sign up for a Notion account if you haven’t already. Create your workspace and head into the Settings & Members page to set up its preferences.

With your workspace set up, you can import your content from your current app or start fresh. For the former, open your Notion workspace on a computer, click on Settings & Members in the sidebar, and select Import. Choose the app you want to import data from, link your account, and follow the on-screen instructions. Alternatively, if the app isn’t available, export your data into a file and then upload it onto Notion. Once done, you can review, edit, delete, or move the content in your workspace.

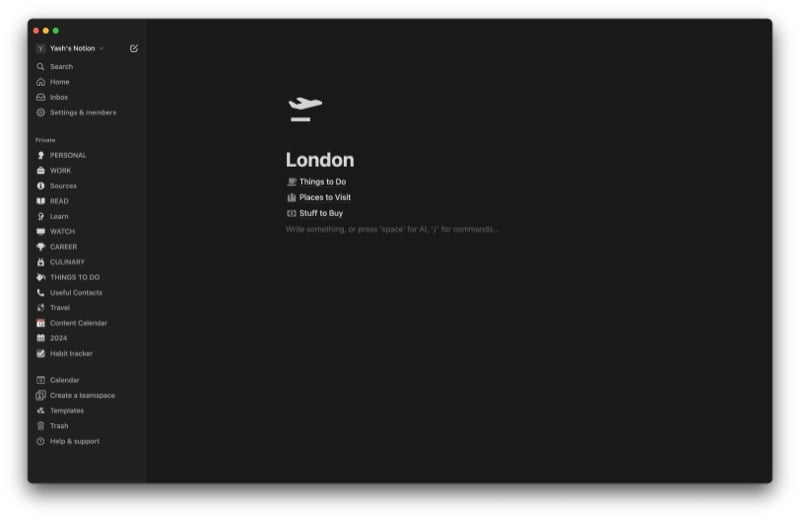
Alternatively, if you want to start fresh, you again have two options: use a template or start with a blank canvas and set it up yourself. A template is a pre-formatted page that you can add to your workspace and start feeding content or data to. You can find Notion templates for various categories, like personal, work, projects, school, and more.
To use a template in Notion, select Templates in the sidebar on the Notion desktop app, choose a category to find the template you need, and click the Get Template button. This will import the template into your workspace, and you can start populating it with your content or data. If needed, you can even customize the template to make it suitable for your requirements.

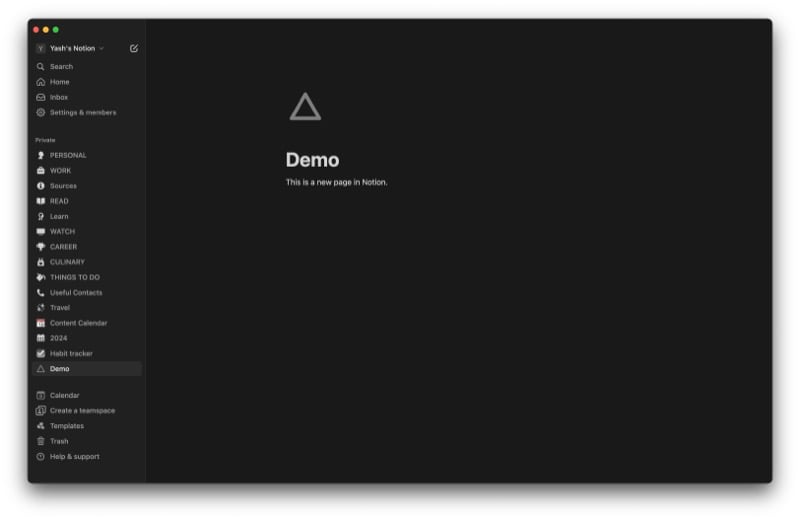
Templates great place to start when you’re new to the platform. But if you want to keep things simple or prefer a custom layout or page structure, you can create a page from scratch. Click the pen icon next to your workspace name in the sidebar to create an empty page in Notion. Give this page a name. You may also add an appropriate icon and a background image for the page.
After this, click a blank area and tap the plus (+) button to the left. This will show you a list of all the content blocks you can add to the page. Select a block to add it. Alternatively, you can add blocks using the slash (/) command. To do this, type / to access all the block options and select one to put it on the page. Or follow up / with block names, like /todo for a to-do list, /table for a table, and so on. You can even create a nested page this way by typing /page. On Notion’s mobile app, you can add blocks to a page by tapping the plus (+) button and selecting the desired block.
At any point, if you want to restructure a page, you can move the content blocks up or down. Simply click the handle to the left of the block and drag and drop it to where you want to place it on the page. Similarly, you can move the page to another page in your workspace, too. Just click and drag the page from the left sidebar onto the page where you want to put it. You can also take a nested page out of a page and put it in your sidebar for quick access.

Lastly, if you want to take the help of AI with certain tasks, hit the Space key and select an appropriate option based on your requirements. Notion AI will now generate a response to your request. You can stick to the response or ask the AI to make changes until you get your desired output.
Notion Plans and Pricing

Notion has three main plans:
- Free – Gives you all the features but with some limitations.
- Plus – $8 per user/month; includes everything in the Free plan with no limitations.
- Business – $15 per user/month; has everything in the Plus plan along with additional features like private team spaces, bulk PDF export, and advanced page analytics.
Besides, Notion also has a subscription for Notion AI. So, if you want full access to Notion AI in your workspace, you need to pay a $10/month fee on top of your existing subscription cost.
Notion Guide: Keep Your Life Organized With Notion
Notion isn’t the kind of app you’d want to use just to take notes, as that would be an underutilization of its capabilities. Instead, you want to maximize its versatility and use the platform for advanced purposes, such as creating wikis, tracking goals, managing projects, organizing ideas and resources, and journaling, among other things, to keep your work and personal lives organized.
This guide should act as a starting point to help you get started with Notion. As you continue to use the platform, you’ll get better at navigating its interface and performing various operations and be able to discover ways to use it to improve your productivity over time.
So jump right in and get started today!
