

Quick Answer
Mastering the macOS Terminal enhances productivity by streamlining tasks like hardware audits (system_profiler), quick network diagnostics (ping, curl), fast file management (mkdir, cp), and system tweaks like keeping a Mac awake (caffeinate). Categorized from basic navigation to deep troubleshooting, these commands save time for casual and pro users alike.
There are two kinds of PC users. One is like me, who navigates using a graphical user interface and heavily depends on mouse clicks. And then there are other users, like most of my friends, who use terminal commands to complete tasks.

I belong to the first category, but I am trying to remember as many terminal commands as possible because it reduces the number of steps and helps me to finish the task faster. Whether I am creating a new folder, renaming a file, converting existing files into another format, hiding or unhiding files, testing my internet connection, and much more.
If you are a developer or Mac Pro user who prefers the terminal, then this guide is the only resource you need. In this guide, you will learn about the best macOS commands useful for your everyday activities. I have tested and categorized these commands into different sections, making it easy for you to discover and remember them. We also update this resource very regularly, so the top and best commands are waiting for you to discover.
Table of Contents
Popular Mac Terminal Commands
system_profiler SPHardwareDataType:
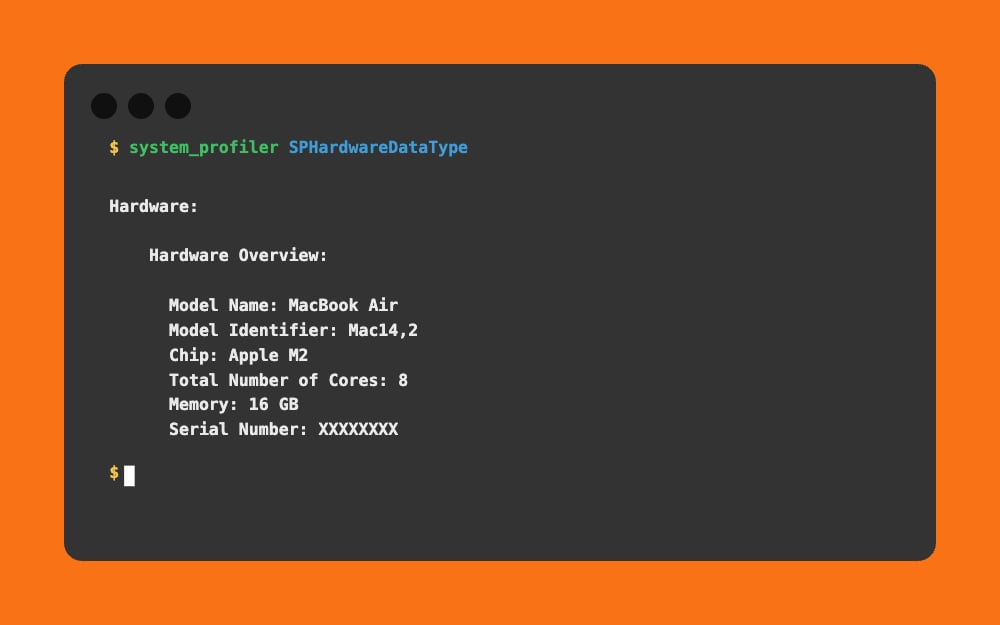
You can view the complete hardware details of your current Mac using this command. It shows details such as your Mac model, the processor it is using, memory, serial number, and other hardware details.
system_profiler SPPowerDataType:
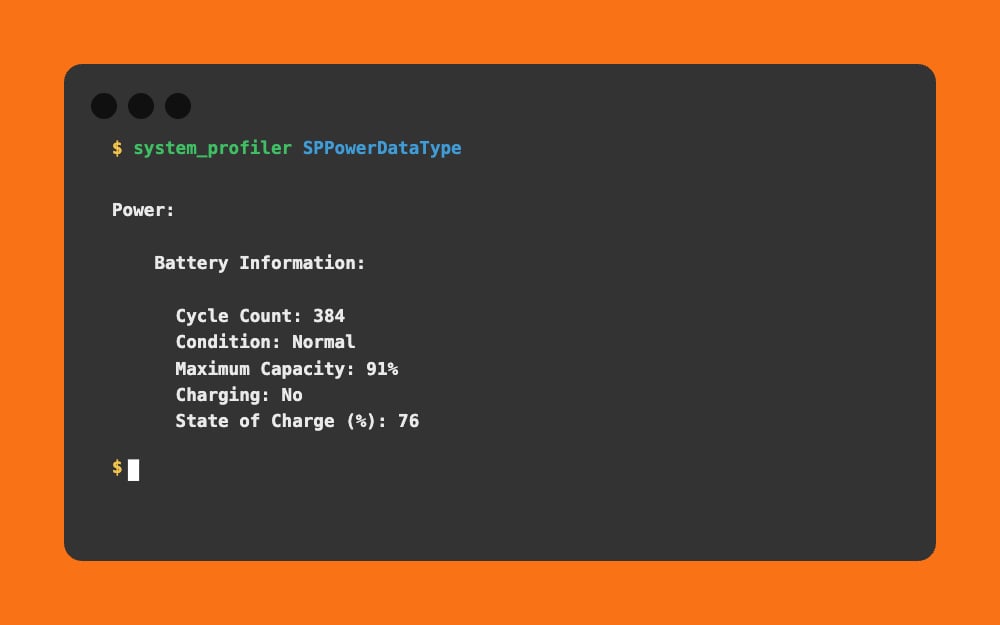
This command shows complete battery information on your Mac, including Serial number, Firmware version, charging information and status, Battery health information (including cycle count, condition, and maximum capacity), Details about AC power and battery power, Hardware configuration, and AC charger information.
mkdir NewFolder:
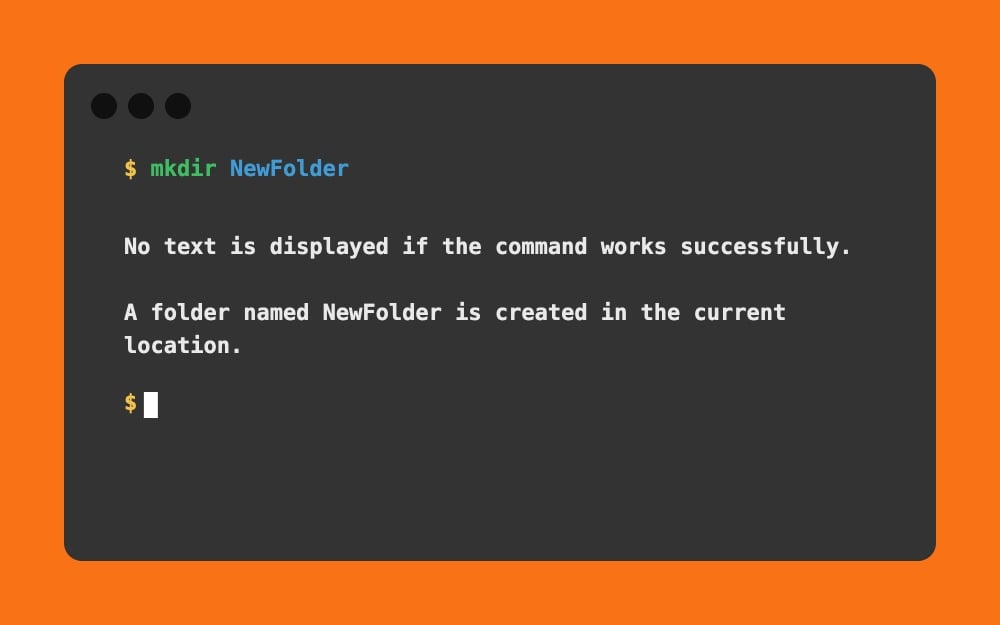
It creates a new folder. Using this, you can quickly create a new folder from the terminal itself. You can change the text “New Folder” to any name you wish.
cp file.txt backup.txt: [Replace file.txt with any file name including format]
Quickly creates backup files for a specific file of any size.
find . -name “*.pdf”: [in place of pdf you can use any file format]
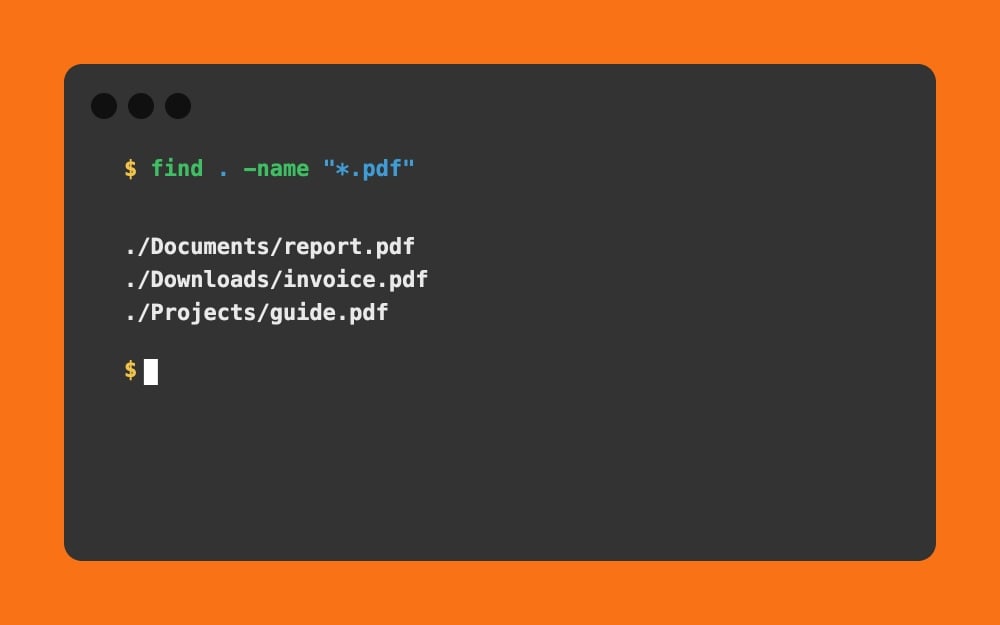
Find files with a specific file format on your Mac. You can use it to search all files on your Mac or files in the current folder or subfolders.
find . -type f -size +100M: [instead of 100 you can use any number]
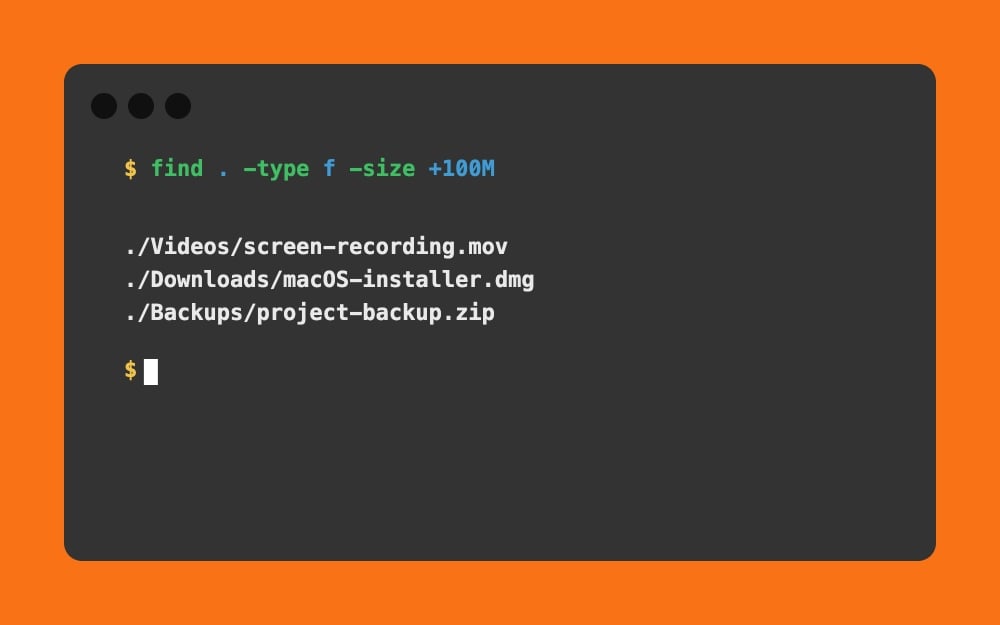
Find files that are larger than a specific size.
du -sh *:

If you want to check the file size of all files and folders in your current folder, use this command.
ping -c 5 Website.com:
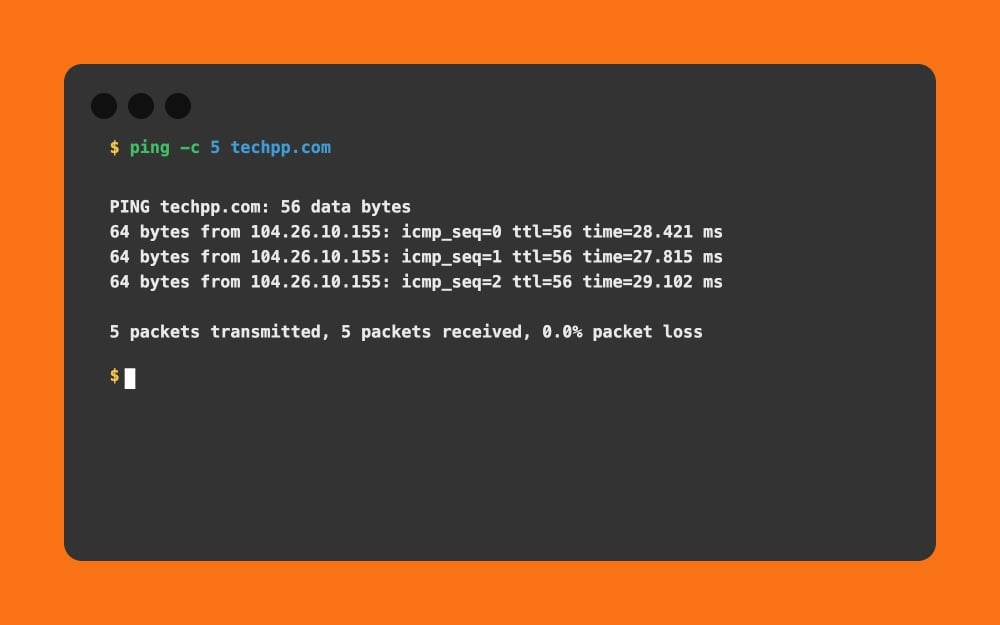
You can use this command to check whether your Mac can connect to the internet or not. You can use any website URL and check. It sends five test requests and shows the connection speed and packet loss. If all these are successful, you will receive a message that says something like this: 5 packets transmitted, 5 received, 0.0% packet loss, which means your internet is stable.
curl -I https://example.com:
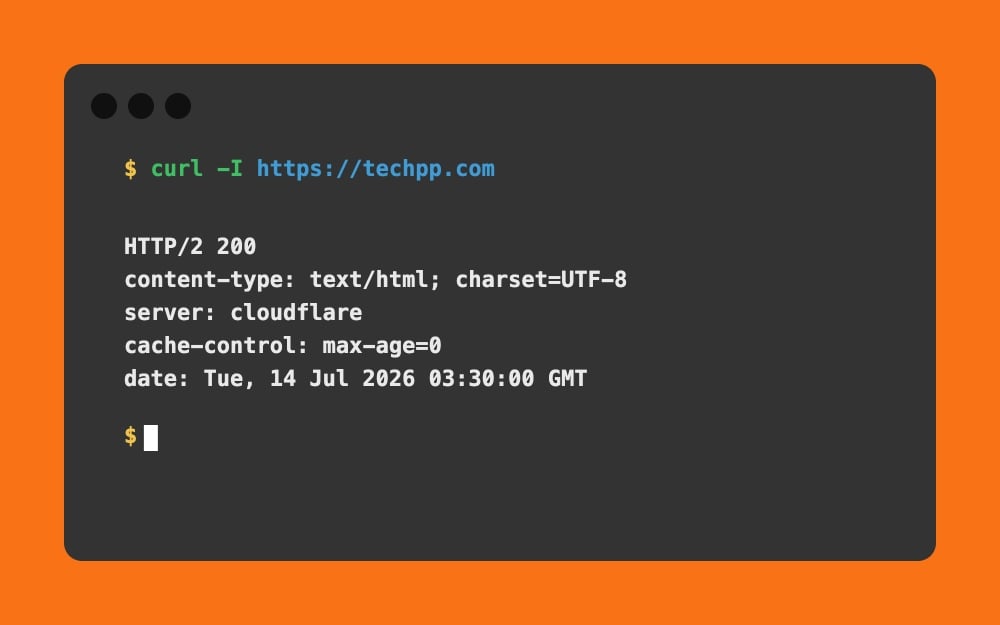
Check if the website is down or not. When you use this command, it replies to you with HTTP status codes. If you see 200, which means the website is working, and if you see any other errors like 500, 5002, or 5003, it means the server is not working. This way, you don’t need to depend on external tools to know whether the site is down; use the command
ps aux:
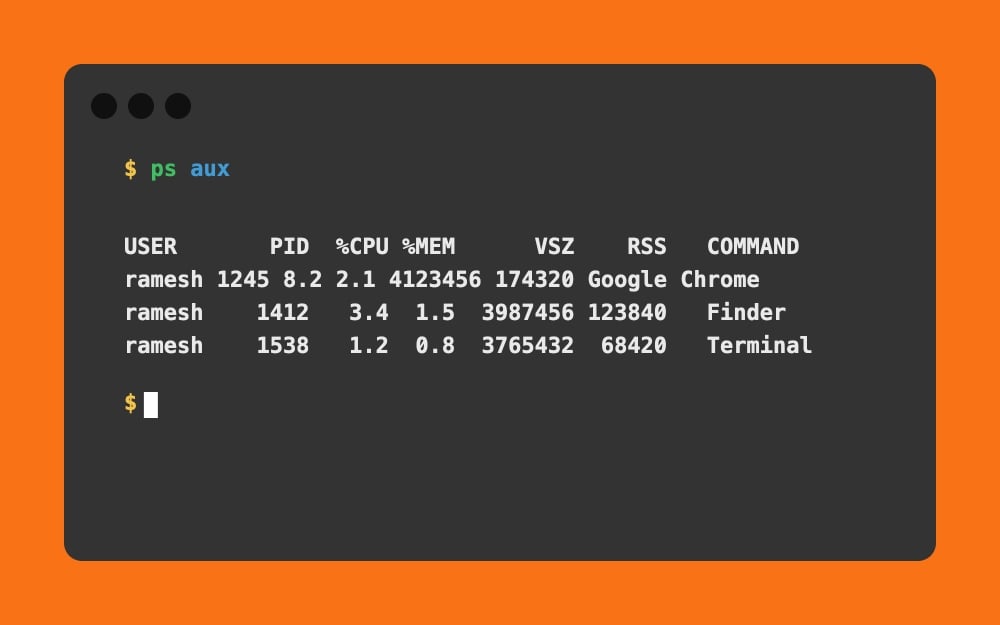
This command shows all the apps and processes running in the background on your Mac, similar to Activity Monitor. It also displays CPU usage and memory usage of the app. You can use this command: top to see the running processes in real-time.
zip -r Name of zip file.zip Photos:
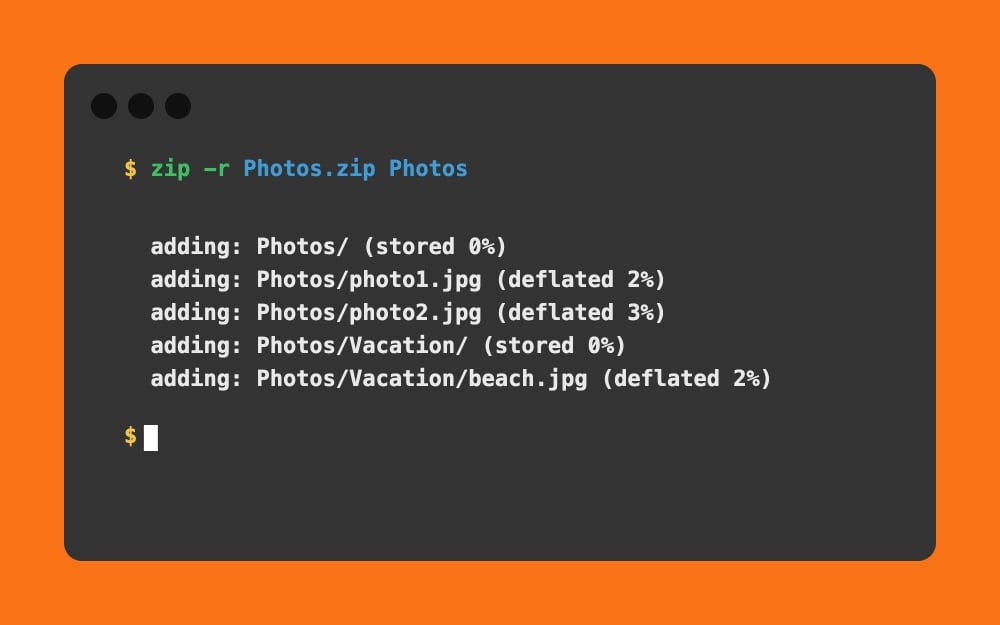
You can compress the entire folder into a zip using this command.
screencapture -c:
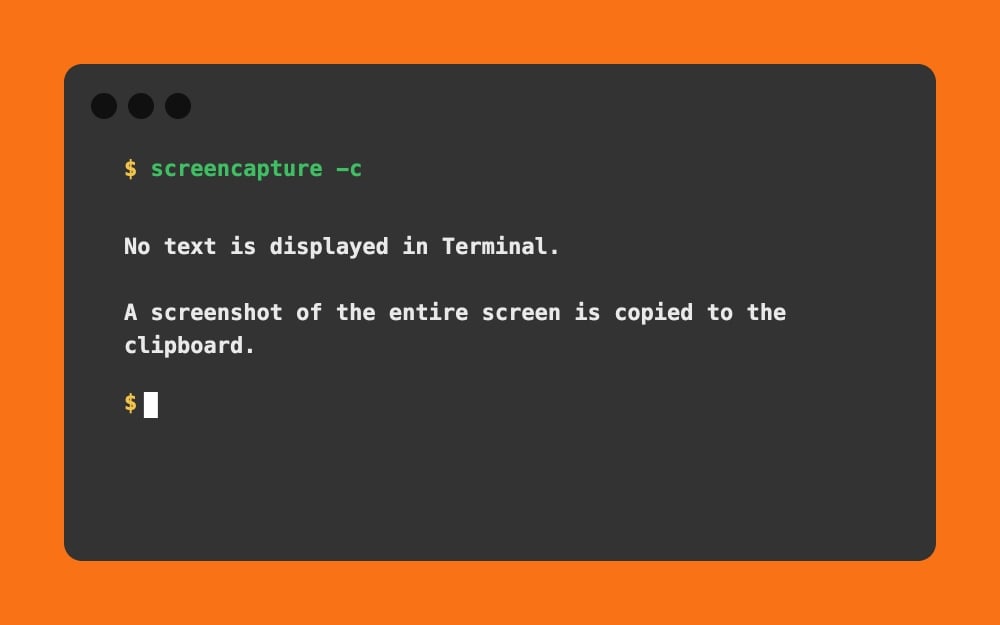
Take a screenshot and copy it to your clipboard, which you can paste into any app.
caffeinate:
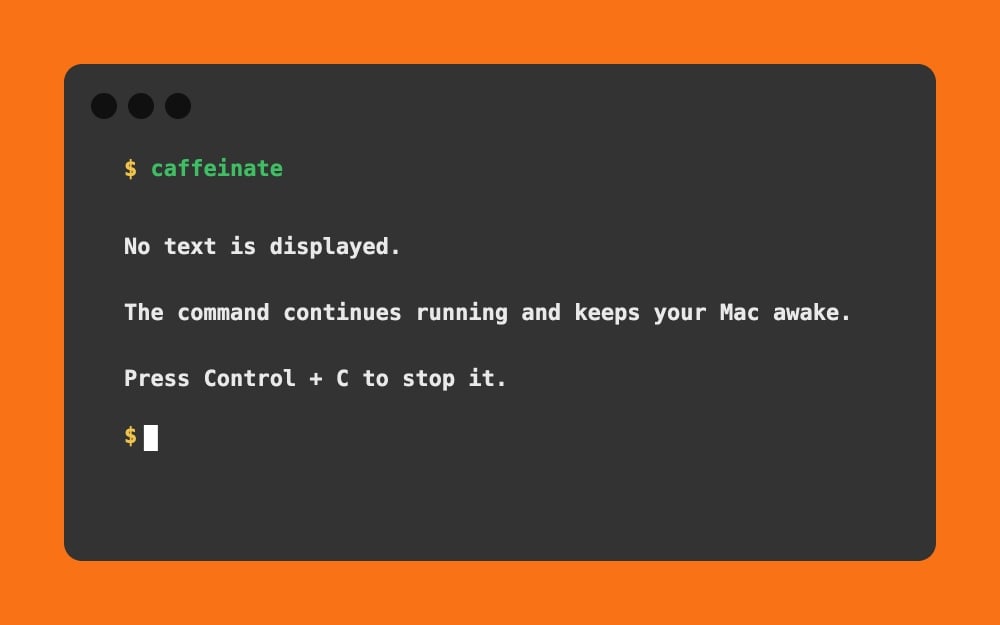
If you want to keep your Mac awake until you manually turn it off, use this command. To turn it off, you can press Control + C.
Mac System Info
sw_vers:

It shows the current macOS installed on your device. It shows the macOS name, version, and build number.
sw_vers -productVersion:
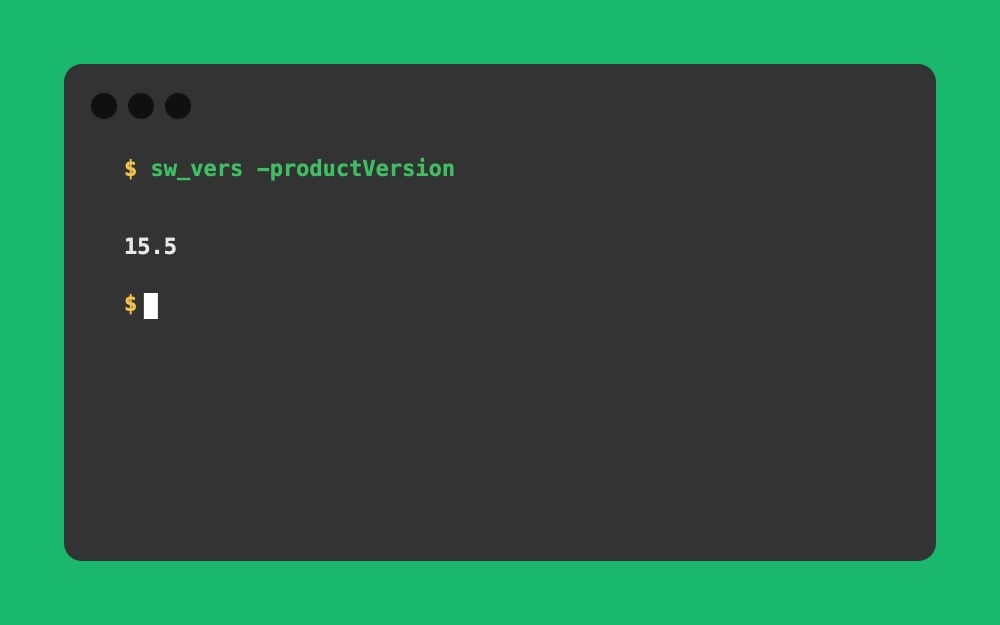
It only shows the macOS version number if you quickly want to see it.
sw_vers -buildVersion:
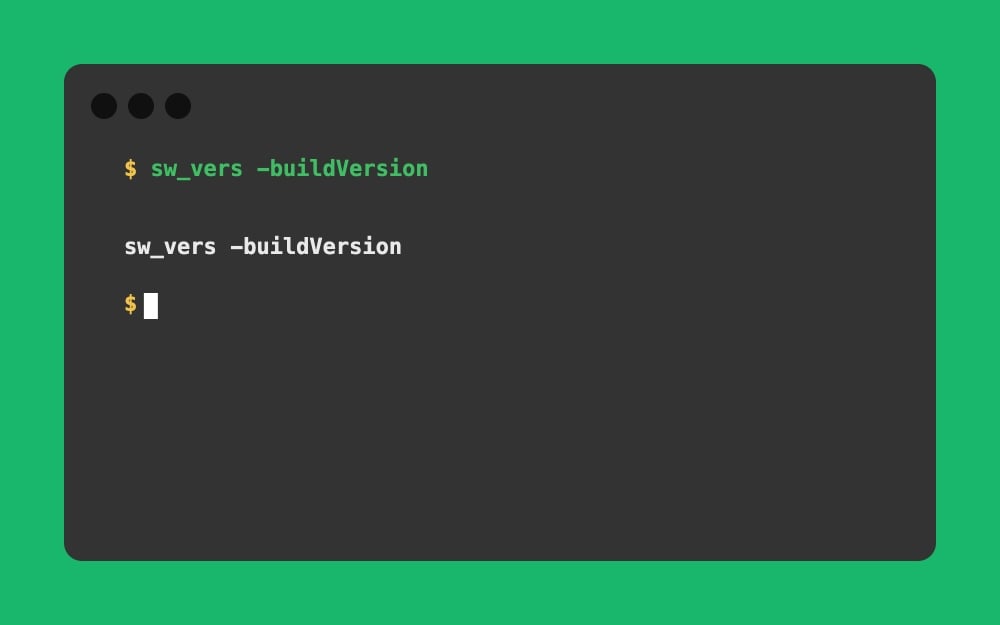
Likewise, it only shows the macOS build number.
uname -a:
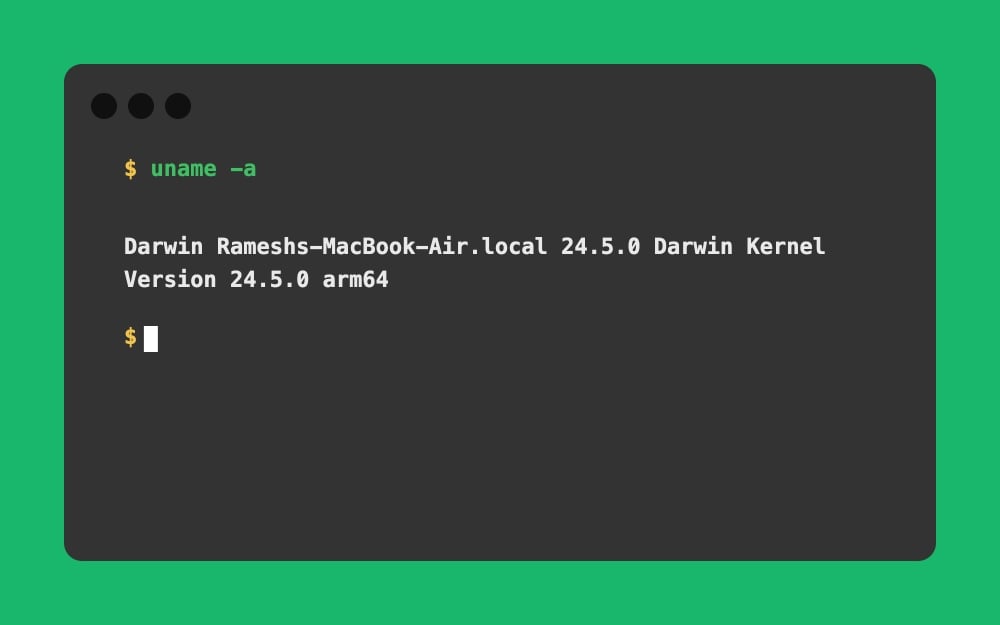
It shows macOS kernel details, including kernel version, and also system architecture details.
uname -m:

It shows your macOS architecture, whether it is built on ARM64 or x86-64. It is very helpful to quickly check whether your Mac is Apple Silicon or Intel. To know which processor your Mac is using, you can simply use this command: sysctl machdep.cpu.brand_string
arch:

It shows the architecture used by the current terminal session. It would be helpful to check whether the current terminal session is running on Apple Silicon or Rosetta mode.
hostname:
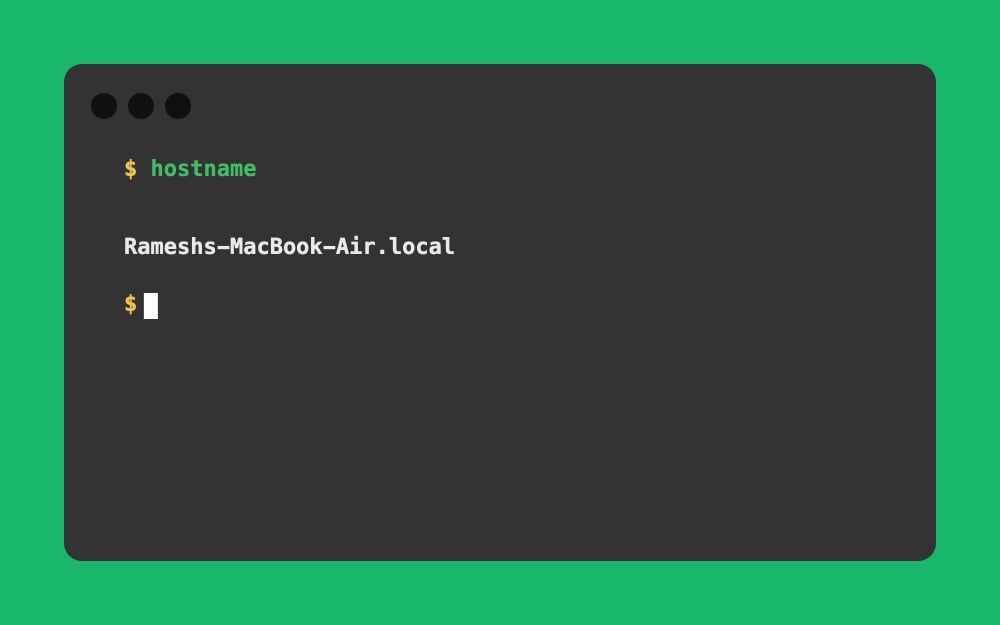
Using this command, you can find your Mac’s hostname. It is very useful for network sharing, SSH, or identifying your Mac.
scutil –get ComputerName:

You can use this command to quickly know your macOS model. It shows the Mac name visible in the System Settings and also while sharing.
scutil –get LocalHostName:

This command lets you view your local network name, which can be useful to know your device in the local network.
scutil –get HostName:

If you have configured your hostname using this command, you can get your configured hostname. If you have not set it, it shows a message that says “hostname: not set.”
system_profiler SPSoftwareDataType:
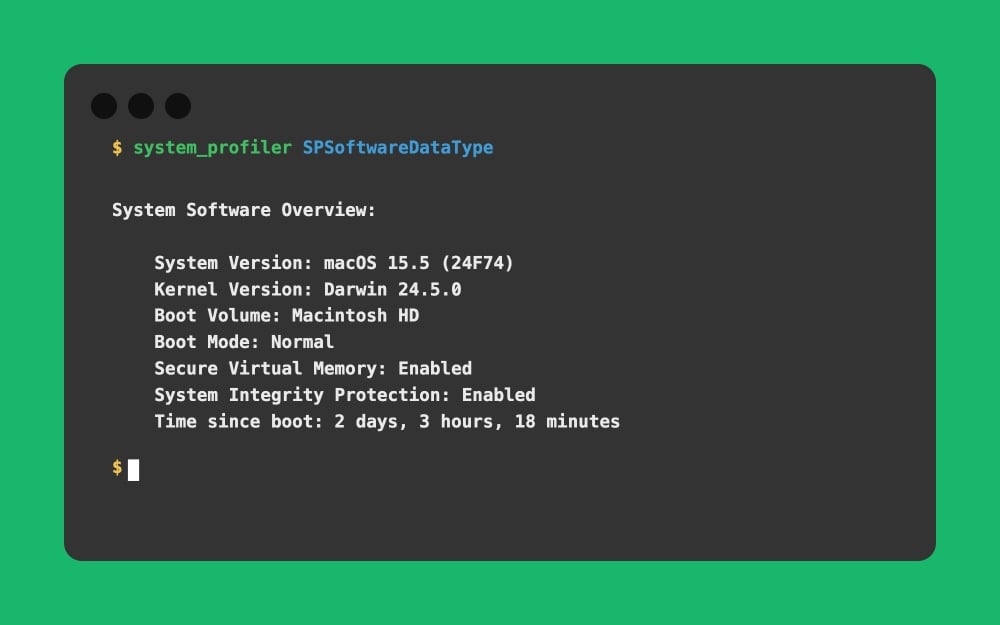
It shows the complete software details, including your current system software, boot volume, kernel version, uptime, secure virtual memory status, system integrity protection status, time since boot, and much more.
system_profiler SPStorageDataType:
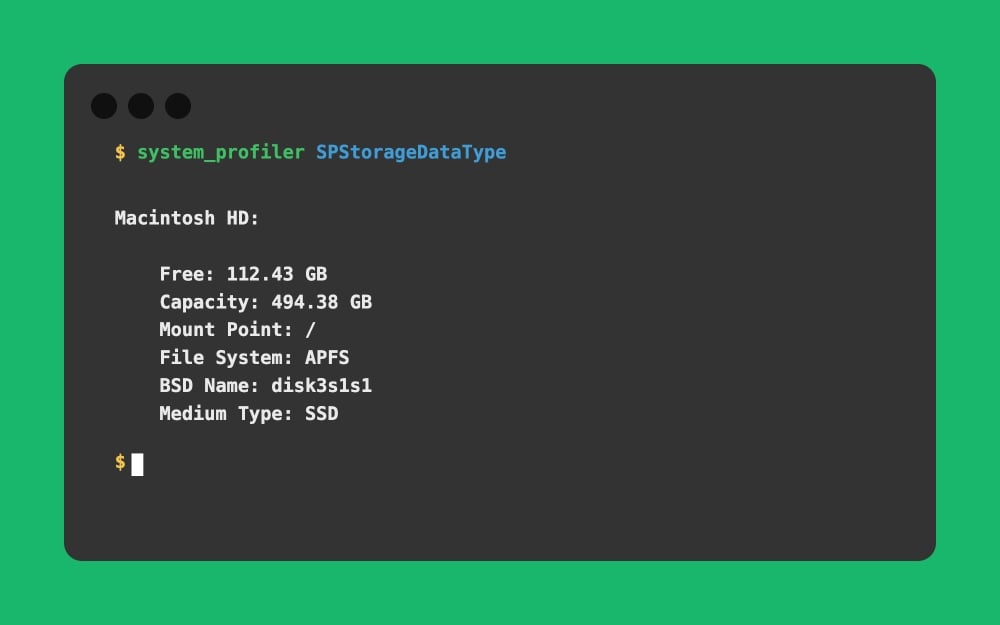
This command gives you complete details of your macOS storage drive. It shows information such as how much storage is free, what the total capacity is, mount status, File system, BSD name, Volume UUID, Physical drive name, Partition map type, and much more.
system_profiler SPDisplaysDataType:
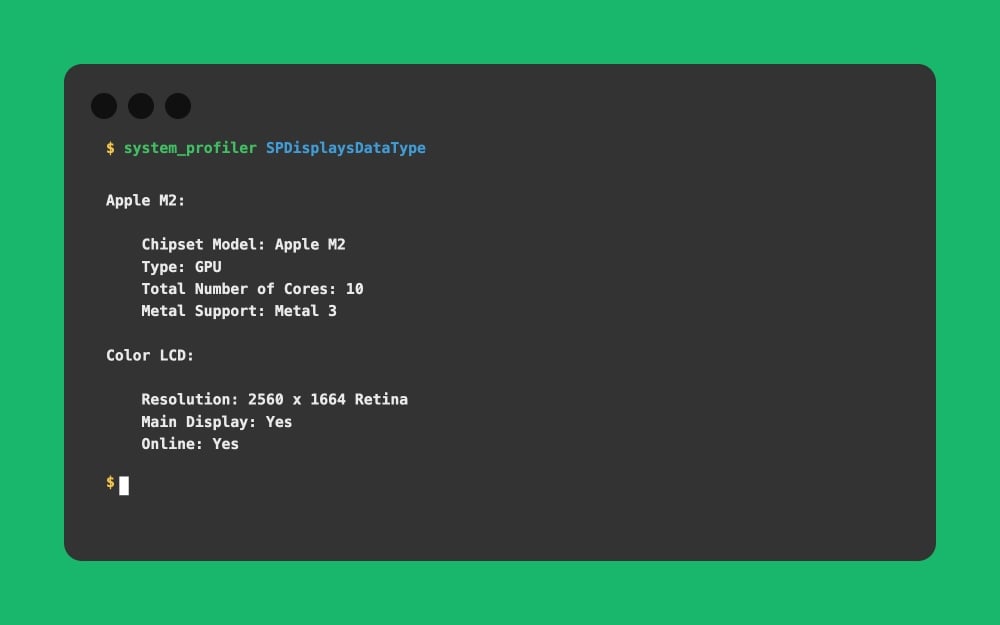
This command gives the complete display and processor details used on your Mac, including the display resolution, refresh rate, graphics information, and much more.
system_profiler SPAudioDataType:
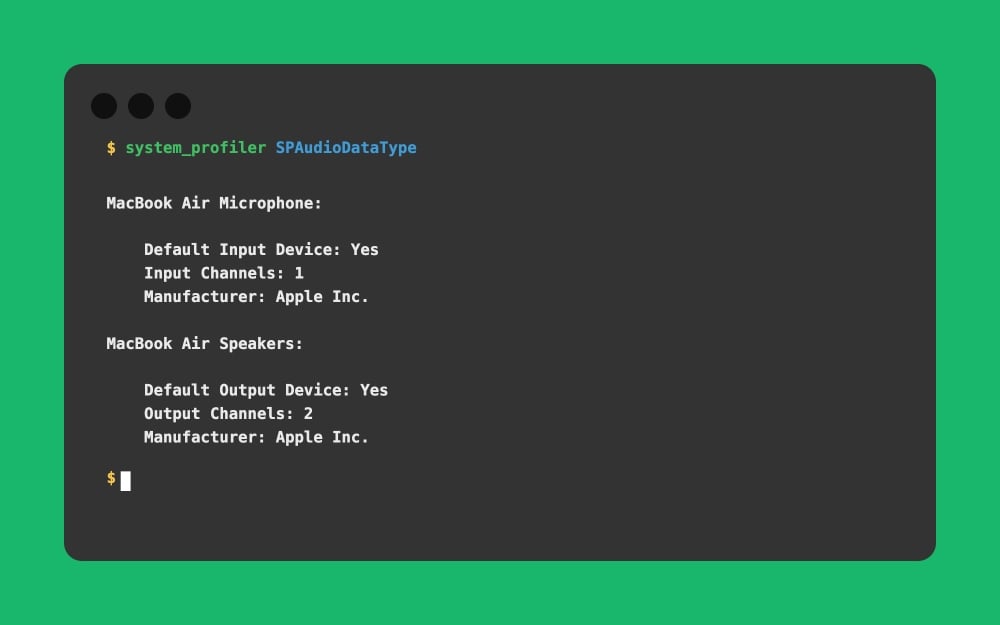
This command shows complete information about the sound hardware and audio device details on your Mac. This includes details about your Mac microphone, other connected Apple speakers, the manufacturer of the specific hardware, and much more.
system_profiler SPNetworkDataType:
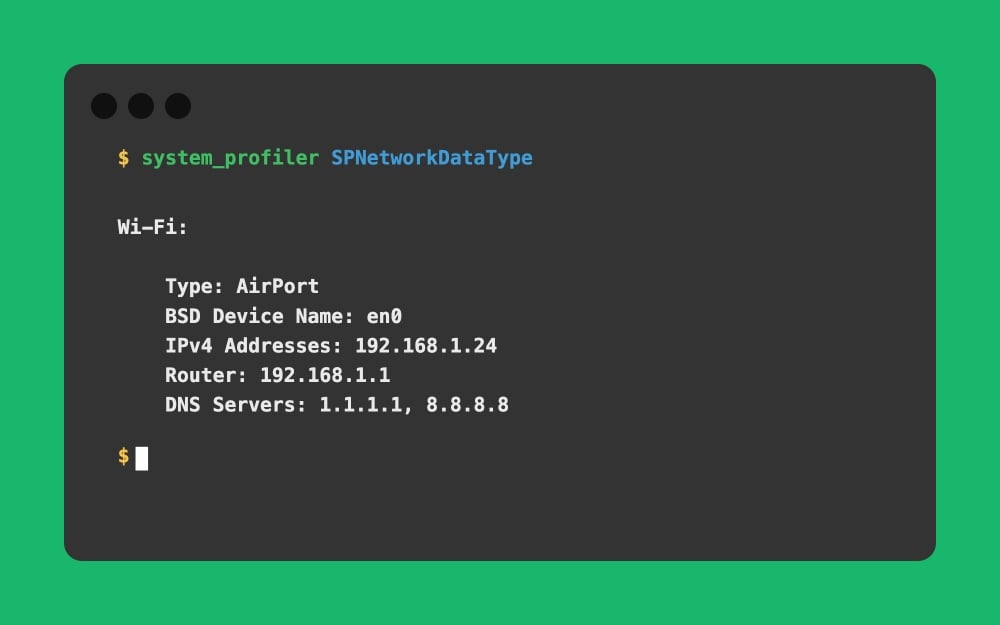
Using this command, you can get a detailed overview of your network hardware details and service information. It gives complete details of the hardware, including the type, IP configuration and addresses, DNS and DHCP server responses, Ethernet MAC address, proxies, and much more
system_profiler SPBluetoothDataType:
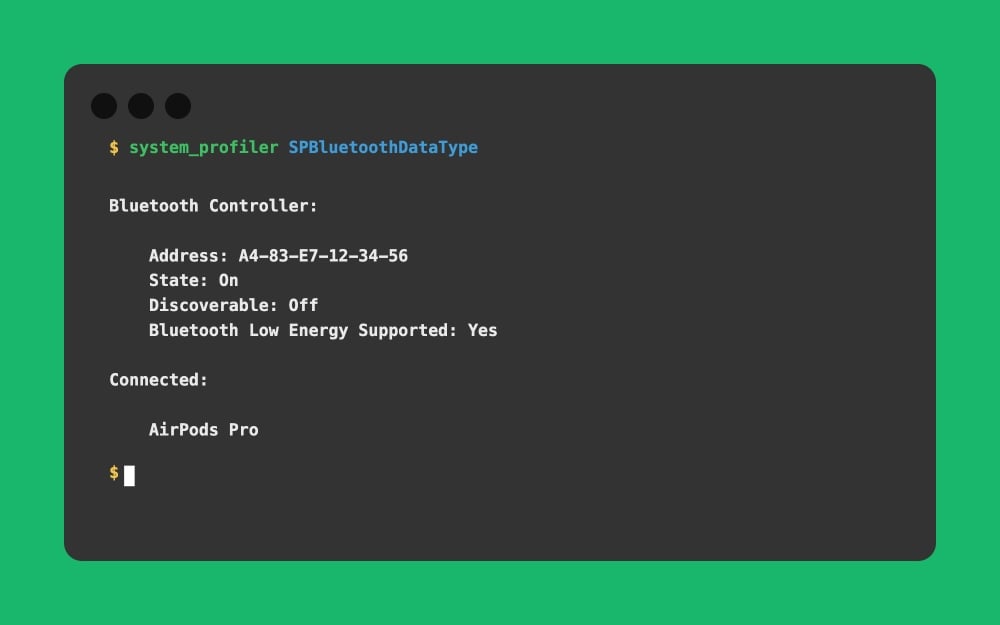
This command shows the complete Bluetooth hardware information, and also the Bluetooth connected devices information. It includes details such as Bluetooth controller address, its state, its chipset, whether it is discoverable or not, and its status, Transport vendor ID, Bluetooth-connected devices (including those not currently connected to your Mac), Other products’ addresses, vendor IDs, and firmware versions, and much more.
system_profiler SPUSBDataType:
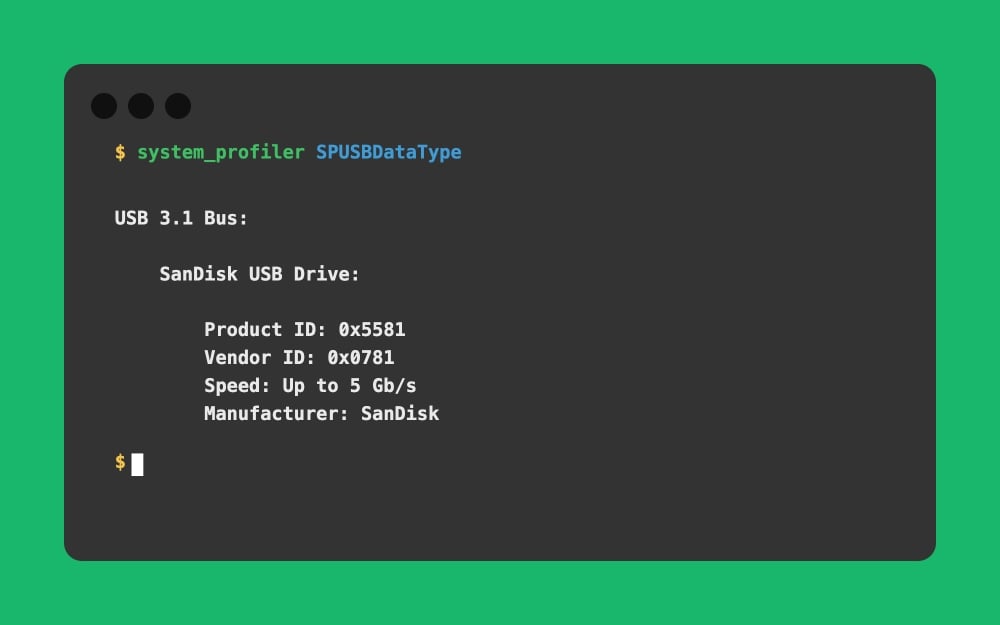
This command shows information about the USB devices connected to your Mac. If none of the devices are connected, it shows an empty state. This can be very useful to diagnose if the accessory is not being detected
system_profiler SPThunderboltDataType:
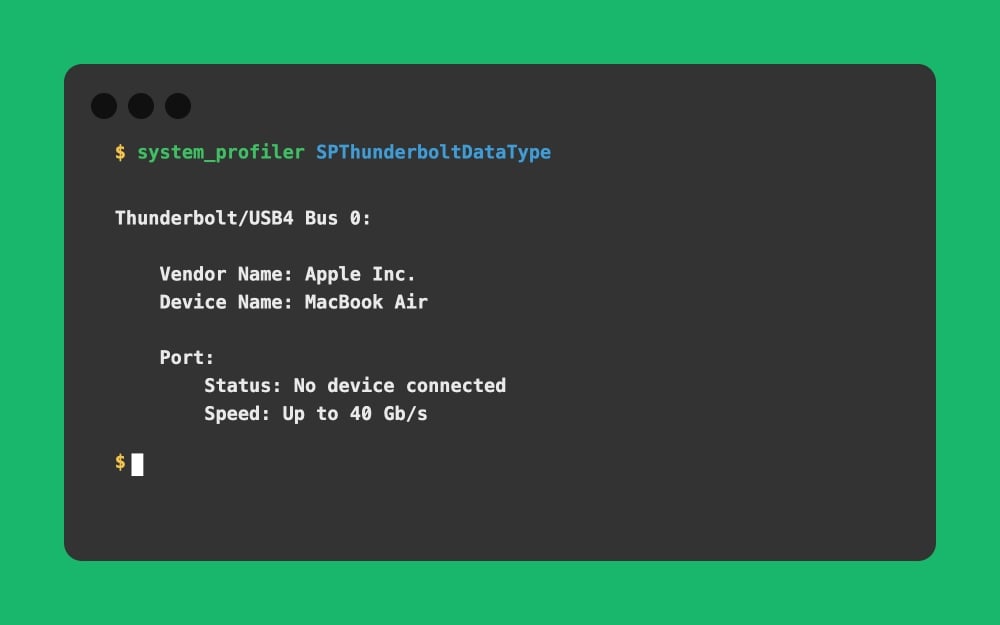
This command shows the Thunderbolt and USB-C device details, which include the vendor name, device name, UID, port status, and the speed of the specific bus, and much more.
sysctl hw.memsize:

It shows the total RAM on your Mac in bytes. Remember, this is the total RAM, not the one currently occupied or available.
sysctl hw.ncpu:

It quickly shows the number of CPU cores available on your macOS. Again, this is the total number of CPU cores, not just the ones that are currently running or currently free.
uptime:
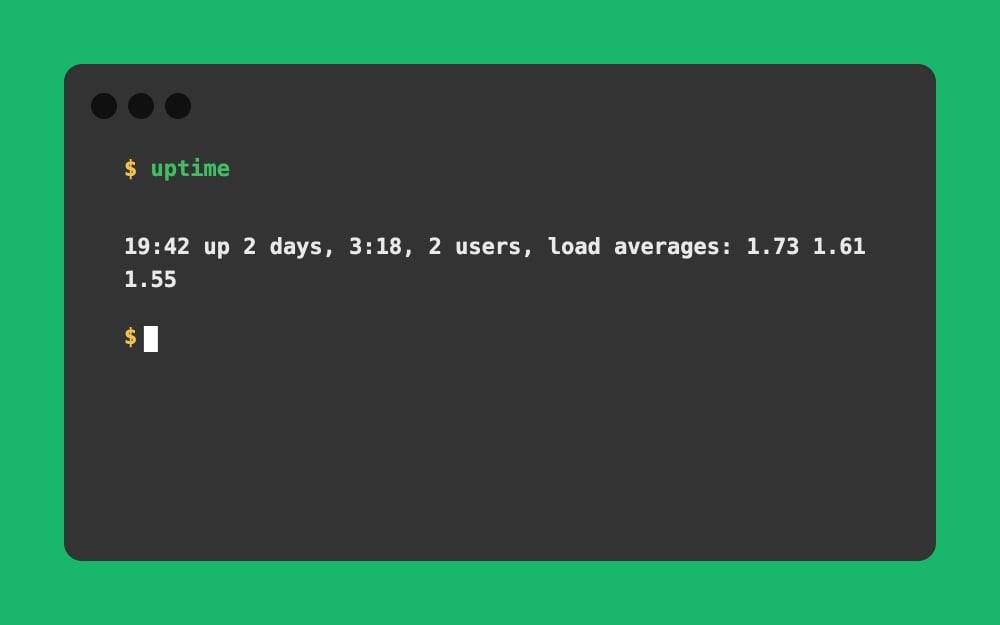
It quickly shows how long your MacBook has been up and the time since it was last restarted.
system_profiler SPApplicationsDataType:
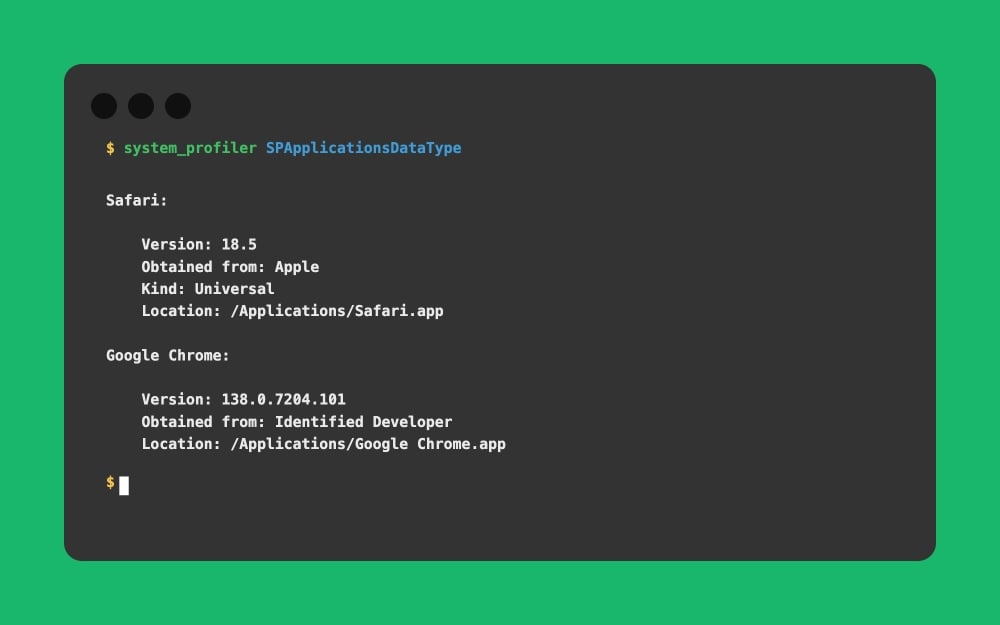
Using this command, you can find all the apps installed on your Mac, including the app details. It also lists app details, including its version, when it was obtained, when it was last modified, the kind of app, who signed it (security signature), and the exact location of the app. This can be very useful for security and diagnostic purposes.
Useful Navigation Terminal commands:
cd ~:
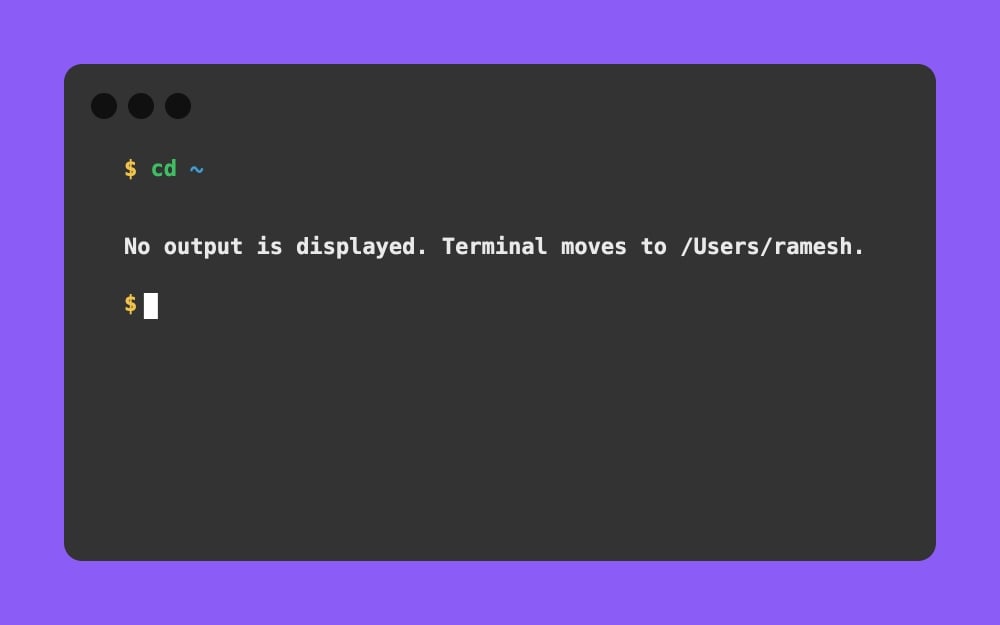
No matter where you are, using this command, you can go back to the home screen or to the main folder quickly.
cd ~/Desktop:

Quickly goes to the desktop
cd ~/Documents:
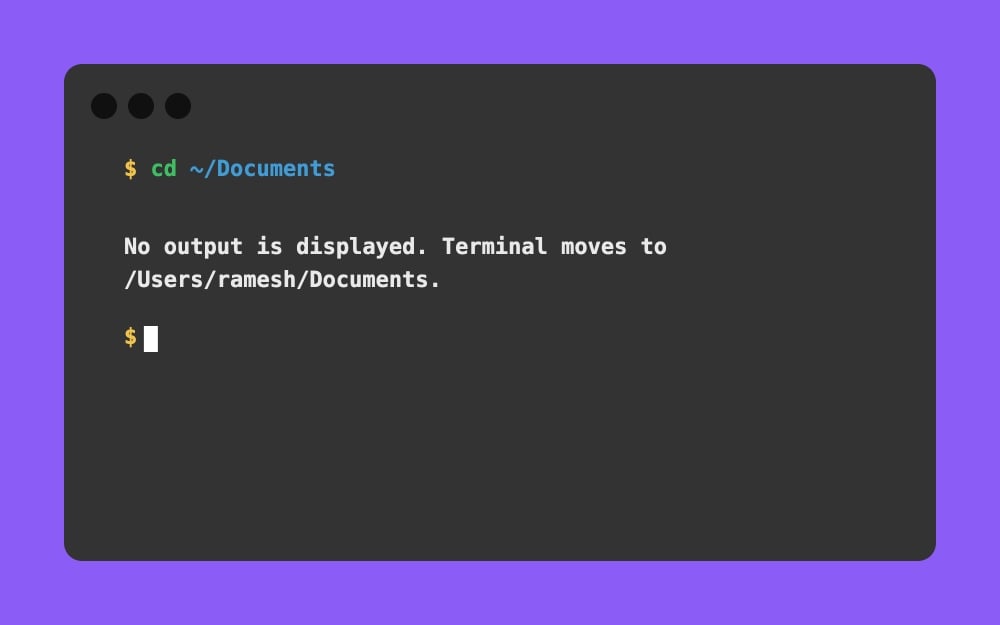
It quickly takes you to the Documents folder.
cd ~/Pictures:
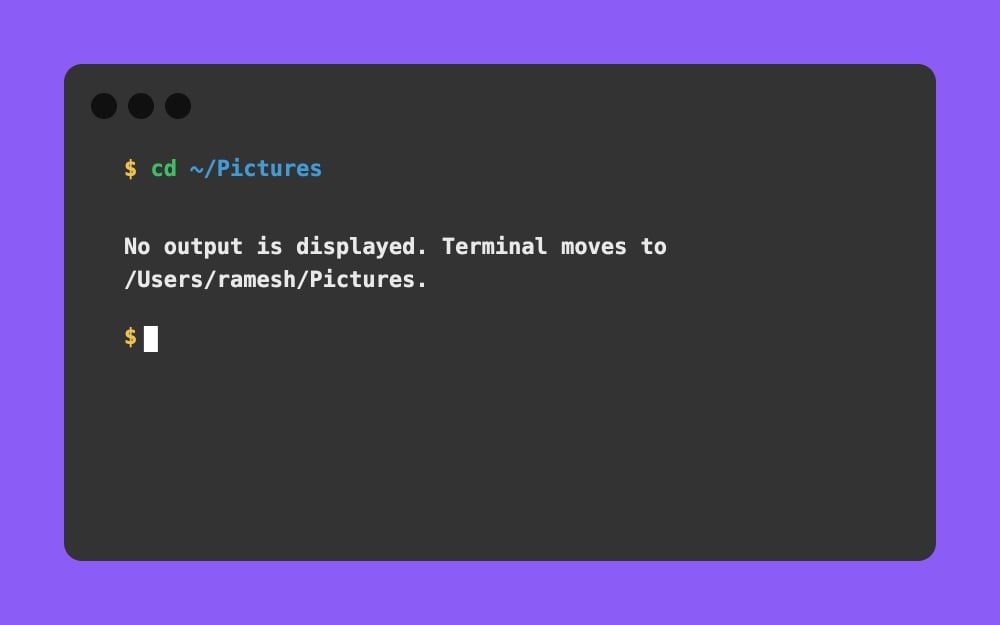
It quickly takes you to the Pictures folder.
cd ~/Movies:
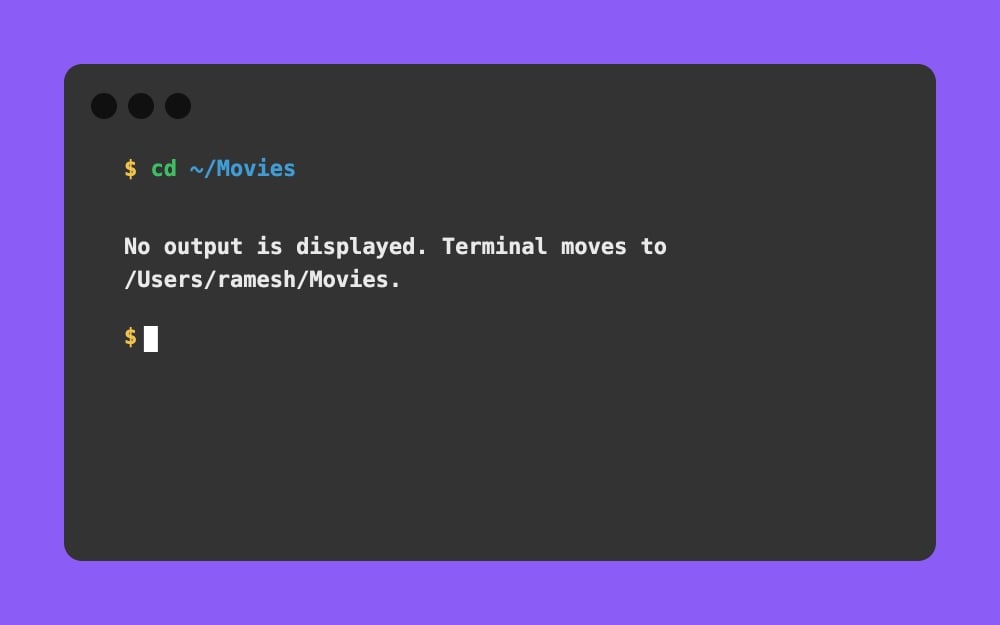
It quickly takes you to the Movies folder.
cd ~/Music:
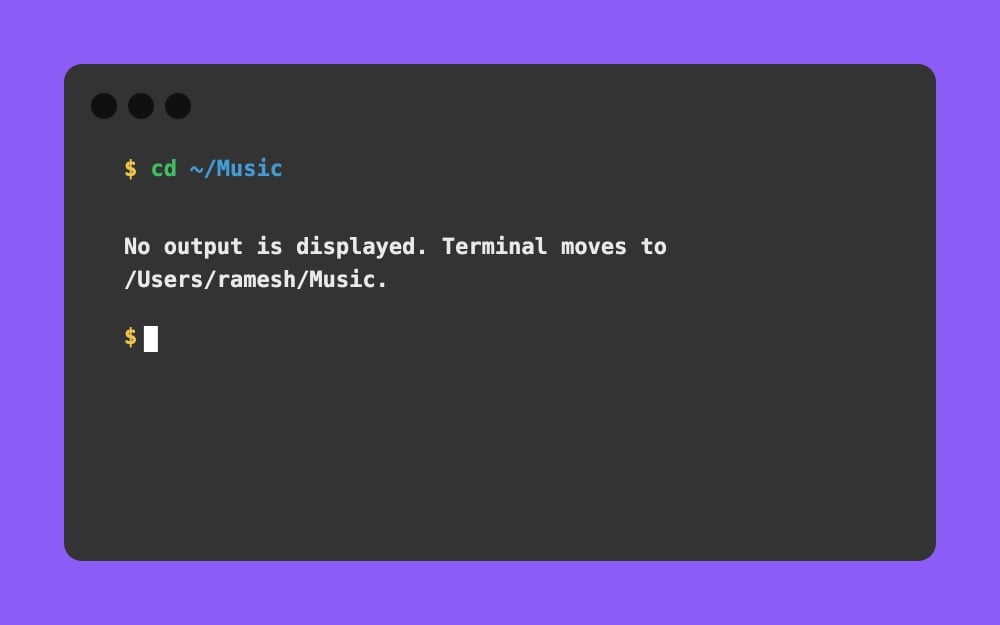
It quickly takes you to the Music folder.
cd /Applications:
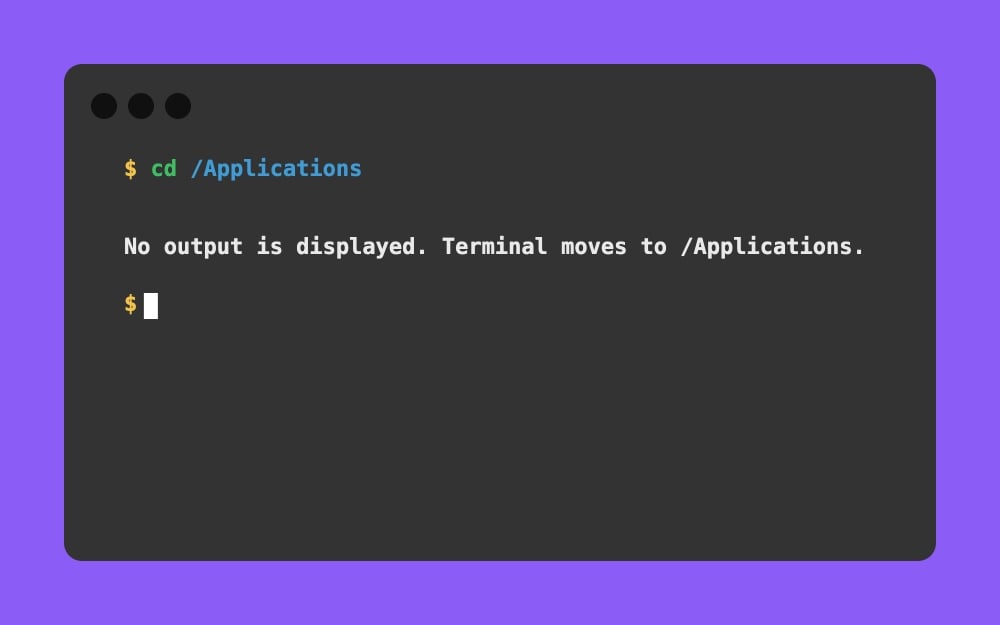
You can go to the application folder using this command.
cd /Applications/Utilities:
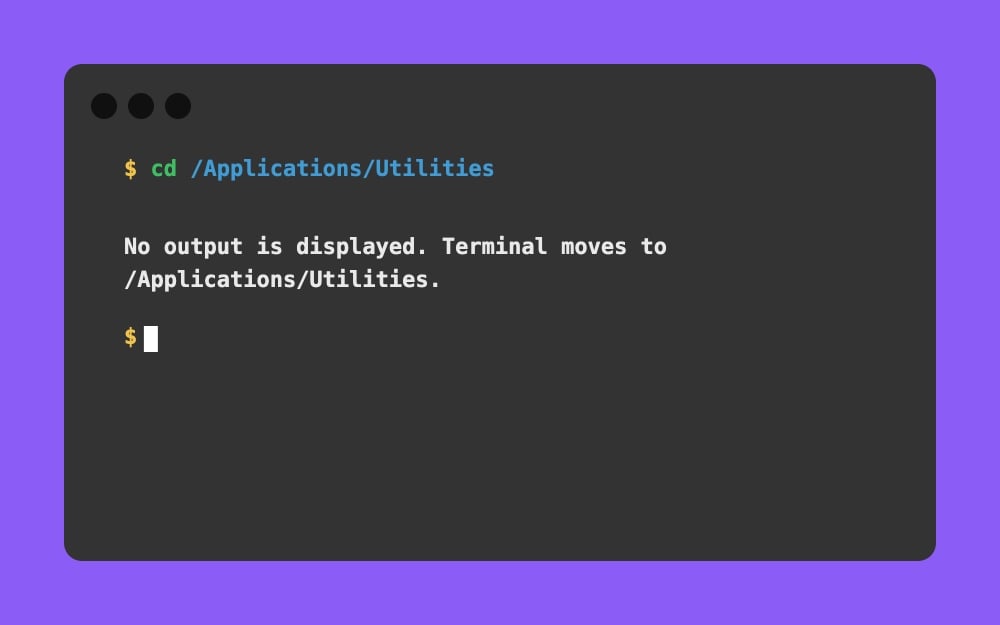
It quickly takes you to the Utilities folder to access macOS utility apps.
cd ../..:
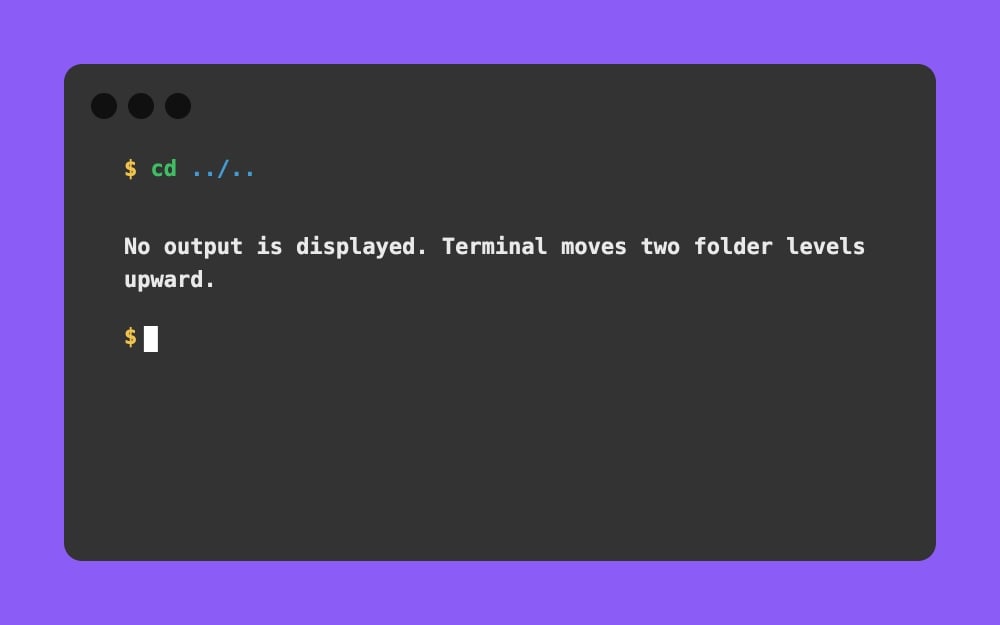
It moves two folders up, which you can use to exit nested folders faster.
cd /:
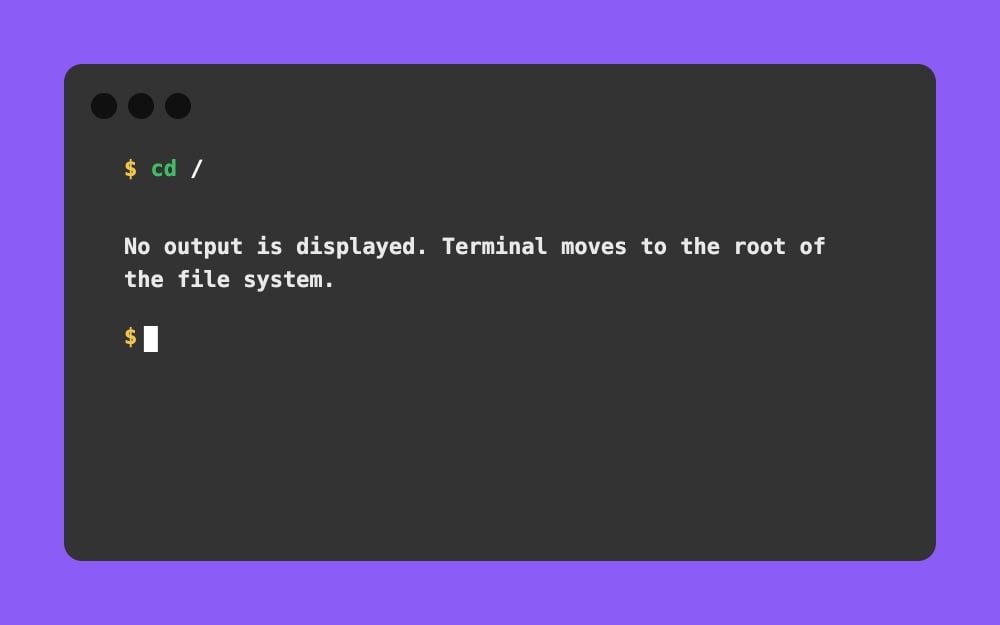
It takes you to the macOS root file system, where you can see top-level system folders.
cd -:

Using this command, you can go back to the previous folder.
open ~/Downloads:
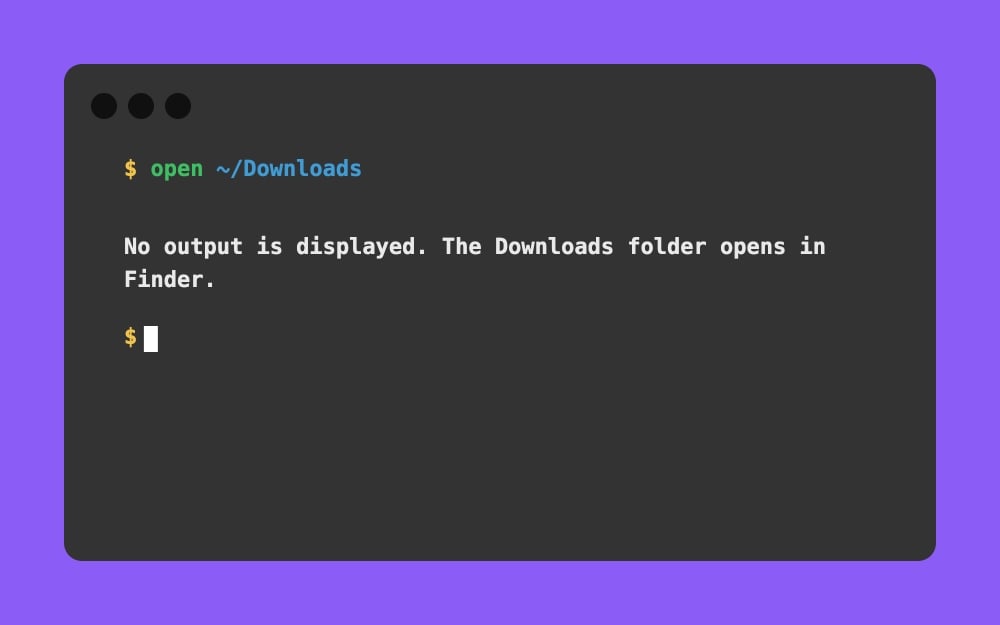
It opens the Downloads folder directly in Finder from the terminal.
cd “/path/with spaces”:
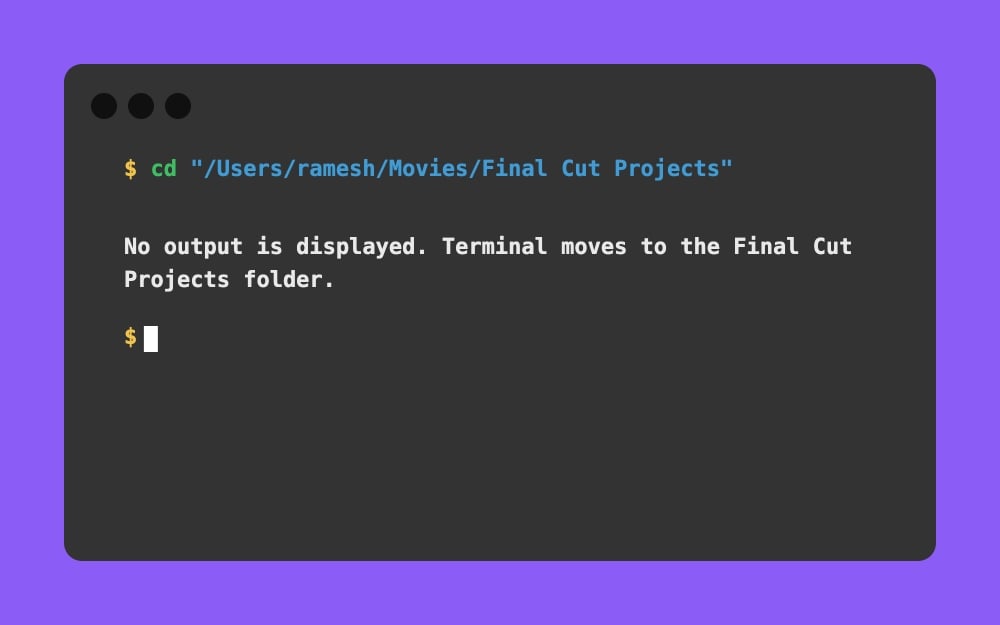
It opens a folder path that has spaces. This is very useful for handling folders like Final Cut projects, where the folders have many spaces.
cd ~/Library:
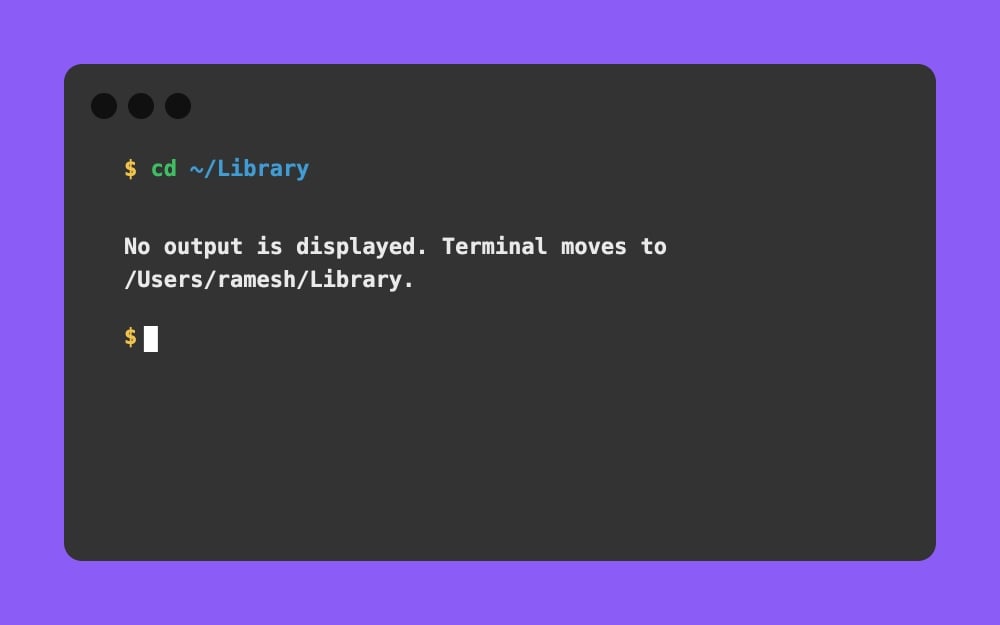
It takes you to the library folder, where you can access app files, settings, caches, and much more.
cd ~/Library/Application\ Support:
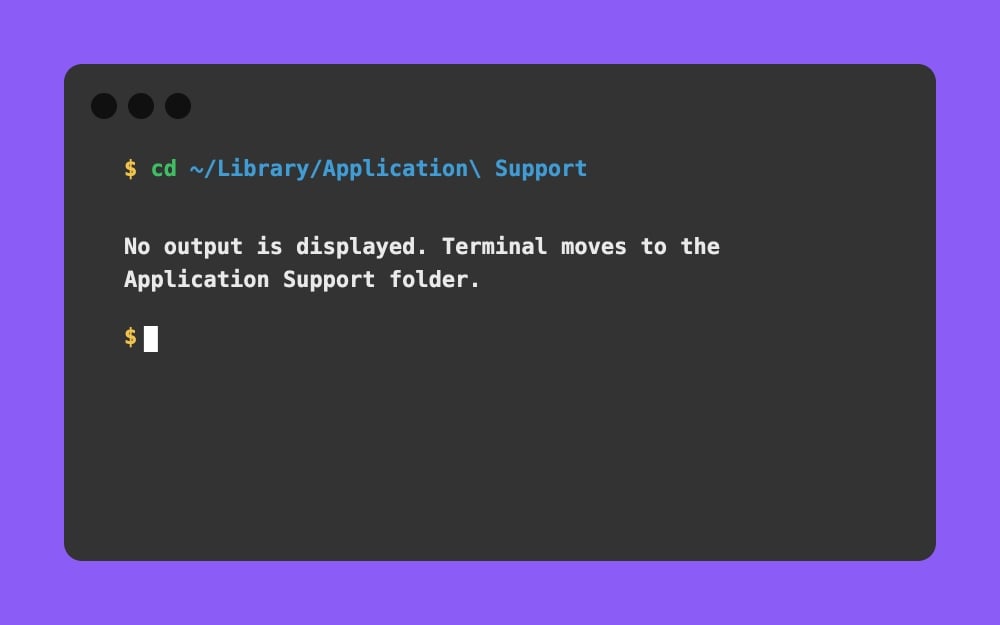
This command takes you to the application support folder to find app data and support files.
realpath .:

It shows the full real path of your current folder. You can even copy or confirm the exact folder path.
dirname /Users/ramesh/Desktop/file.txt:
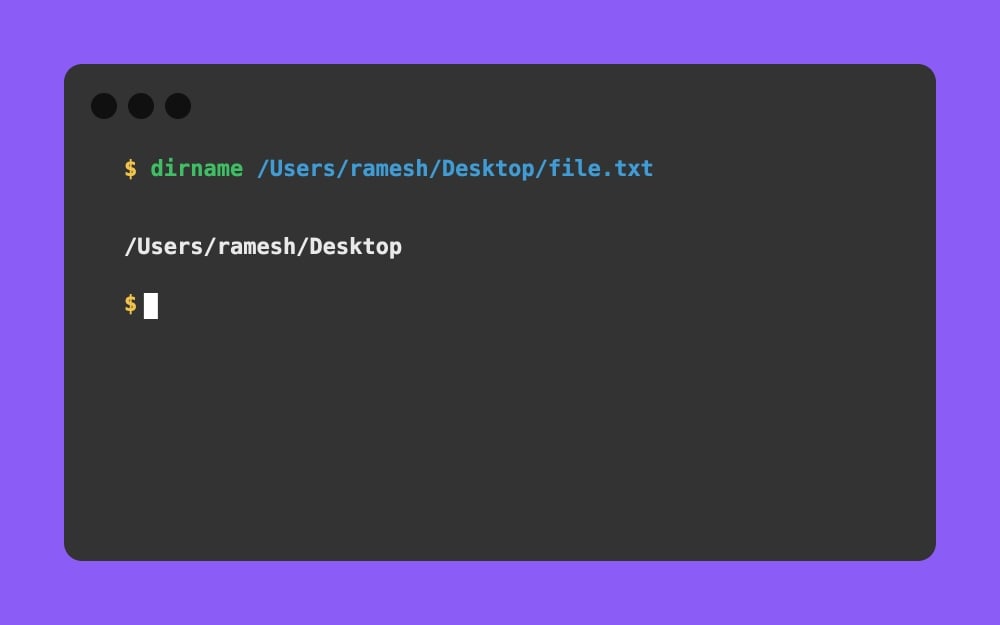
It shows the exact folder path of your file. You can replace the command with the exact file path.
basename /Users/ramesh/Desktop/file.txt: [Replace file.txt with any file name]
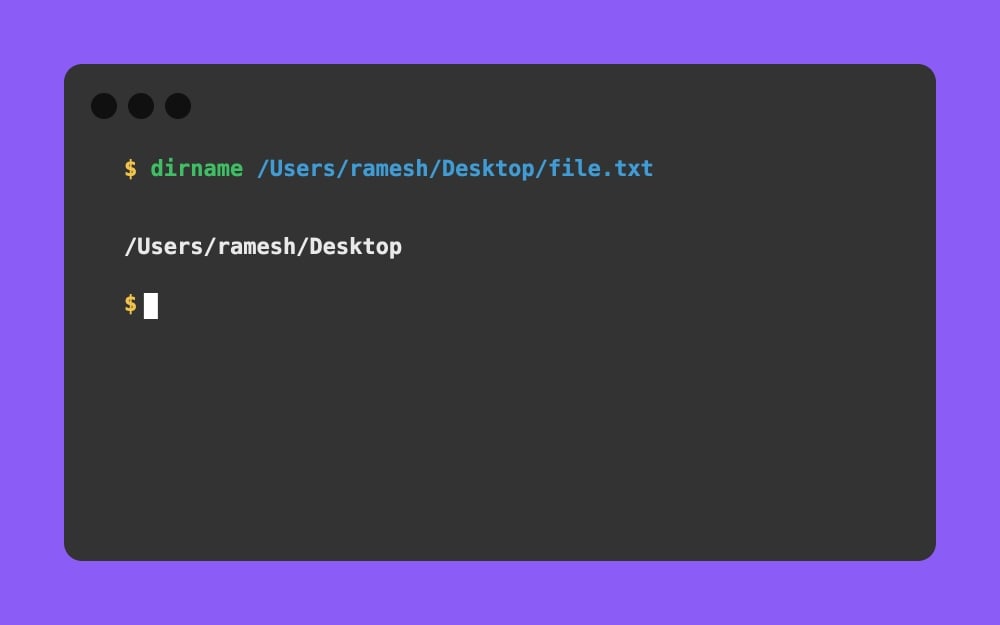
It shows only the file or folder name from the path. It lets you view the exact file name from the full path.
Useful Commands for Listing Files
ls:

List all the files in the current folder you are in the terminal. If you have multiple folders, it creates a tree-like structure, making it easy to view all files at once.
ls -l:
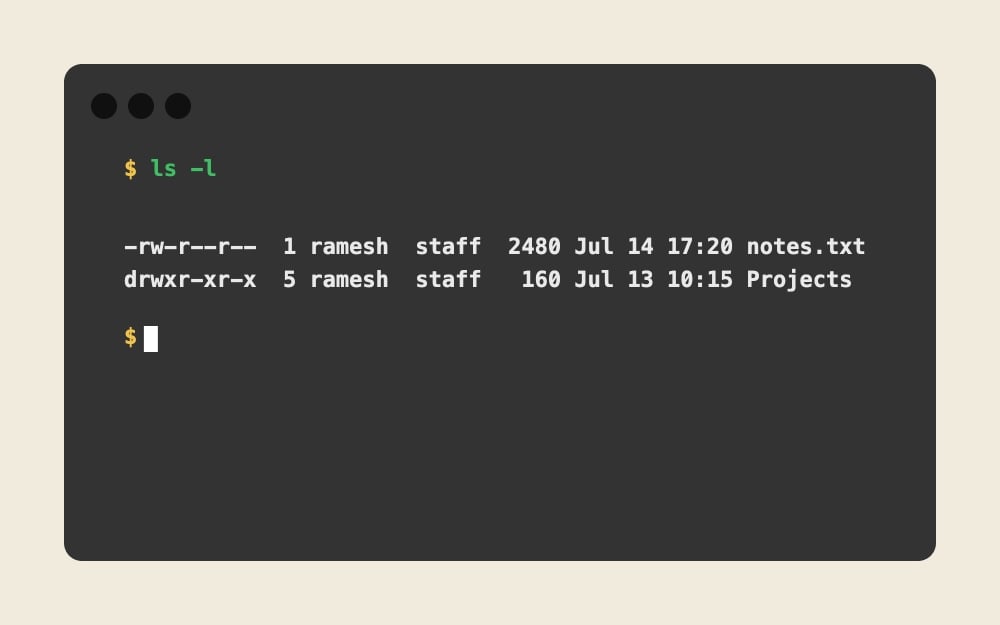
Use this command if you want to view files in a detailed list format. It includes more details like file size, date, owner, and file permissions.
ls -la:
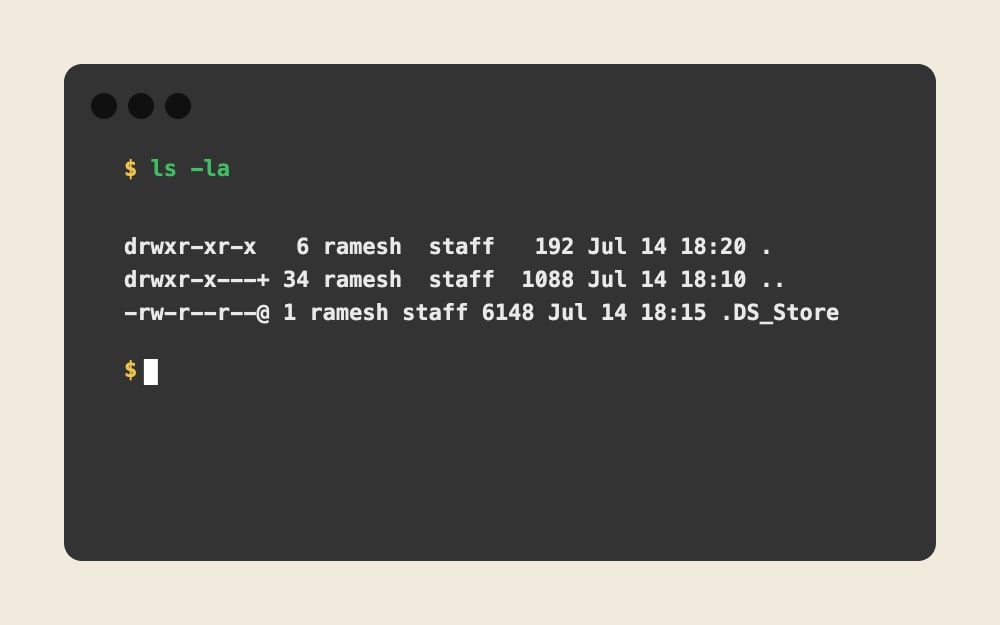
Use this command to view all files in a folder, including hidden files.
ls -lh:

Use this command to view all files and their file sizes in KB, MB, and GB.
ls -a:
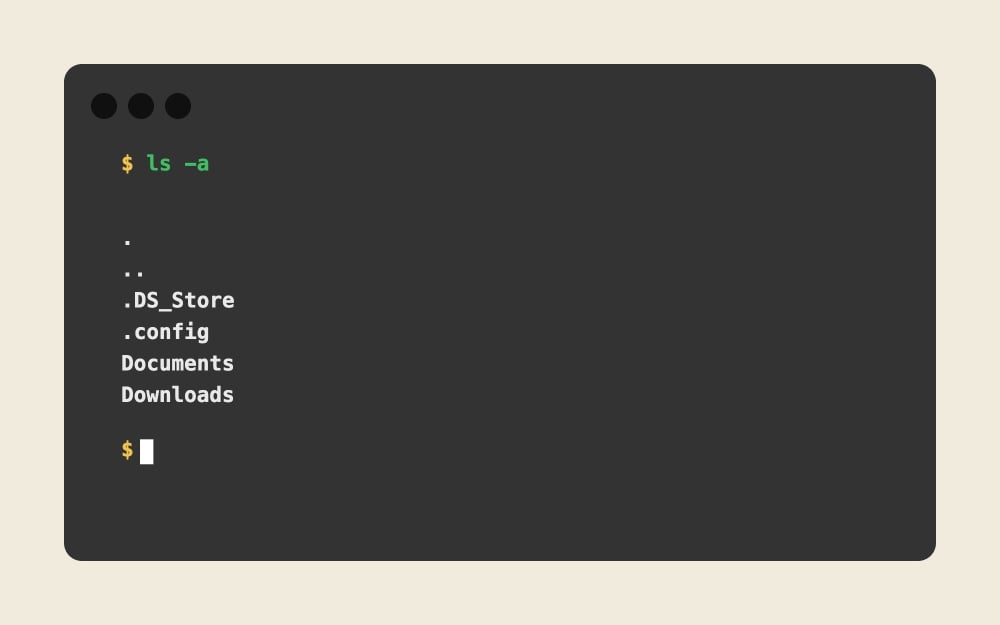
It shows all the hidden files in a specific location without detailed info. Best if you quickly want to see the hidden files.
ls -t:
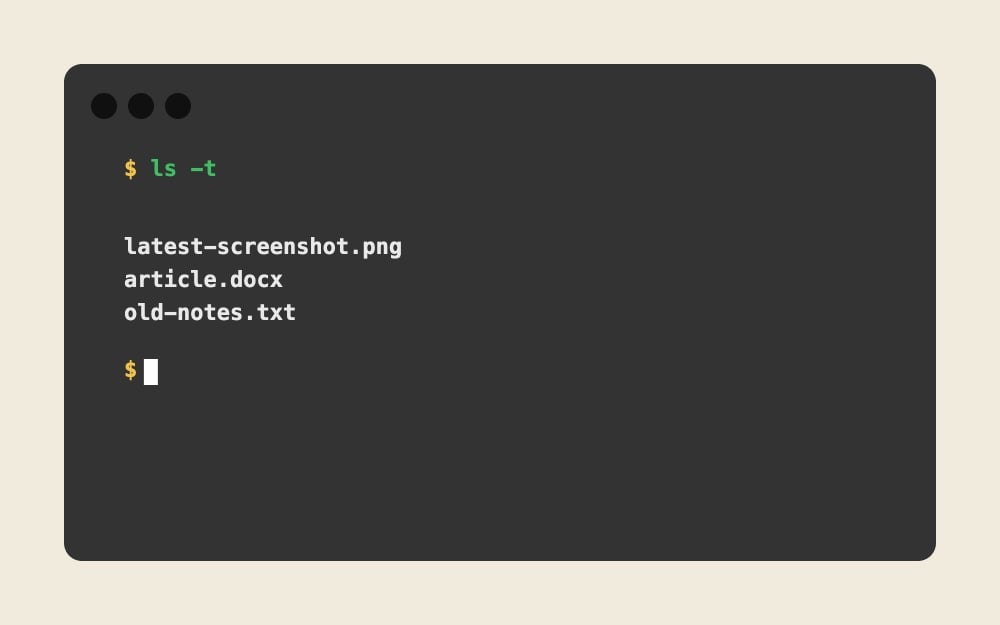
It shows the latest files on top to quickly view recently created files, especially in the downloads folder. You can use this command to see the oldest files first: ls -ltr
ls -S:
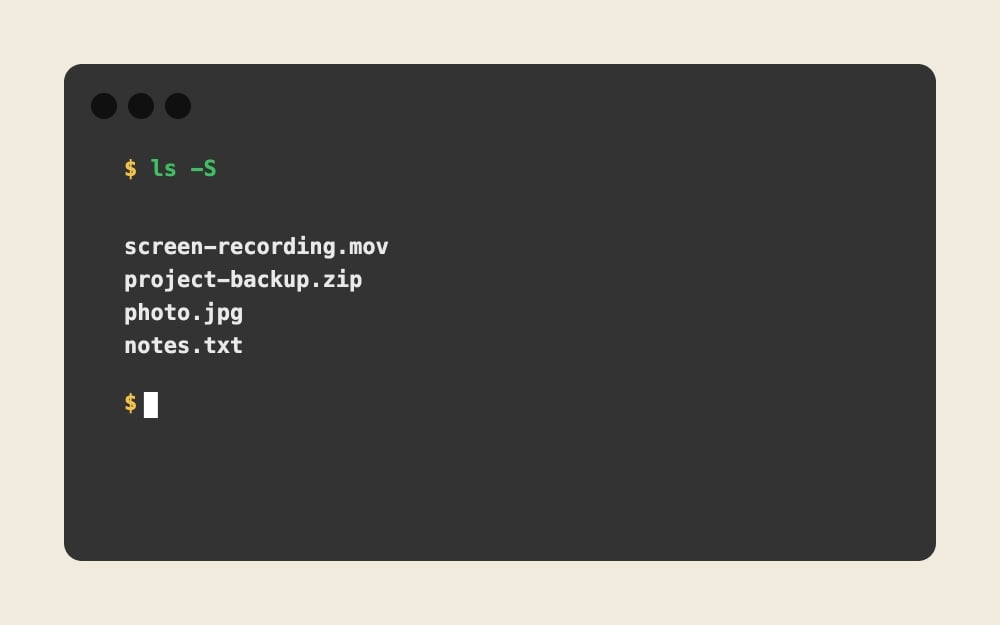
It shows the largest file sizes first
ls -d */:

If you only want to see the folders inside a folder, then use this command. It only shows folders in the current folder without files.
Useful commands to create files and folders easily:
mkdir {Images, Videos, Docs}: [You can enter any name inside brackets]
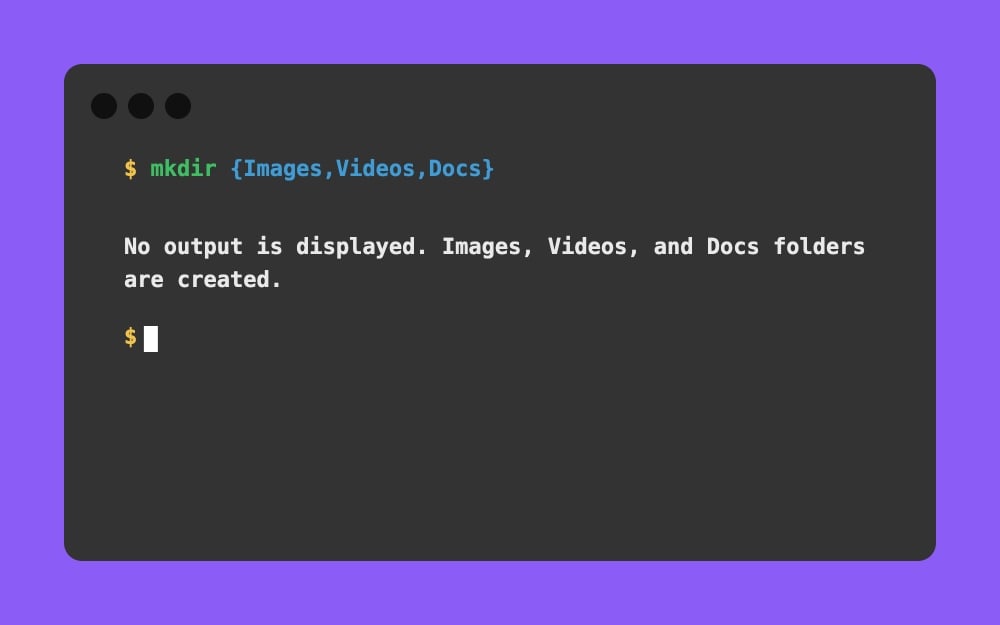
It helps you to create multiple folders at once. You can follow the folder names inside the following brackets. Example: mkdir {Folder name 1, Folder name 2, Folder name 3}
mktemp and mktemp -d:
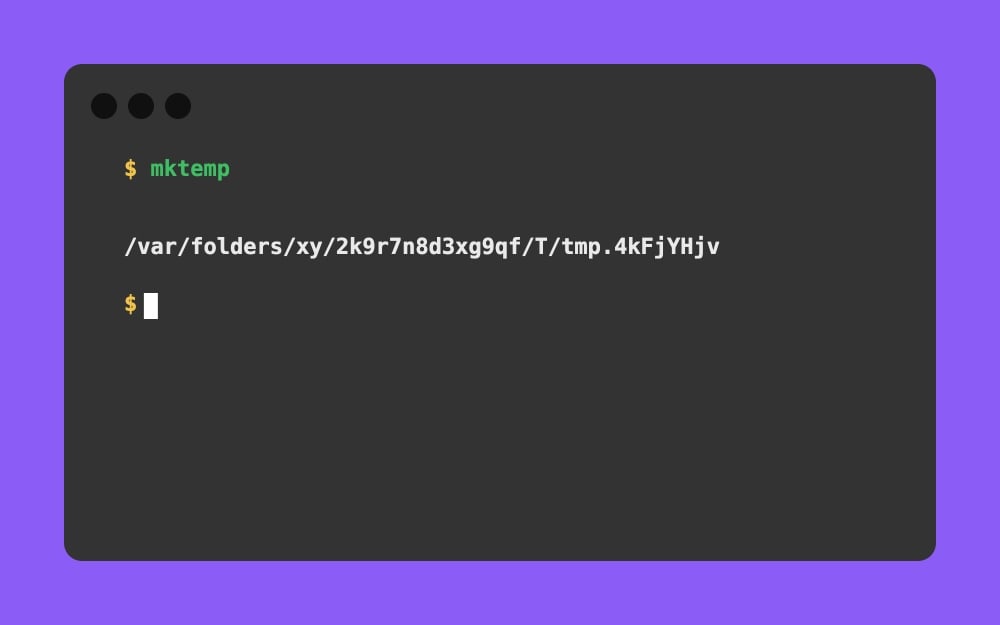
Using these commands, you can create temporary files and temporary folders, especially used for testing purposes.
mkfile 100m testfile.dat: [replace testfile.dat with any file name, and you can also 100m number]
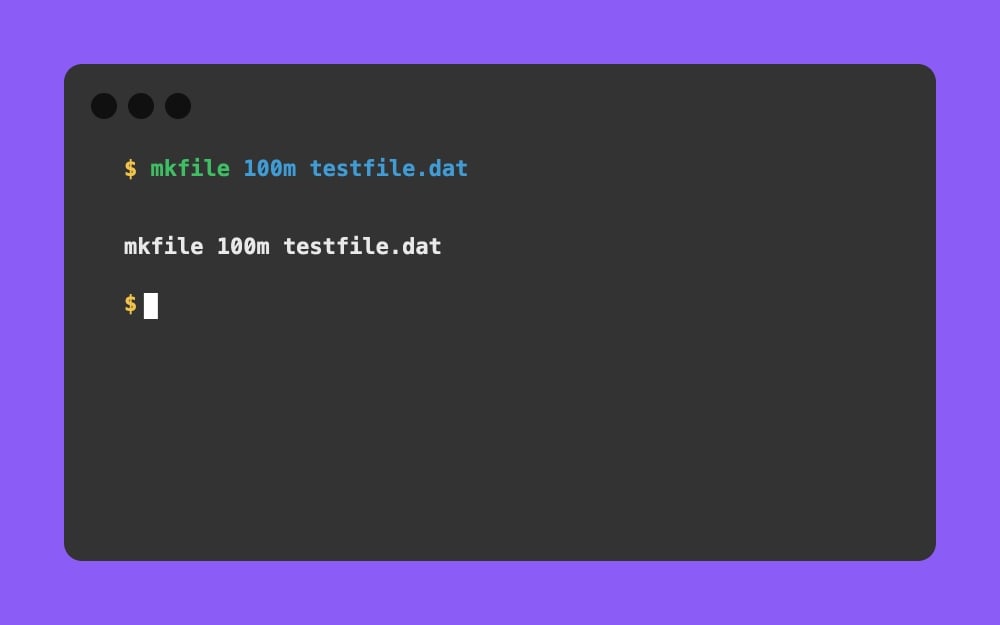
It creates a file with a specific file size, especially useful if you want a quick sample file to test anything on your Mac. You can change the size of the file if you want.
Useful Commands for copying and moving files :
cp file.txt ~/Desktop/: [You can change file.txt to any file name]
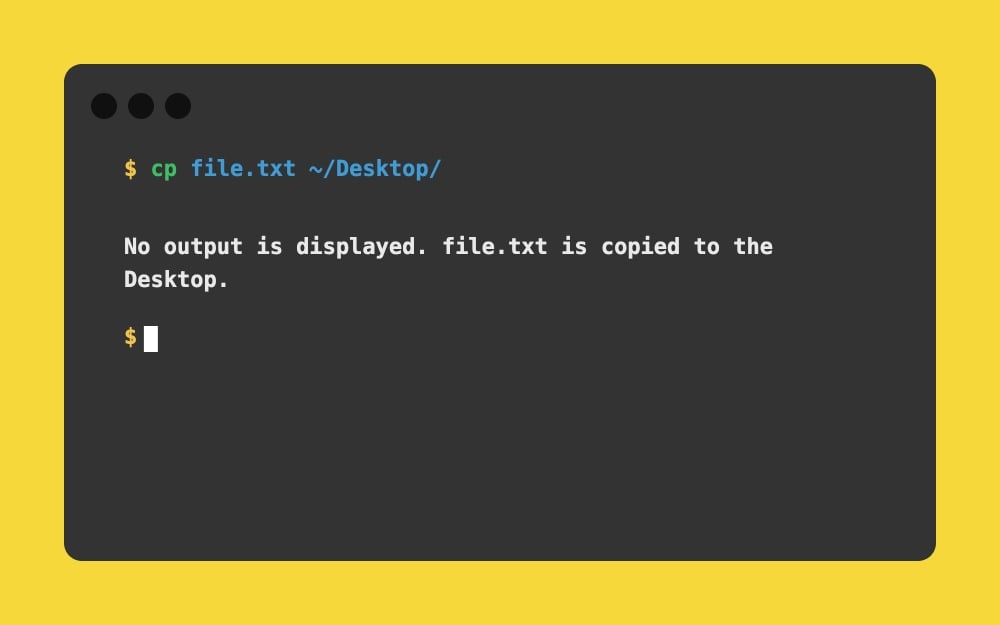
You can copy specific files into a specific location. For example: cp file.txt ~/Desktop/, it copies file.txt to the desktop folder.
cp *.jpg ~/Pictures/: [You can replace .jpg with any file format.
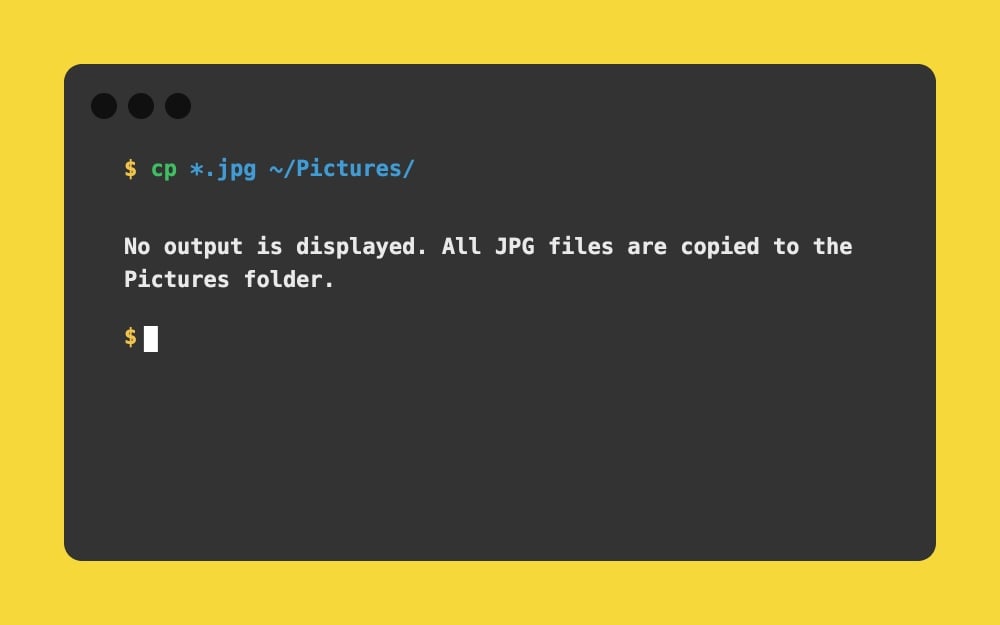
Using these commands, you can copy all files in a specific format to one location. For example, using this command, cp *.jpg ~/Pictures/, you can copy all JPG image files from the current location to the desired location, in this case, Pictures.
cp ~/Downloads/*.pdf ~/Documents/: [you can enter your own path and file names]
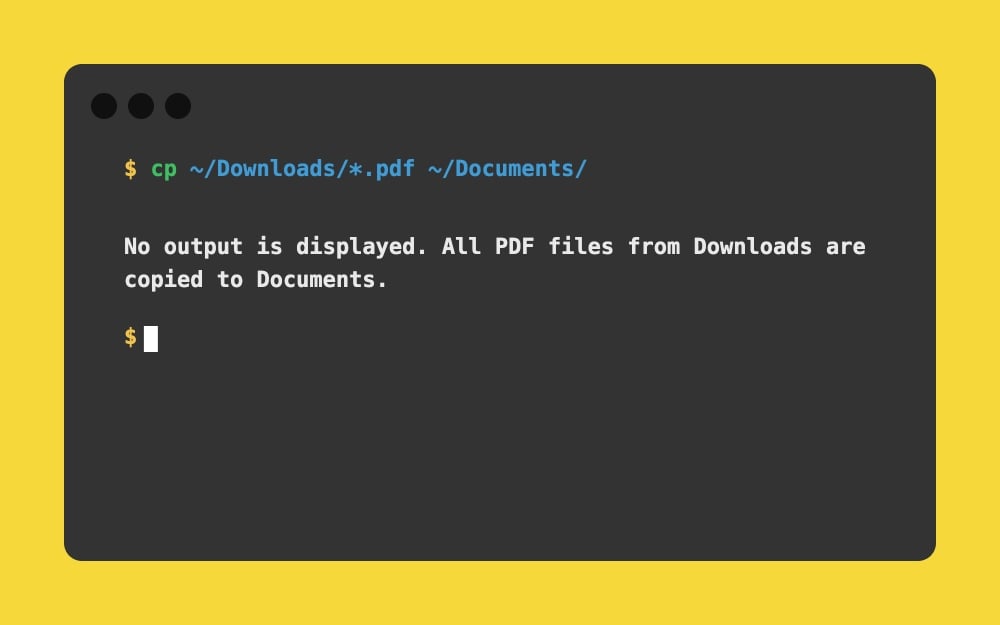
Use this command if you want to copy a file from another location and want to save it as a copy in another location. Example: cp ~/Downloads/*.pdf ~/Documents/; it copies all PDF files from Downloads to Documents.
rsync -avh –ignore-existing MyFolder/ ~/Desktop/MyFolderBackup/:
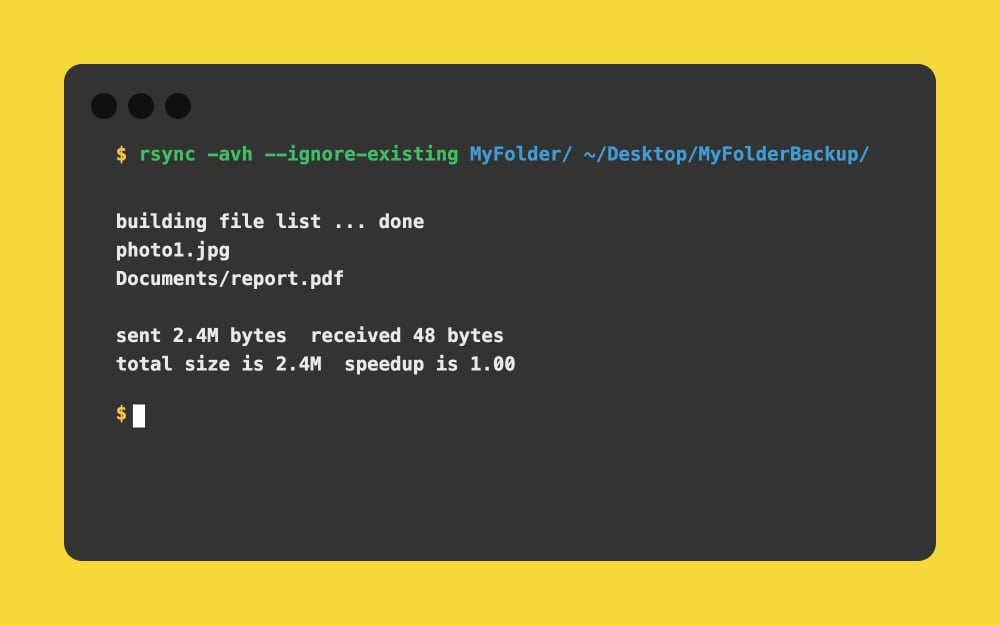
Using this command, you can only copy the files that are not already in the destination folder. If you want to safely copy between folders and don’t want to worry about duplicating files, it can also save you time from replacing and pasting as a new option, which appears if macOS detects similar files in both destinations.
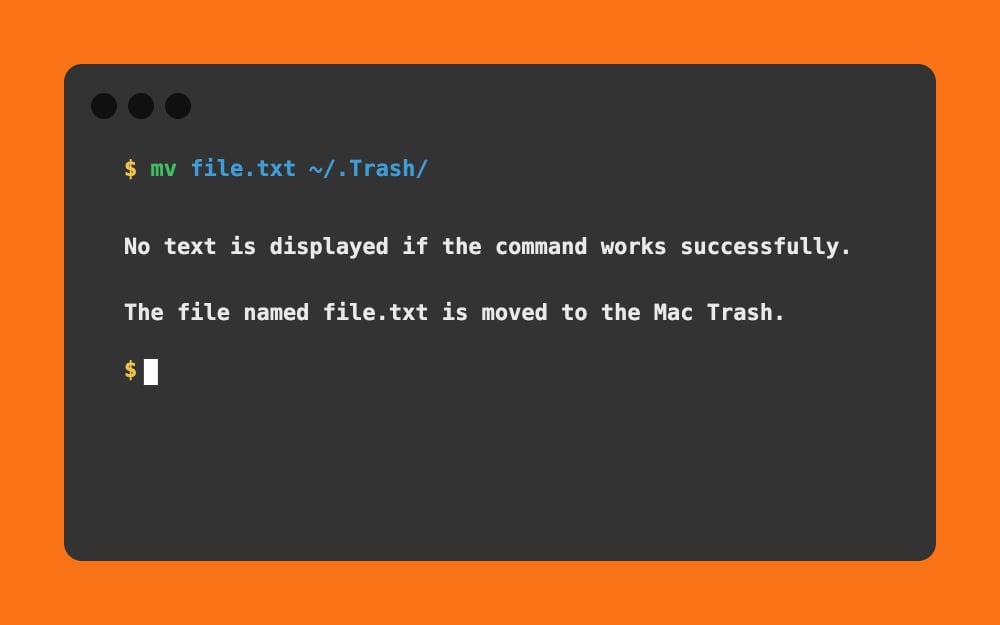
mv *.zip ~/.Trash/:
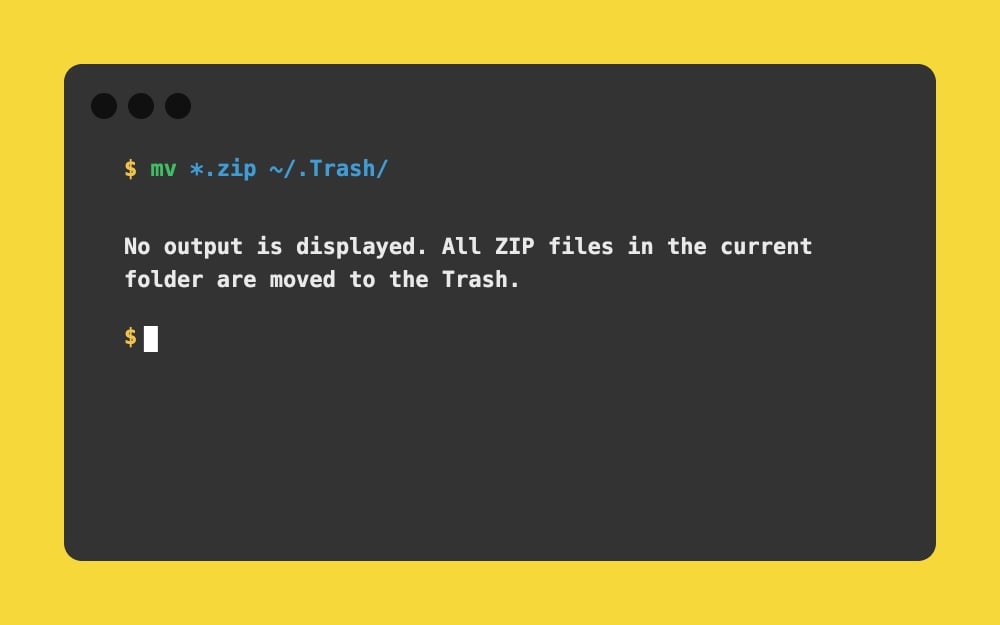
You can use this command to move all ZIP files to the Trash. Sometimes, we forget to delete the ZIP file once we extract the content. This simple command lets you move all ZIP files to the Trash in a specific location directly using the terminal
Useful macOS commands for deleting and cleaning locations.
rmdir EmptyFolder: [You can replace empty folder with any name]
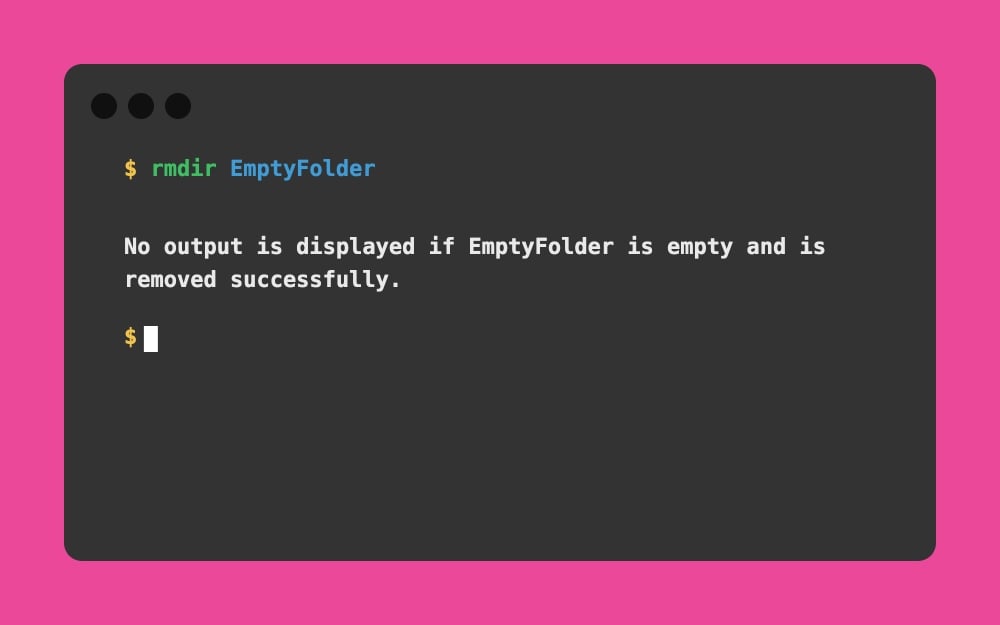
You can remove all empty folders using this command. Go to the location, enter this command, and press Enter. It automatically deletes the empty folders from your Mac.
rm -i file.txt: [You can replace file.txt with any file including format]

Use this command to permanently delete a file. Instead of moving the files to the bin folder, it deletes them completely.
Useful commands to view content inside the files :
wc -w notes.txt:n [You can replace notes.txt with any text file]

Quickly count how many words are in a file. Most of our users use online word counter tools; however, with this command, you do not need external tools.
file document.pdf: [you can replace document.pdf with any file name]
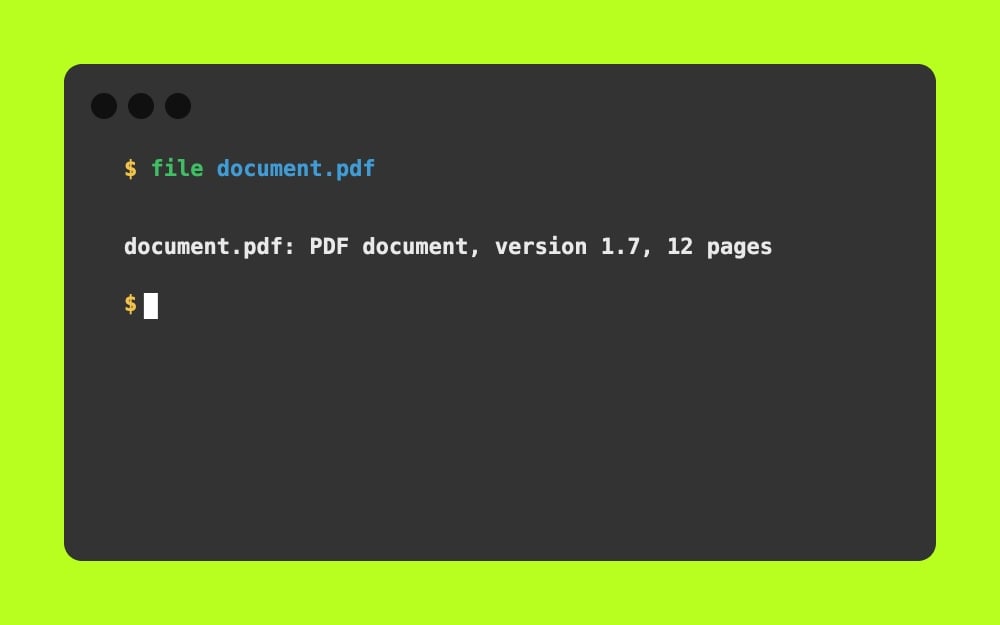
This command shows the actual file format; a file may have a hidden format, especially suspicious files that hide their actual format.
qlmanage -p image.png: [you can replace the image name with any file]
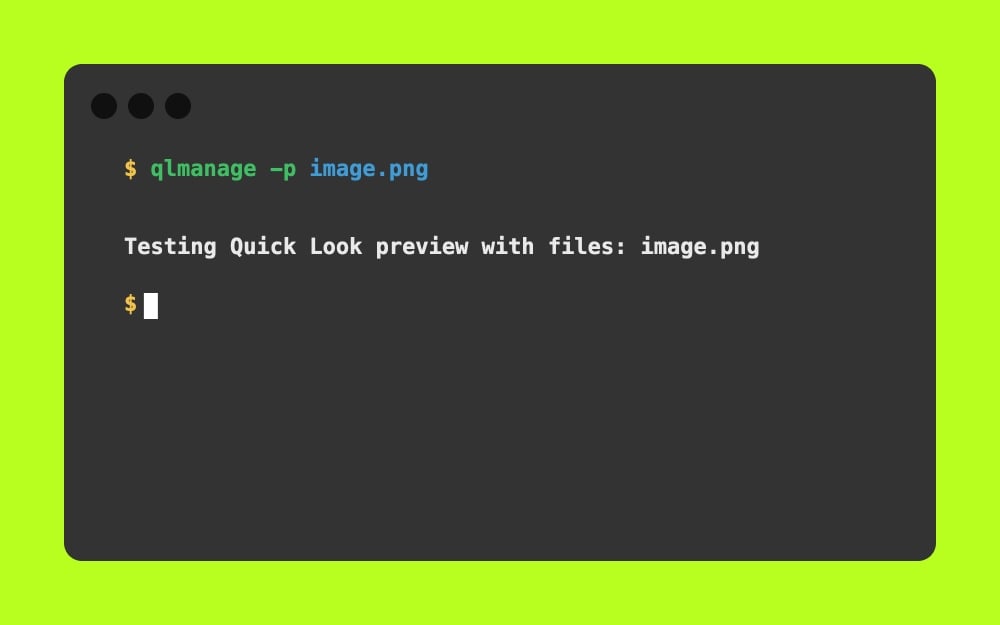
If you want to view an image in a quick preview, this is the best option. It opens a Quick Look preview from the terminal.
open notes.txt: [ you can replace notes.text with any text file]
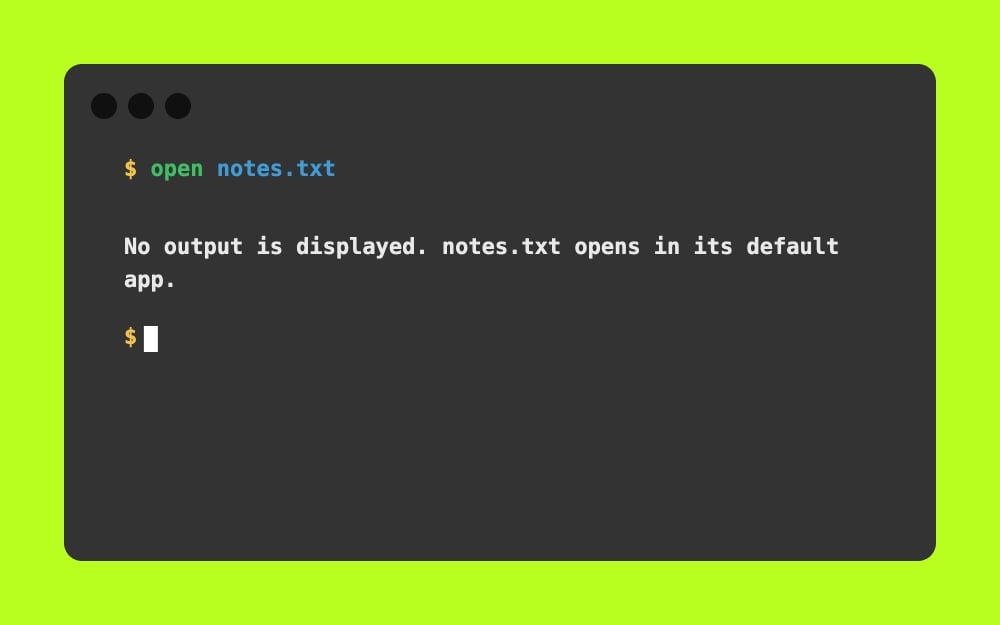
It opens the files in the default app. However, to open the file in a specific app, you can use this command: open -a TextEdit notes.txt. You need to explicitly mention which app you want to open the file in
Useful commands to easily search files
find . -name “notes.txt”: [you can replace notes.txt with any file you are looking for]
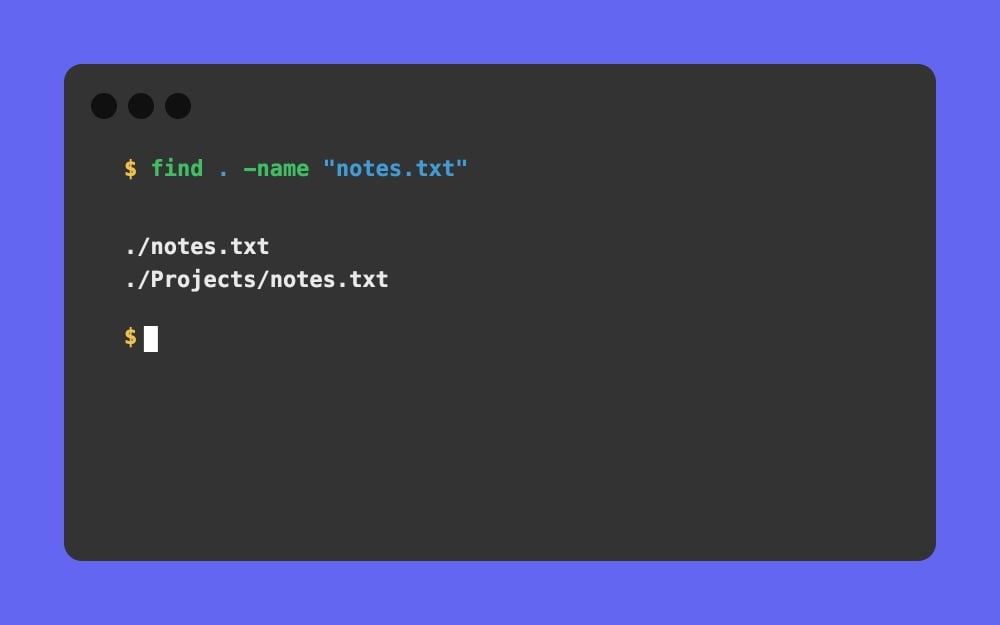
You can use this command to find a file with an exact name. It can be slower if you have too many files.
find ~/Downloads -name “*.dmg”: [You can replace /downloads with any location and .dmg with any file format]
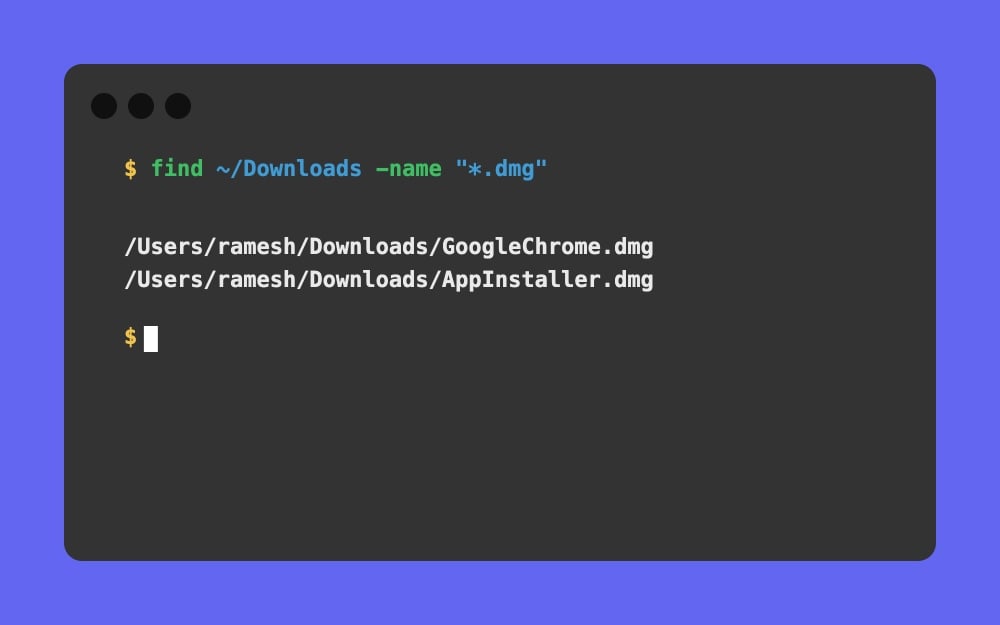
You can also use similar commands to find files with a specific file format from any location. For instance, you can change the /downloads to /desktop and find all .dmg files located on the desktop.
find . -type d -name “Project*”: [You can change the project name with any name of the file]
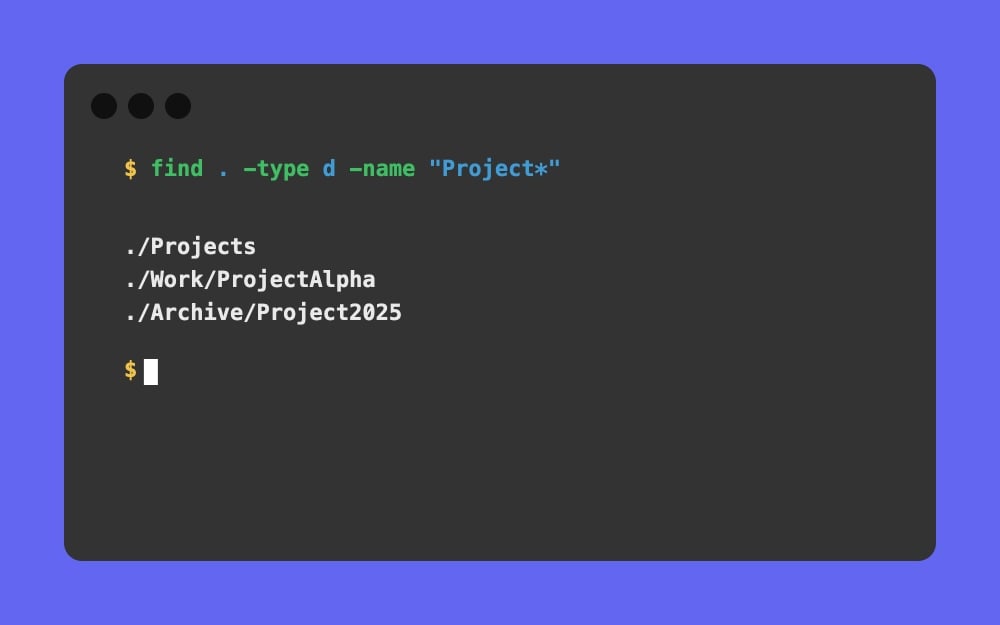
Find files named that start with these specific file names. For instance, the project that finds all the file name that has project as the first name.
find . -empty:

The best command if you want to clean all empty files. This command lists all the empty files and also folders with empty folders.
find . -type f -mtime -7: [you can change the 7 to any number]
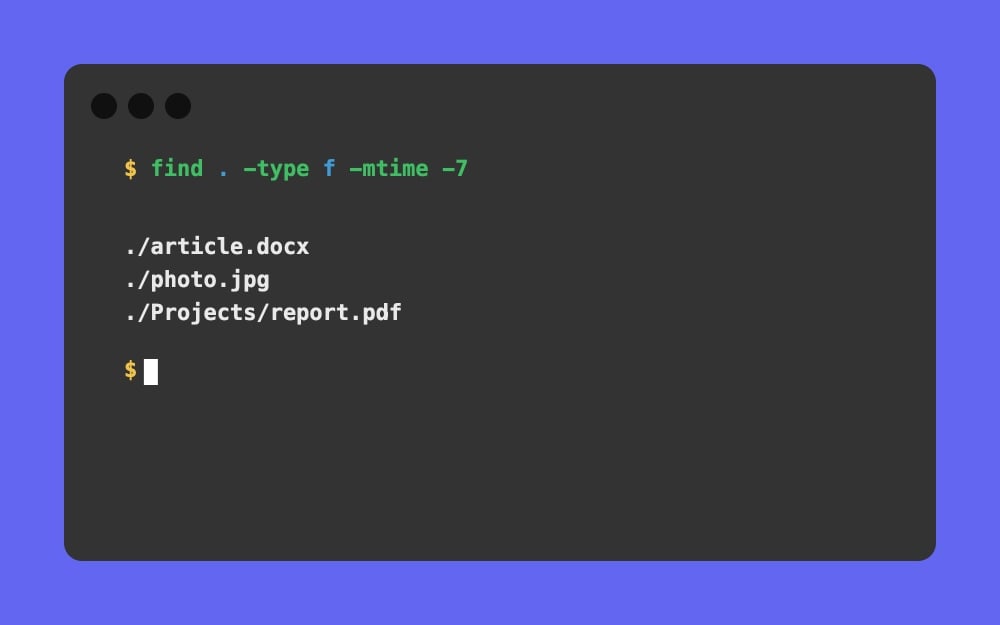
Find all the files that are modified in a specific time frame. Using this command, find . -type f -mtime -7 shows all the files that are modified in the last 7 days.
Useful commands to get more information about the file
stat file.txt: [you can replace file.txt with your file name]
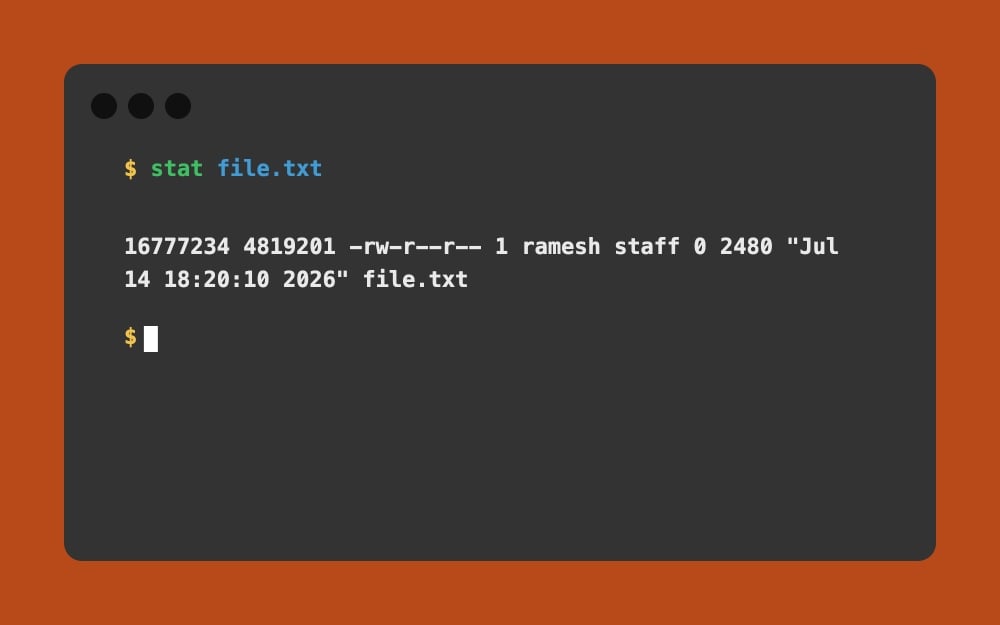
Useful if you want to know more details about the specific file. This command shows detailed file info, including its size, dates, permissions, and also inode details.
stat -f “%Sm %N” file.txt: [you can replace file.txt with any file name]
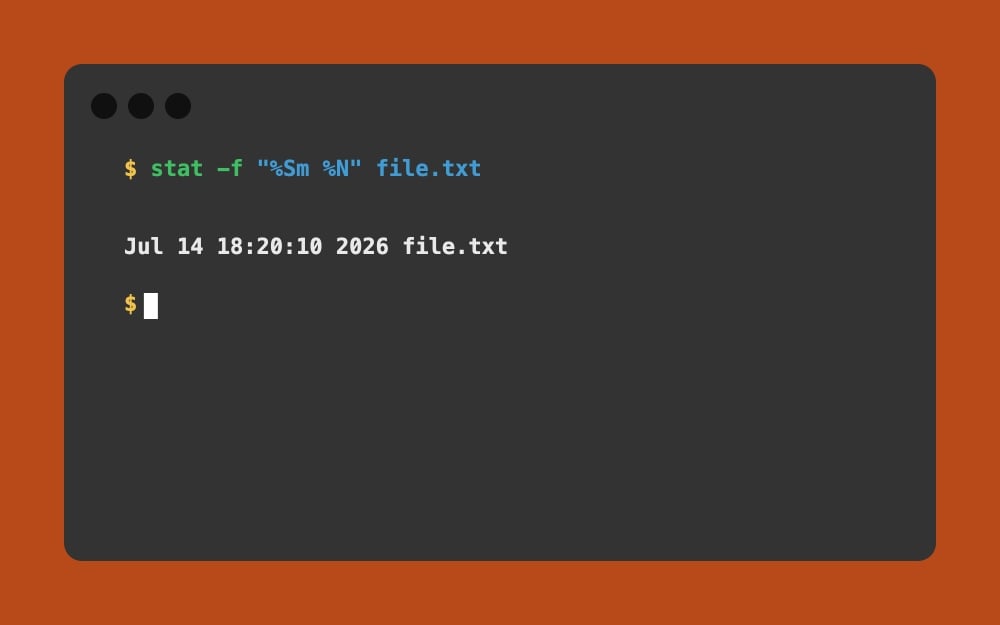
You can check the last modified date for any file using this command. Simply enter this command and the file name; it gives the last modified date for that file.
stat -f “%Sp %N” file.txt: [You can replace file.txt with any file name]
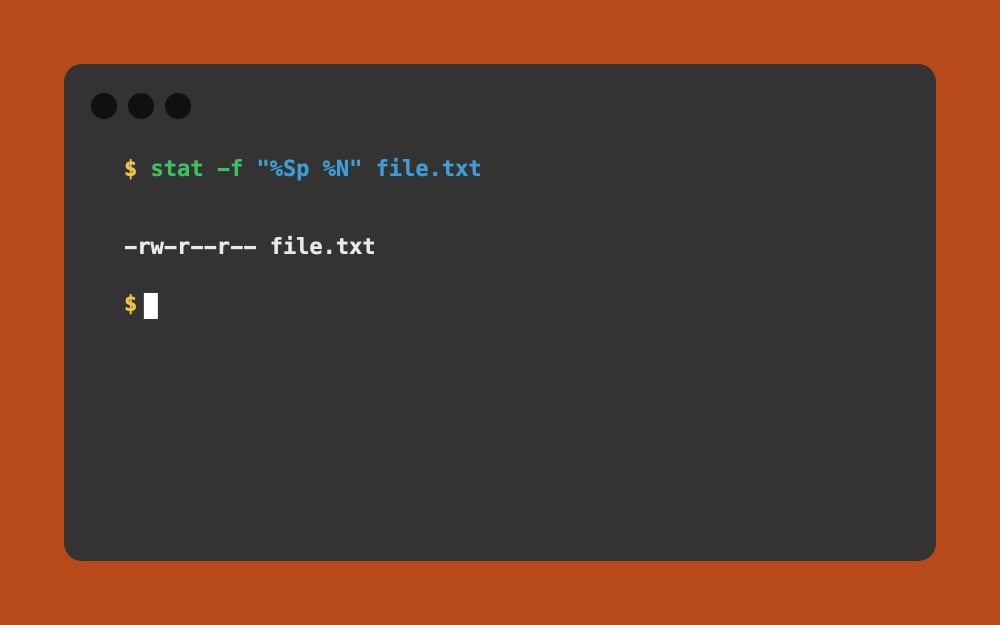
Use this command to know the exact file permissions for any file.
ls -lO file.txt: [You can replace file.txt with any file name]
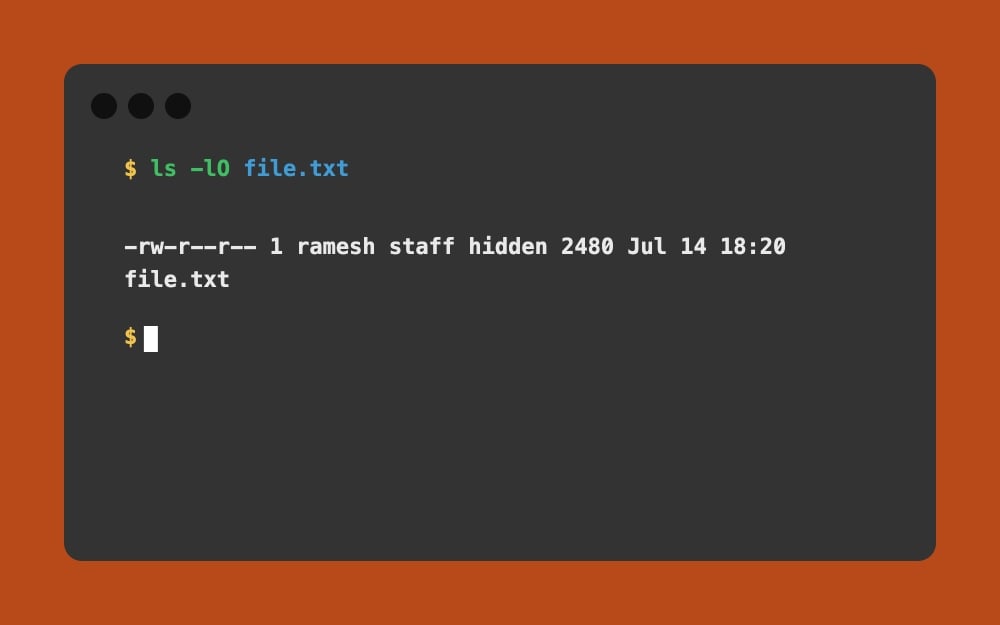
Shows macOS file flags whether the file is locked or hidden. It makes it easy to check if the file has special macOS flags.
ls -le file.txt: [You can replace file.txt with any file name]
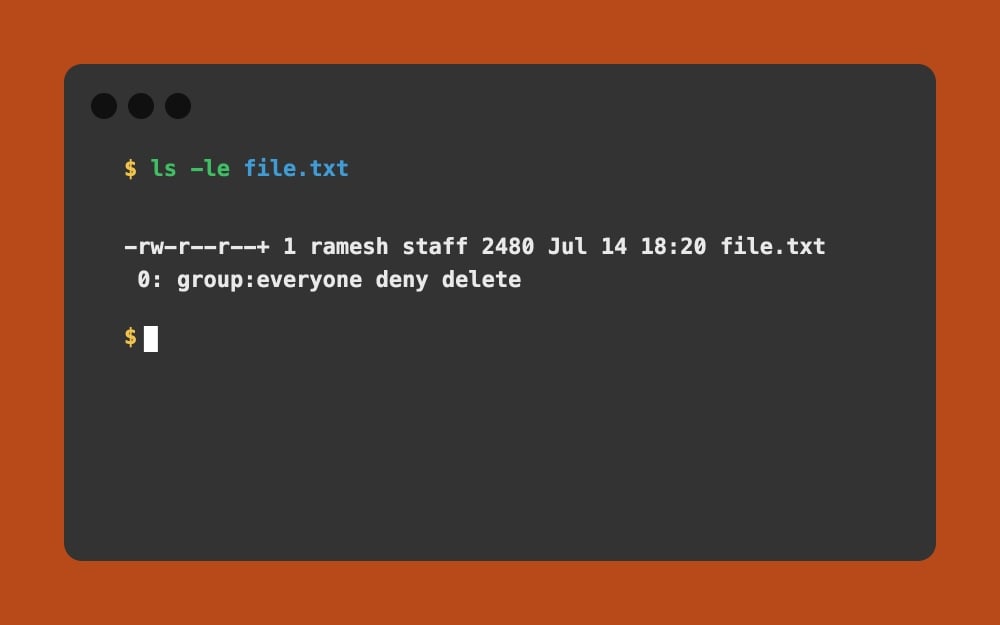
It shows the Access Control List permissions for the specific file.
du -sh file.txt: [You can replace file.txt with any file name]

It shows the exact space used by the file. It is way easier to check how much storage the file uses, which is especially useful if the file is suspicious and takes up more data than expected.
Useful Network and Internet Troubleshooting Commands
ipconfig getifaddr en0:
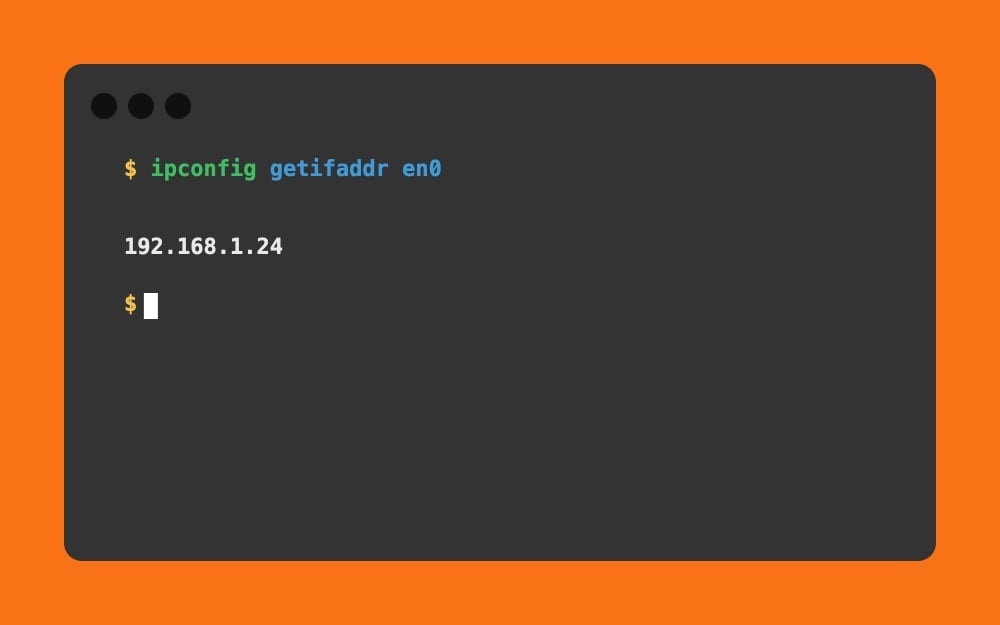
Quickly know your Mac IP Address using this command.
networksetup -listallhardwareports:
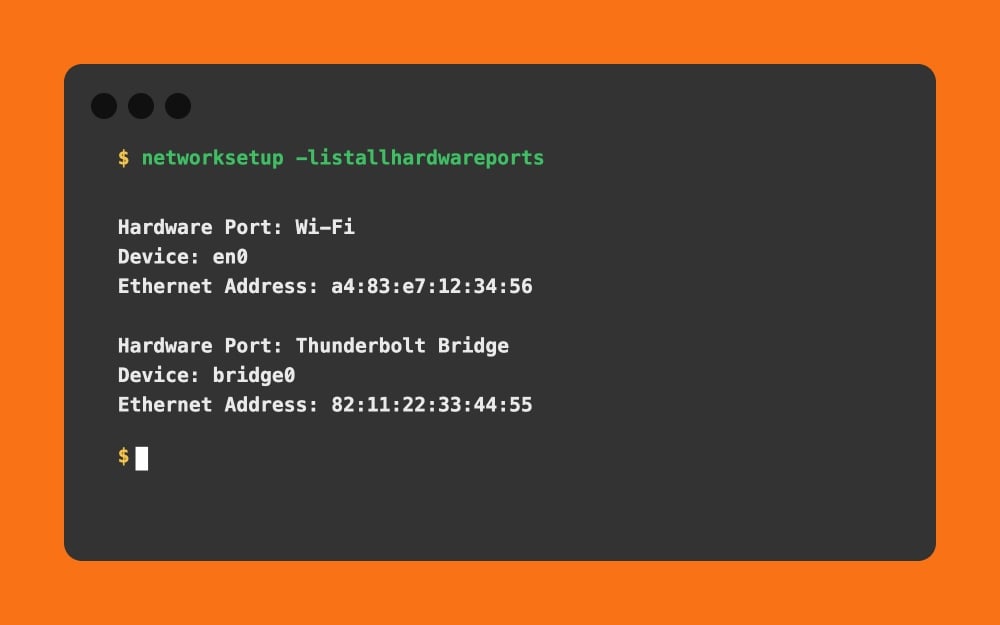
Know which network hardware your Mac supports. For instance, for reference, by using this command, you can see if your Mac supports Ethernet or not, like Bluetooth, Wi-Fi, and all others.
networksetup -getinfo Wi-Fi:
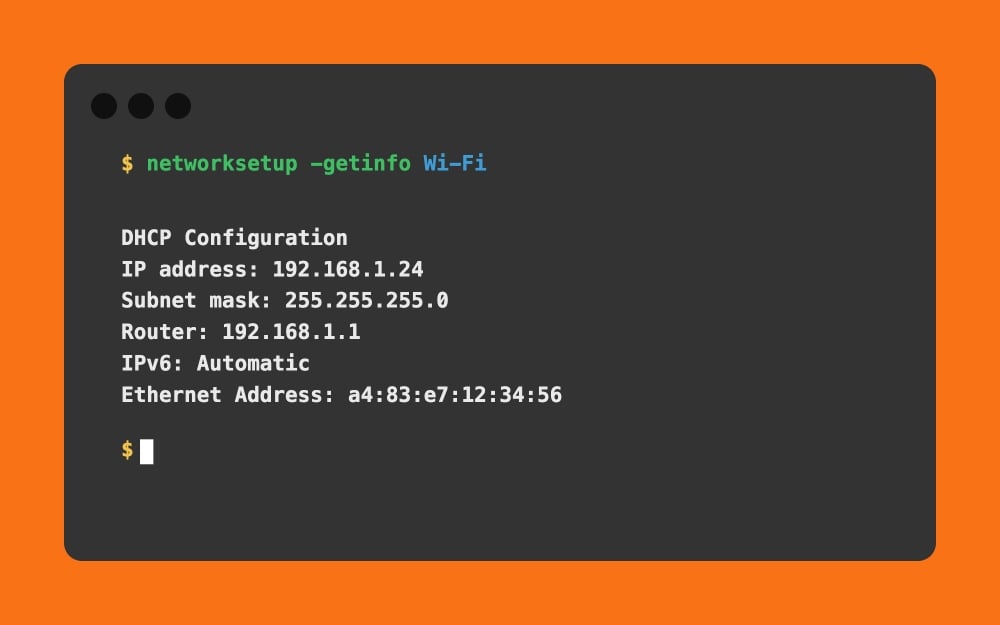
Know complete information about your current connection, including its IP address, subnet mask, and much more, without manually knowing it.
networksetup -getdnsservers Wi-Fi:
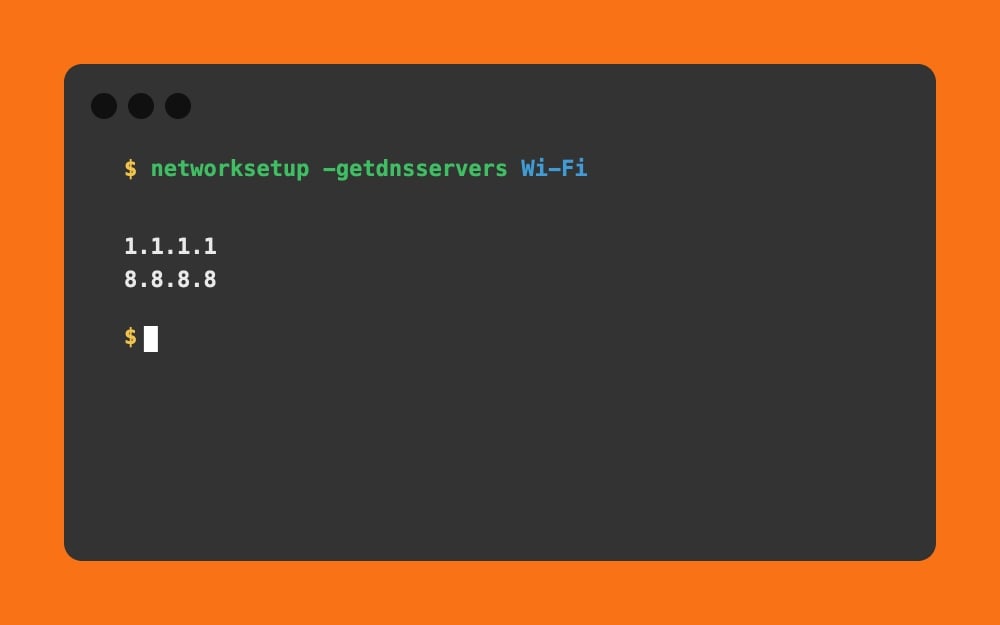
Most of us face DNS issues on Mac; using this command lets you know which DNS servers are currently being used by your Wi-Fi connection.
lsof -i -P | grep LISTEN;
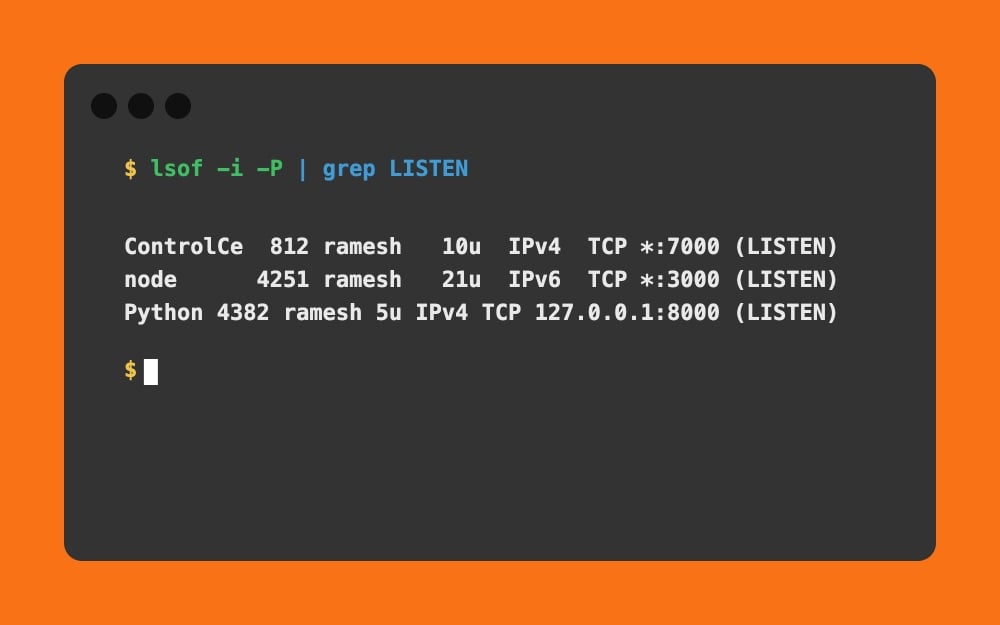
Since many of us started vibe-coding apps, using this command, you can see which apps are currently using network ports. It can be useful if you want to know unknown apps or processes silently listening on a specific port.
Useful Commands to Manage Apps and Running Processes
kill 1234: [You can replace 1234 with any process name]

Using this command, you can kill any app or process from the background; sometimes, even if you force-quit the app, it won’t quit. In that case, you can use this command. If the app is also not responding to this command, you can use kill -9 1234 to forcibly terminate and even all processes of any app using this command: killall “Google Chrome”
Useful Commands to Compress and Extract Files:
zip document.zip document.pdf: [You can replace document.zip and document.pdf names with any files ]
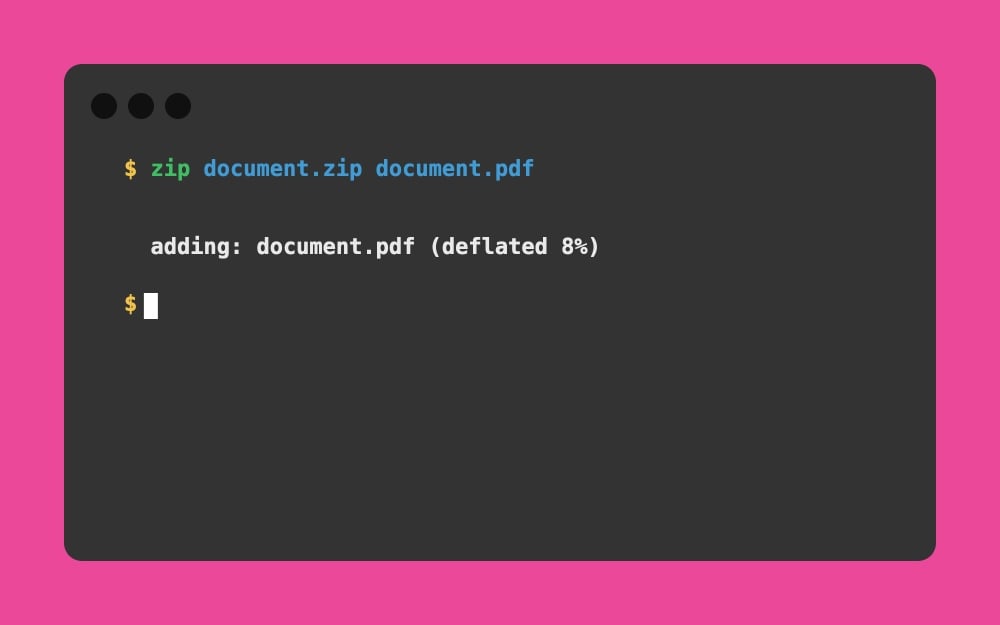
Quickly compress any file and share it in a zip format. The best part is that it keeps the original file untouched. So you can share the zip file and delete it afterward.
zip files.zip file1.txt file2.txt file3.txt: [You can replace file.txt with any file name]
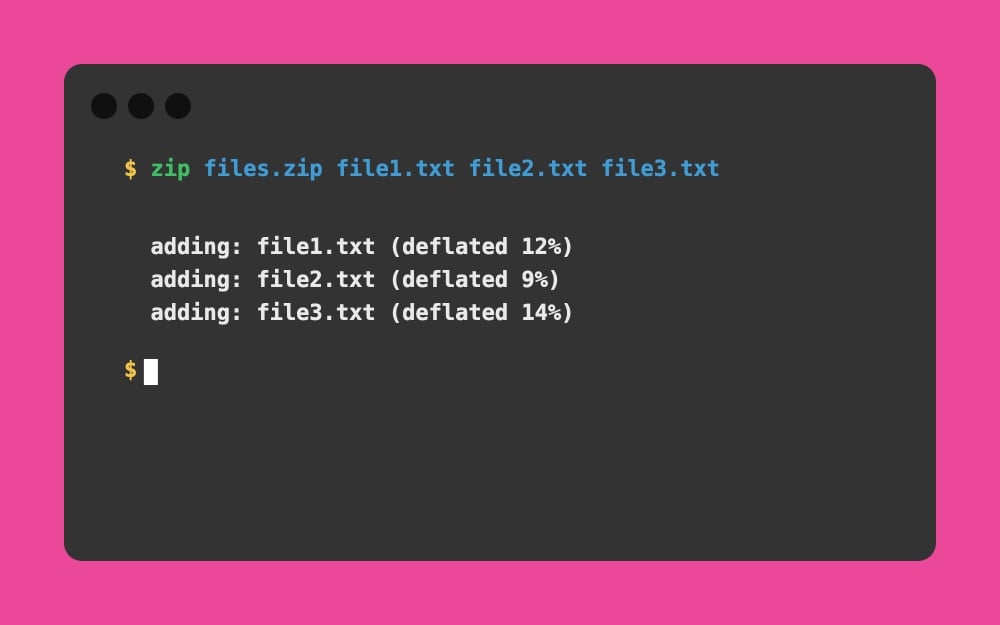
You can compress multiple files into a zip file
zip -e private.zip document.pdf: [You can replace document with any file name]
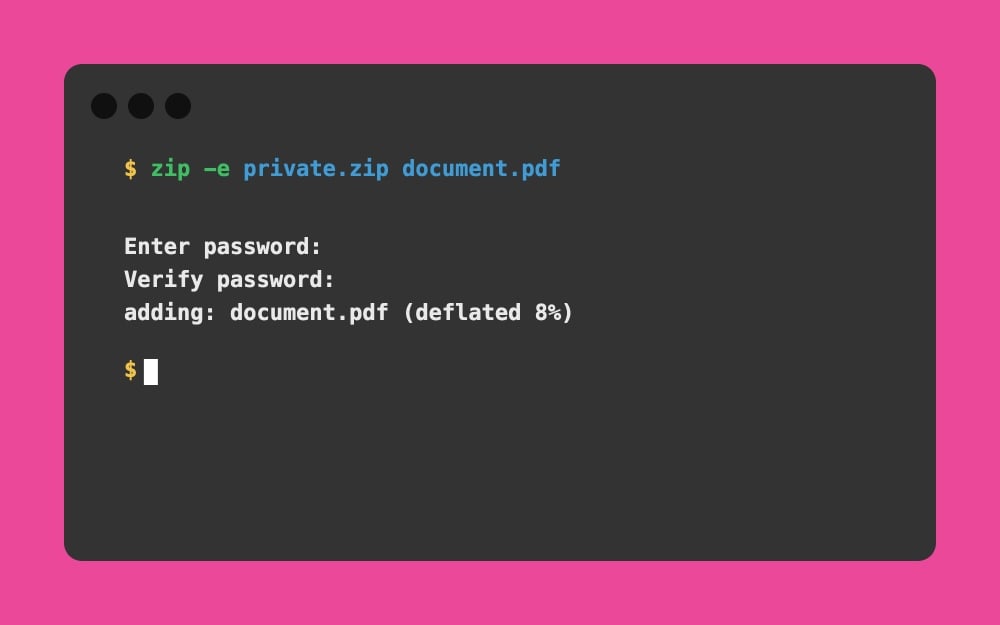
You can create a password-protected zip file. You will be asked to enter the password using the terminal; this is the best option if you want to share a protected zip file.
unzip files.zip: [You can replace file.txt with any file name]

Quickly extract all files in a zip file, and if you want to extract files into a specific folder, you can use this command: unzip files.zip -d ExtractedFiles. This unzips all files into a specific folder, which you can name.
unzip -l files.zip: [You can replace file.zip with any zip file name]
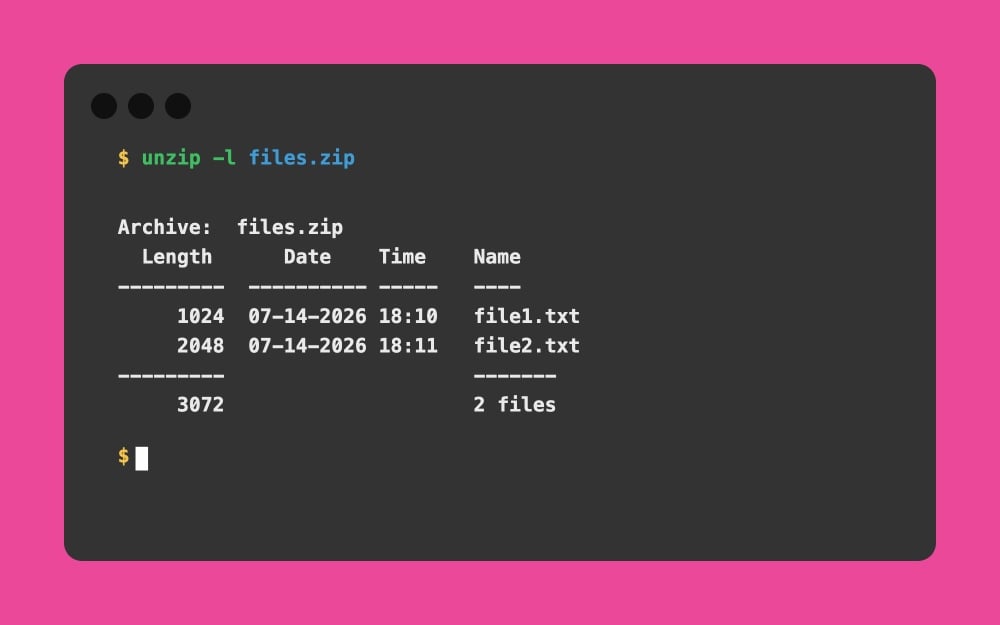
You can preview the file inside a zip folder without extracting it. You can simply use this command.
Useful Commands to Take Screenshots on Mac
screencapture ~/Desktop/screenshot.png:
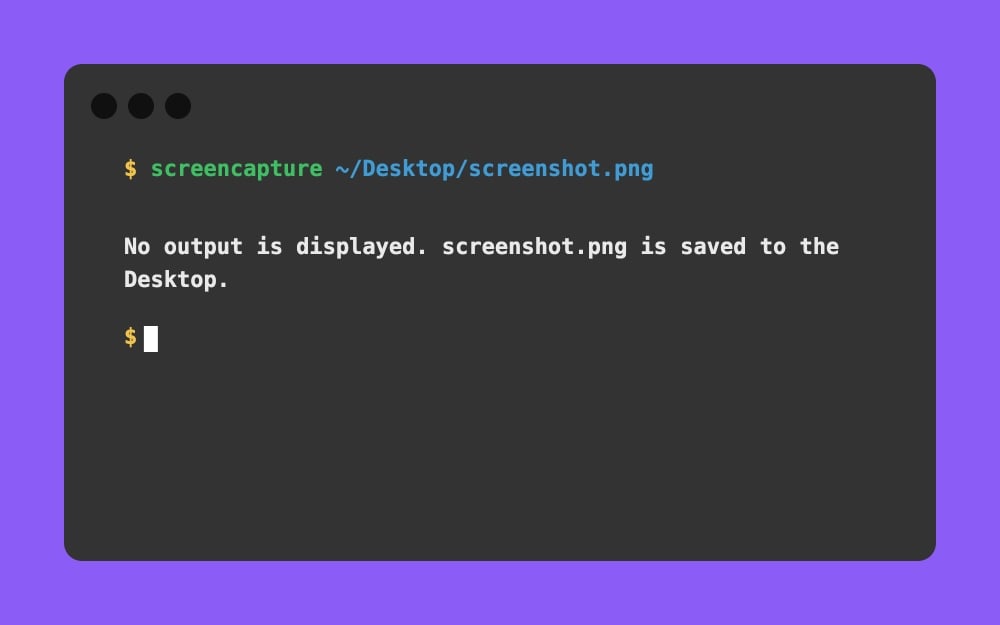
Mac comes with built-in screenshot tools, but if you want to save a screenshot in a specific location with the name you want, you can take a screenshot using this command.
screencapture -C ~/Desktop/with-cursor.png: [you can replace file path with any file path]
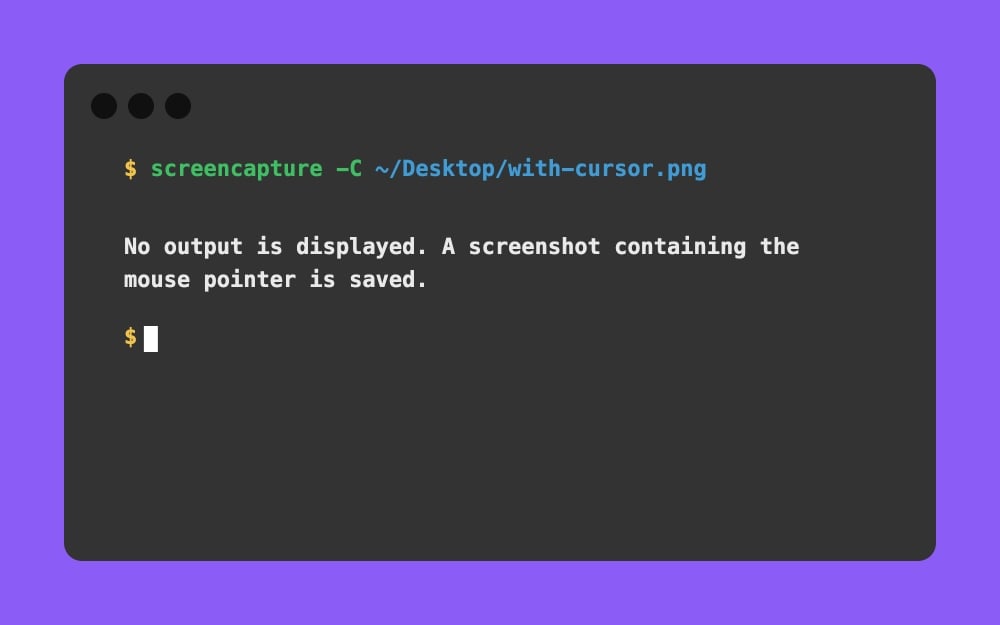
Most screenshot apps don’t capture the mouse pointer on the screen; if you want to include that too, you can use this command.
sleep 3 && screencapture -i -c:
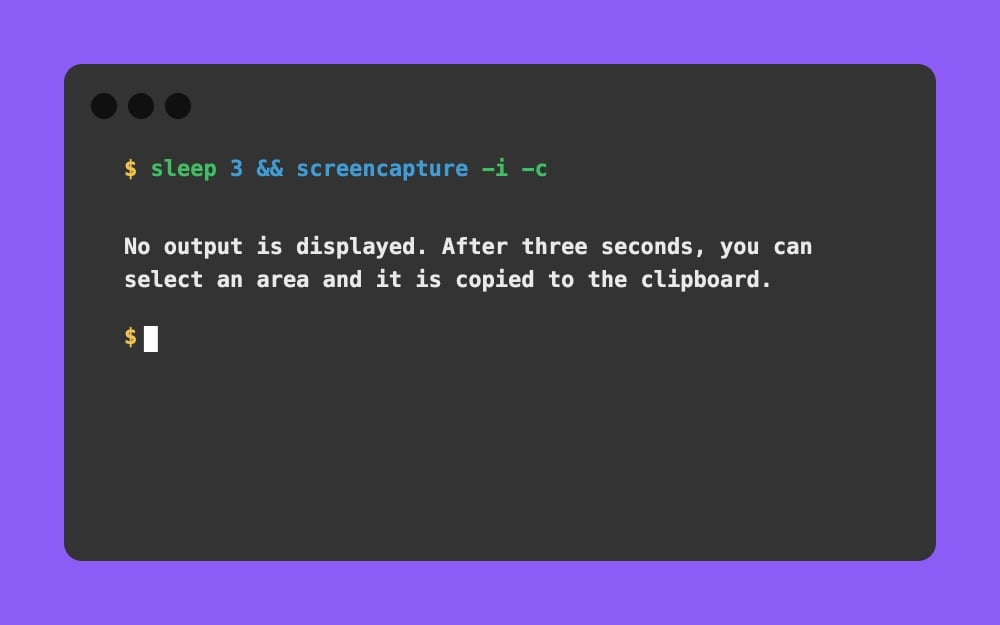
The problem with the above commands is that you cannot quickly take screenshots if the terminal is active. You can use this command to take screenshots after a specific time, or you can use this command, screencapture -T 5 ~/Desktop/delayed.png, if you also want to save that screenshot permanently on your Mac
Useful Battery, Sleep, and Power Commands
caffeinate -t 3600: [You can change the number to any number of seconds]
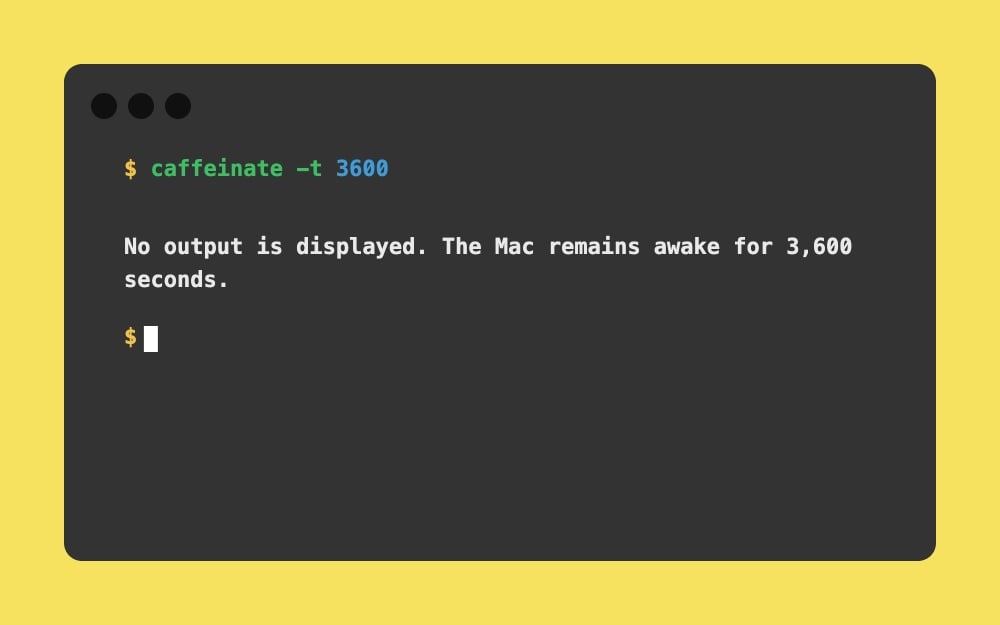
You can specify how much time you want to keep your Mac awake using this command.
caffeinate -d:
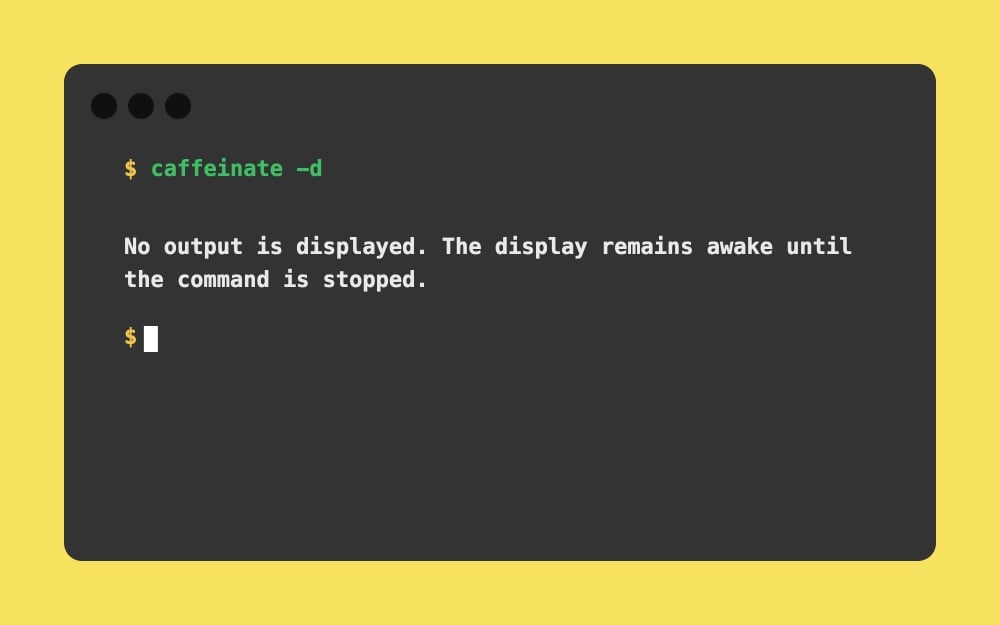
Using this command, you can prevent your Mac’s display from turning off while the command is running.
caffeinate -i:
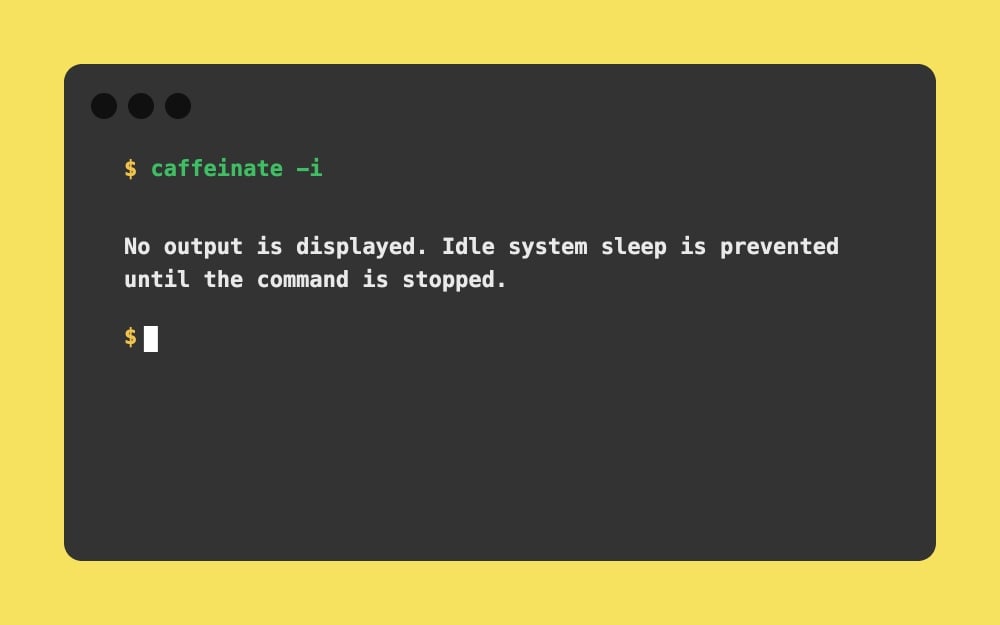
Using this command, you can prevent the Mac from going into idle sleep when you are not using it, which is useful if you are using it for long-running tasks such as building, Claude sessions, and much more.
Useful Commands to Resize, Convert, and Edit Images
sips -s format jpeg image.png –out image.jpg: [You can add your own image names]
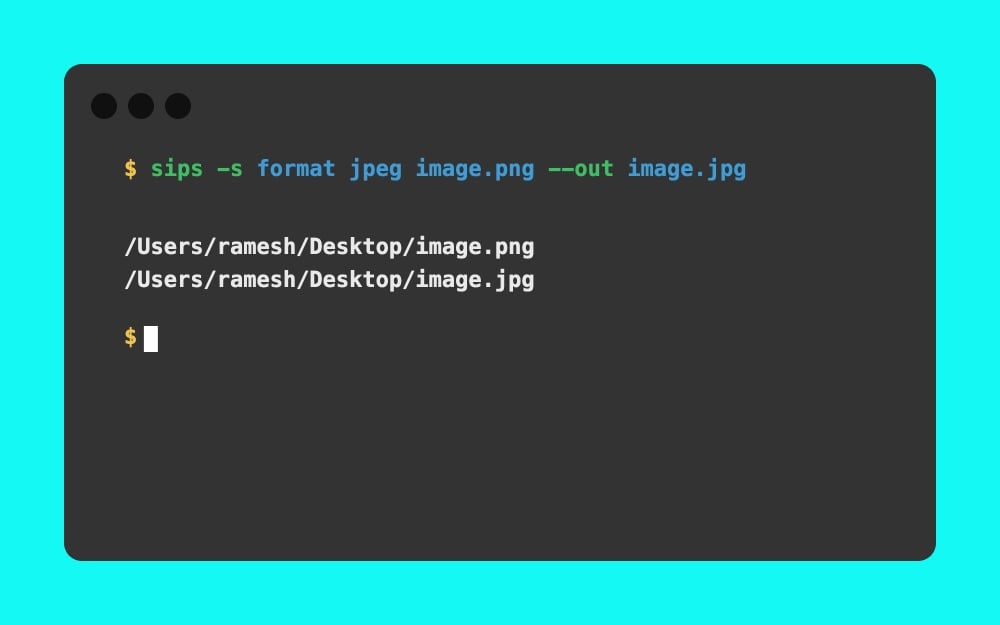
Easily convert the PNG into JPG format, you don’t need external tools to do that, plus you can also convert the files vice versa using this command: sips -s format png image.jpg –out image.png
sips -s formatOptions 70 image.jpg –out compressed.jpg: [You can add your own image names]
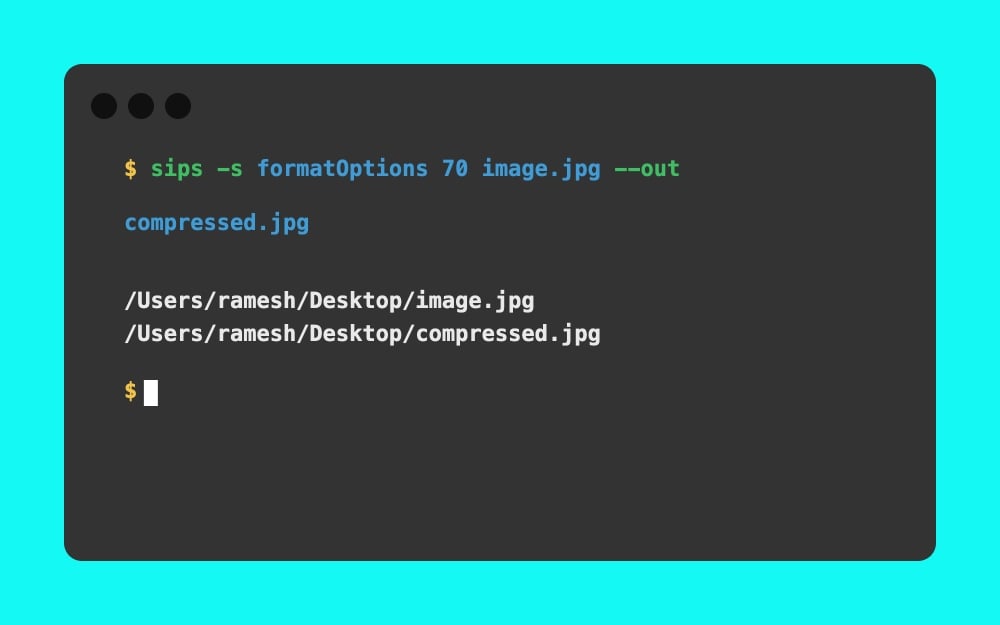
Quickly compress the file using this command without using any external tools.
Useful Commands to Control Sound and Audio on macOS:
osascript -e ‘set volume output volume 50’: [You can replace 50 with any volume number]
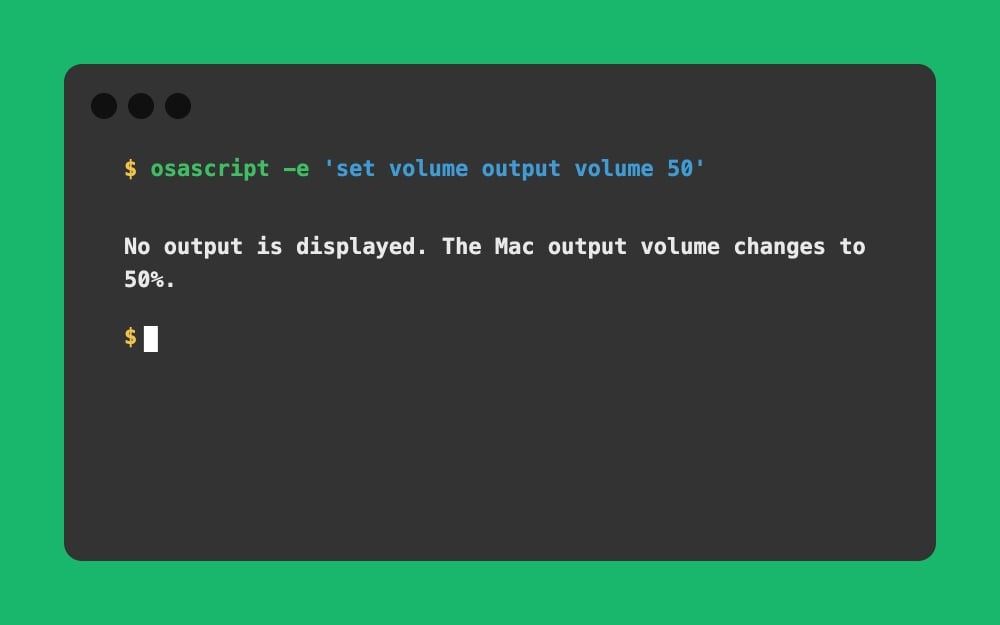
If the volume keys are not working on your Mac, you can use this command to quickly adjust the volume.
osascript -e ‘set volume with output muted’:
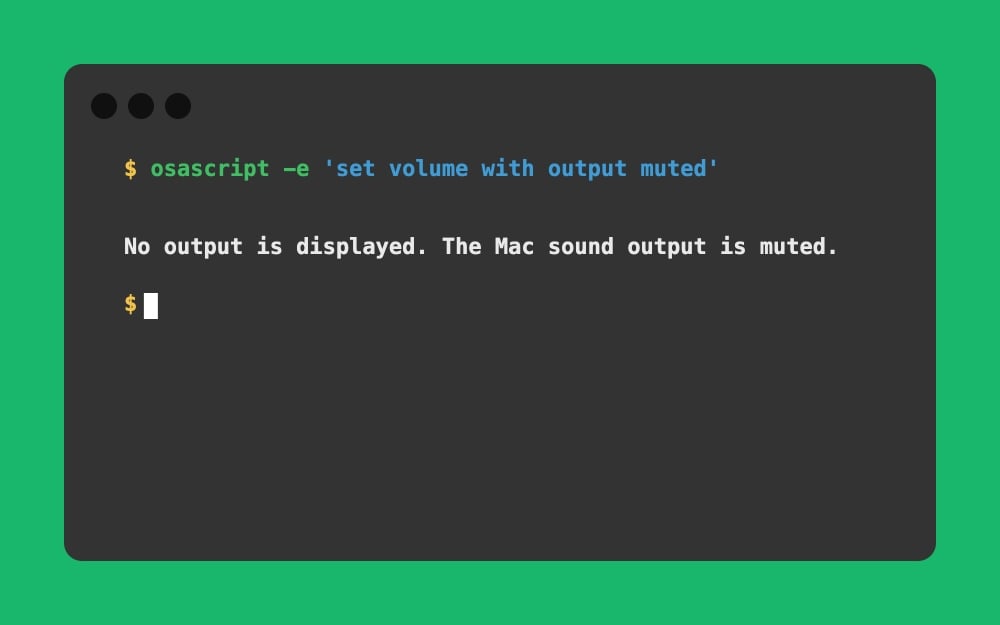
Well, sometimes it can be embarrassing if your Mac suddenly starts playing a loud sound and you don’t know where the sound is coming from. In that case, you can use this command to mute all sound output from your Mac, and you can use the command to unmute: osascript -e ‘set volume without output muted’
Useful Date, Time, Timer, and Reminder Commands
date:
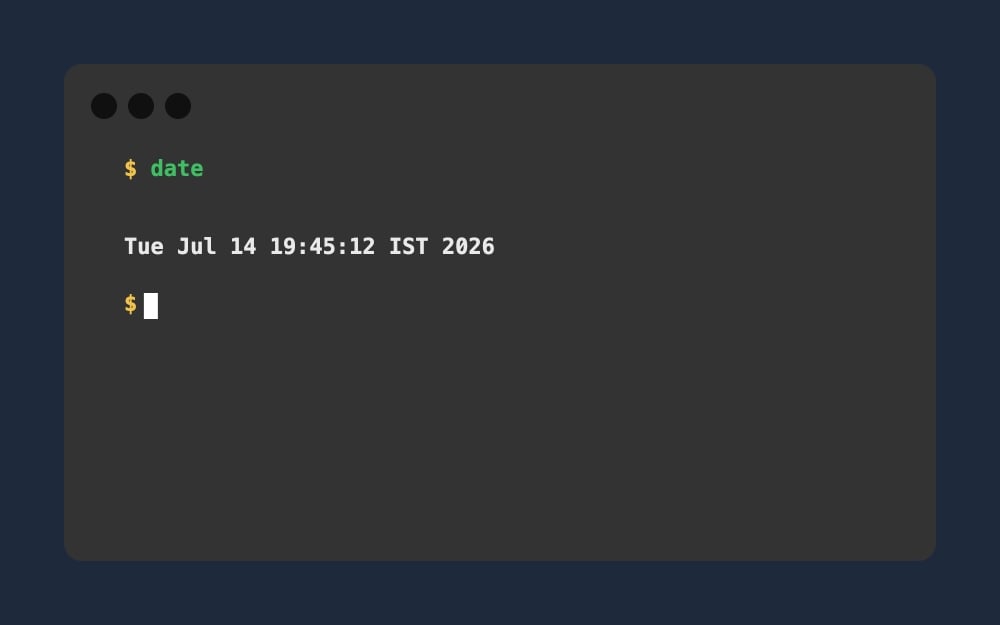
Sometimes we use our Mac time to check the date and current time; however, you can simply type this command in the terminal to quickly know the date
cal:

Similar to date, you can just use this command to display the calendar in your terminal directly without depending on the app. If you want to know a specific date in the future calendar, you specify the month and year to check; you can use this simple command: cal 12 2026
Useful Finder Commands
defaults write com.apple.finder AppleShowAllFiles -bool true && killall Finder:
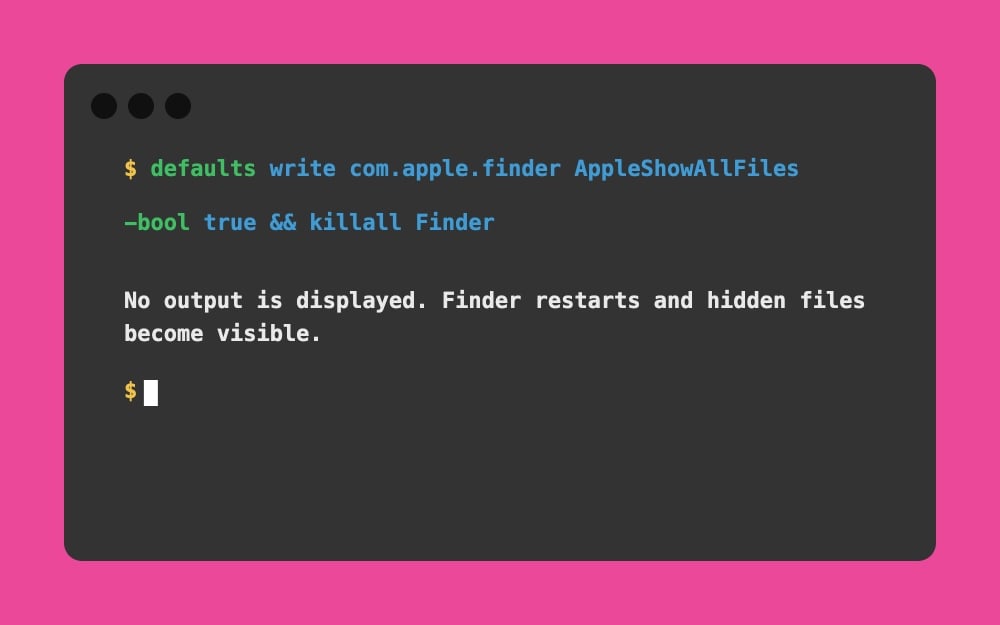
Every Mac user can safely hide the files from sight in any folder, and if you want to know which files are hidden, you can use these commands: defaults write com.apple.Finder AppleShowAllFiles -bool false && killall Finder. You can use this command to hide files again once unhidden.
chflags hidden ~/Desktop/PrivateFolder: [You can use any folder instead of the folder you want to hide]
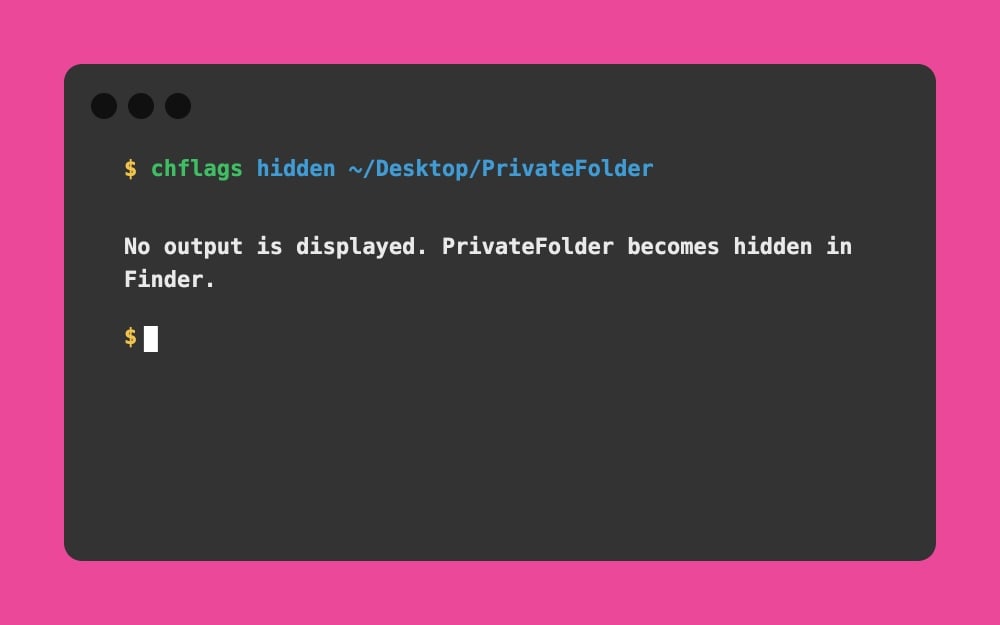
If you’re wondering how to hide files on Mac, you can use this command. Just rename the folder, and if you want, you can unhide the hidden folder using this command: chflags nohidden ~/Desktop/PrivateFolder
Those are the 50-plus useful commands everyone must use on their Mac. I have listed the commands that every casual and pro user can use in their daily life to finish tasks with ease and save time.
This is our macOS commands resource post, and we update this post regularly to stay updated with the latest commands and regularly add new commands that help our users. So you can bookmark our page; we have also created a simple legend that includes the top 20 commands everyone should remember, which you can see above.
If you are a beginner, here are the simple commands to use and navigate your command-line interface. Here is also a detailed step-by-step guide on how to use these commands on your Mac Terminal if you are a beginner.
First, let’s learn basic commands to help you navigate through the terminal and undo any changes, and how to terminate the commands and everything if you are a beginner to the terminal.
Basic Commands You Need To Learn To Use the Terminal:
- pwd: Use this command to know your current location in your terminal. Sometimes you navigate through different folders and forget where you are. This command will help you know your exact location
- cd ..: It helps you move to the parent folder
- cd -: This command will help you to go back to the previous location.
- history: Using this command, you can see all the previous commands you used in that specific session
- clear: It clears the terminal and creates a fresh start
- Tab button on your keyboard: You can use the tab button on your keyboard to finish the file name instead of typing the full name
- Up Arrow: You can press the up arrow button to go back to your previous command
- Control + C: Use this command to stop the currently running command.
How To Use the Terminal on Your Mac
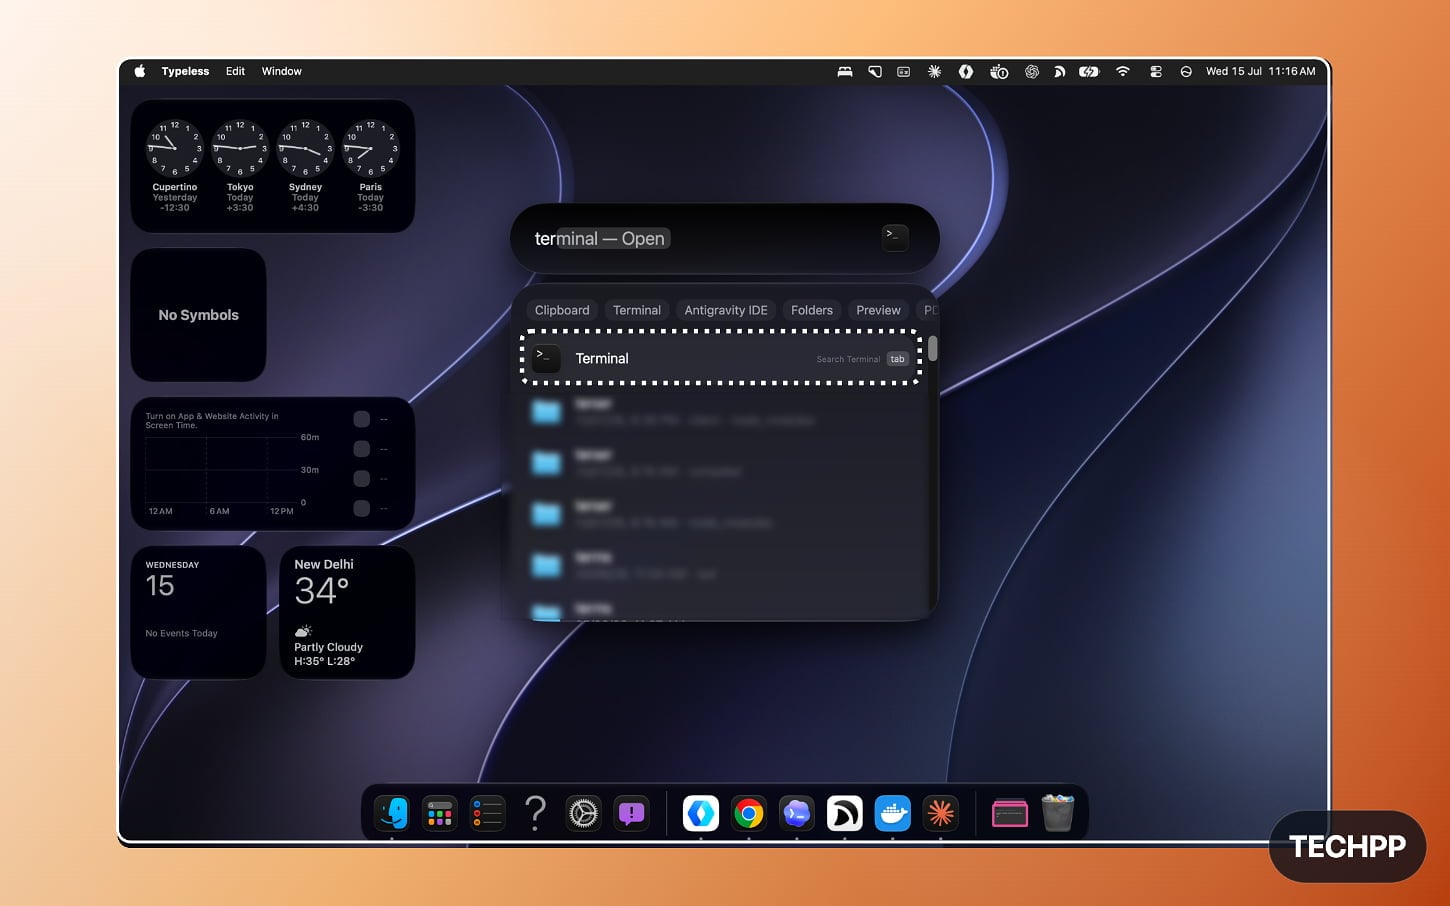
Step 1: Open the Terminal app using Spotlight. Open Spotlight and search for the Terminal app, and if Spotlight isn’t working, you can find the Terminal app in your Applications folder.
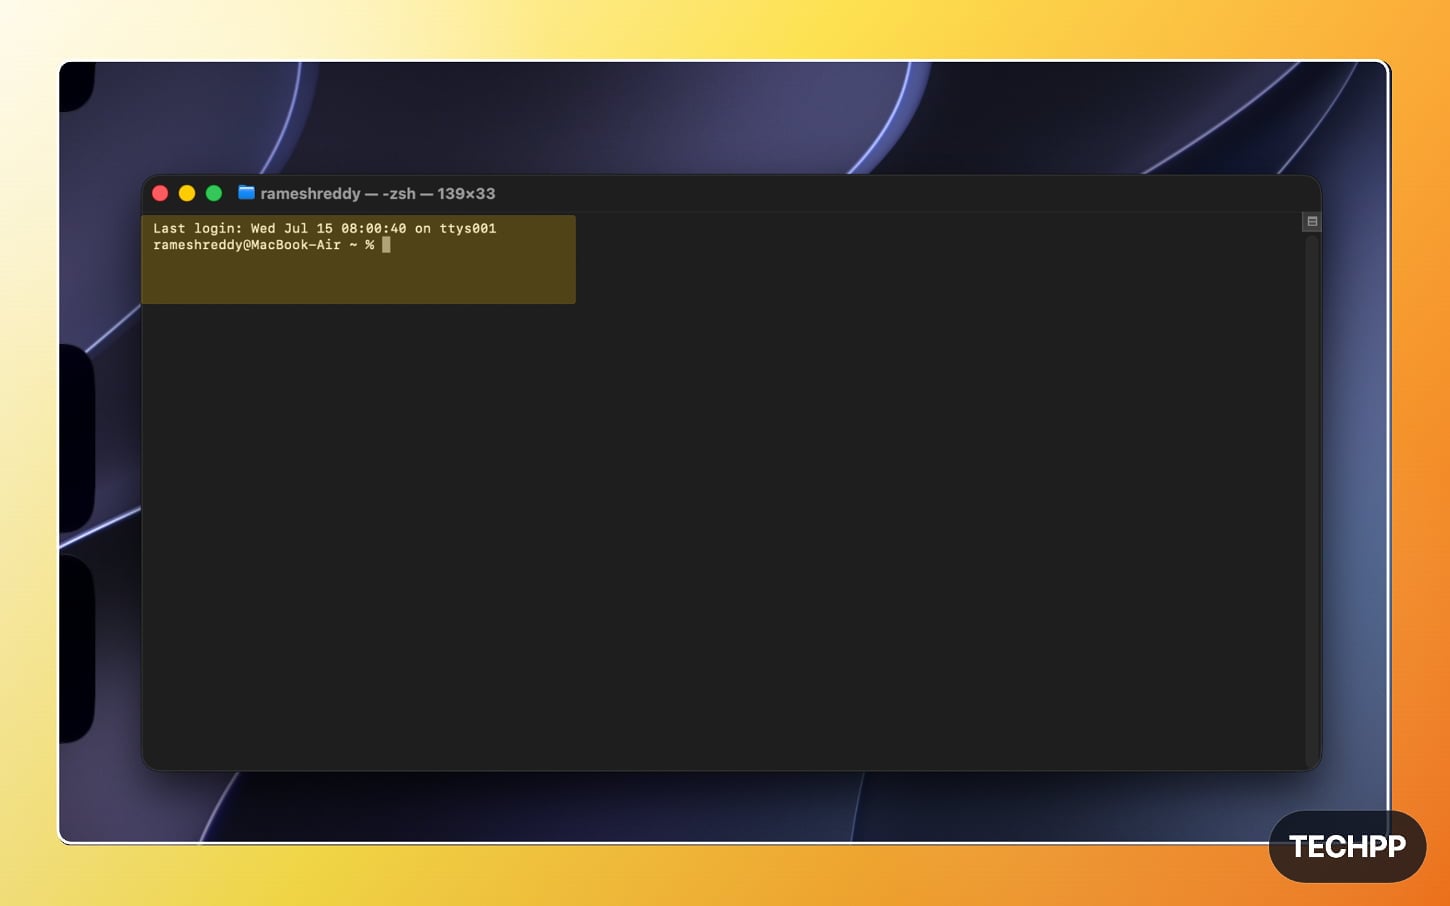
Step 2: You can use cd to go to the folder or location where you want to use those commands, if you want to make specific changes to any files and folders, you need to enter the correct folder name or else you will see an error like file not found.
Final Thoughts
I hope you find this macOS command resource helpful, and if any command is missing, we are open to feedback. Our comments section is always open; you can provide your feedback or any suggestions.

